Showing posts with label fine motor. Show all posts

Feed Me Fine Motor Activity

I have always encouraged fine motor play in my children. Not only is it important for their development, but there are so many ways to offer an invitation to fine motor play!


A well-meaning friend purchased tennis balls for my senior dogs. Bless her heart, but my pooches are too old to do much fetching. As much as we love the dogs, truth be told, they are hounds and have always been prone to take it easy; to sleep in bed only waking for food, water, and a walk. As I type, both are snoozing on pillows at my feet. No fetch will be played willingly by these dogs!

My kids were delighted. Balls! In the house?! YAY!!

I acted fast. With a moment of my time and some very basic supplies, my kids were distracted from the idea of throwing balls and were enthralled with the idea of feeding the ball.

To make a feed me ball you will need

A tennis ball
A utility knife
2 peel and stick eyes or a black magic marker to draw eyes
A few pom poms or cotton balls


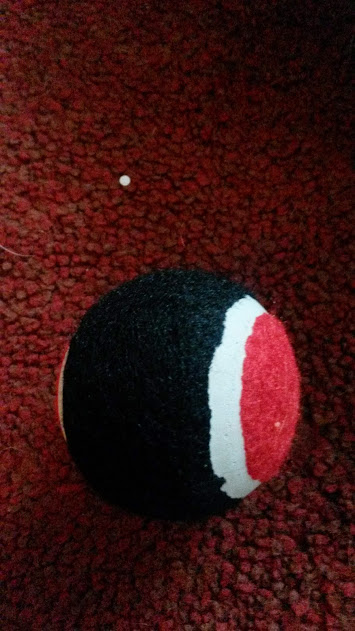
The first step is the trickiest. Use caution while using the utility knife to cut a slit in the tennis ball, this will become the mouth.


Next affix or draw the eyes. We went with what we had on hand and used small stick on eyes. The kids and I agreed that really big eyes would be lots of fun!


After the eyes have been added you can offer the pom poms or cotton balls along with the ball.


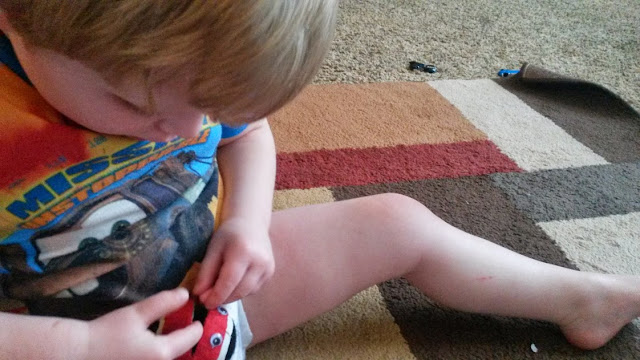
Play combined with fine motor skill development is ideal for kids of a variety of ages. Both of my kids have fun feeding things to the ball over the years. From cotton balls to barbie doll shoes. The fine motor aspects remain, but we have added in simple math, counting, and color sorting to the ways we use the feed me ball.

You might also enjoy these 7 Ways to Entertain a 3 Year Old.

DIY Sorting Toy {Fine Motor Activity}

One of the things I love about being a mom is that somehow, my kids think I am magical when I come up with a fun way to play out of the blue. No matter how simple the activity, they are always interested and amazed. I know I complain sometimes about how hard parenting is, but you know, the tough moments are so worth it. Little kids are so fun and so sweetly simple in what it takes to get them interested in learning new skills and practicing their existing ones.


One of our favorite upcycled activities was completely simple to create and both of my kids played with it for hours! If you have toddlers or preschoolers in your home, this DIY Sorting Toy is a must make. It offers kids a simple fine motor activity as well as a chance to practice sorting, counting, differentiating between sizes and identifying  colors.

You will need:
a clean an empty egg carton
assorted pom poms {use different colors and sizes for additional sorting challenges}
Tongs or Tweezers for Children 


As you can see all I did was dump a handful of pom poms into a clean and dry egg carton. I laid a pair of rubber tongs for kids down and let Roo explore this option on his own. 

He sorted and sorted! He worked on his fine motor skills, his colors and sorting by size. 
This was an upcycle project that was super easy to put together and that my kids had a lot of fun learning and playing with!


A Simple Fine Motor Activity

I like to keep Roo learning and developing skills even though he is on summer break. I also like to create tools for learning from items we already have at home.

I had an idea for a super simple fine motor activity that I could make in a matter of minutes. I had no idea how much bot of my kids would enjoy working on such a simple activity with such great fine motor skill practice.

You will need:
Pom Poms
A pair of plastic tongs
An egg carton

Photo Credit: Sara Lehman.

The rest is pretty self explanatory. Put the pom poms in the egg carton, then demonstrate how to pinch and pick up then sort the colors.

As you can see I used smaller pom poms for Roo exclusively so he would really have to work at pinching the pom poms with the tongs.

Harper isn't ready for the tongs yet, but using her fingers to grasp the varying sizes and the fuzzy texture of some compared to the hardness of the smaller pom poms is good for her fine motor development too. I use assorted sizes when working on this activity with her.


Making Traffic Lights Preschool Craft


My son and I have a routine. In the morning he has free time, he can play as he like or watch cartoons. He can color or grab a stack of books to look at. While he has free time I work. At 10 a.m. He gets his notice that we will clean the living room together when am finished cleaning the kitchen. 

Roo takes advantage of that notice and plays as hard as he can while I work in the kitchen. If it appears that he is having a especially good time I might dash in to make beds and start a load of laundry so that he can extend his fun.

When the chores have been taken care of Roo and I pick up all of the evidence of his morning fun. 
When the blankets, pillows, toys and books have been put away and the carpet has been vacuumed it is craft time. Harper likes this part of the morning because it is her chance to get on the floor and roll around.


Each week I have 2 planned crafts and I offer Roo the chance to choose the other 3 activities for the week. Last week he told me he wanted to make a "red light". 

Hmmm. That is easy peasy! Even I can manage this one without incident!

To begin the craft we got out the disposable plates I keep in our craft supplies for projects like this one, and 4 sheets of construction paper in red, yellow, green and black. I grabbed a tube of glue and we sat down to create.

I had Roo help me tear the paper into small pieces. I thought this was a good way to work on fine motor skills and develop his pencil grip.


Next I tore the black paper into 2 strips.

I made 3 circles of glue on each paper.


I demonstrated what I wanted Roo to do. Place the little bits of paper onto the glue. At first he wasn't sure why I wanted to keep the colors separate. 

But then he saw what we were doing! How cool! We had 2 "red lights" and he was ready to play. There was no waiting for the glue to dry!

And yes, that is a spider riding a motorcycle on the tracks!

2 "red lights" were not enough. With big blue eyes Roo begged "More Red Lights Please!" So we made another one with bits of paper on one of the plates we had used earlier.

I had a happy little boy who was very interested in daily craft time and who found inspiration in our craft to jump into a serious session of imaginative play. I felt accomplished that we had a smooth craft session, we worked on fine motor skills with a high interest creation. 


I am thinking of a better option for red lights for Roo. Maybe painting them on clothes pins so he could set them up by the train tracks. What do you think? What would you try?