Showing posts sorted by date for query apple craft. Sort by relevance Show all posts

Easy Apple Tree Stained Glass Window

Cute and easy to make, this kids craft adds a pretty touch to any window, just like stained glass!


We love to craft with contact paper, it is so much fun to use in so many projects! But, one of my favorite uses for it is to make 'Stained Glass' or window decals! These are so cute!

With fall being on the way, our thoughts drift towards the apple orchard almost every weekend. We head out for the time together as a family, harvesting fruit, eating fresh donuts and playing outside. In anticipation of the fun fall weekends that are to come, we made these easy as pie Apple Tree Stained Glass projects.

You will need:
one square of transparent contact paper per decoration
assorted colors of tissue paper, we used green and yellow
one strip of brown construction paper

Lay your contact paper sticky side up
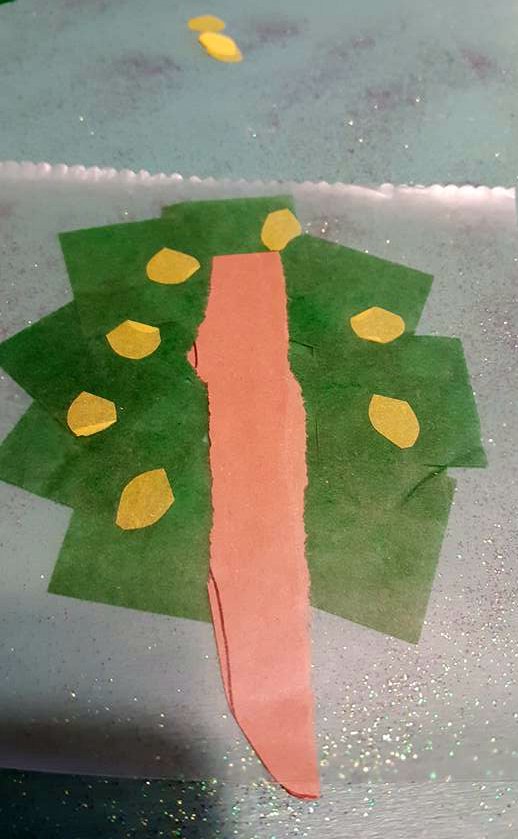
Place your brown paper on the sticky paper to form a trunk
Next cut small circles of yellow or red tissue paper for apples
Place the apple cut outs around the tree
Fill in the leaves using green tissue paper
Leave a few sticky places without paper to easily affix to the window for displaying.


Apple Tree Window Cling

Fall days are the perfect time to find inspiration from nature and create fun crafts with the kids. This easy DIY window decal comes together within a few moments and adds a colorful touch to your windows. The kids will love displaying their artwork for the world to see!


This is such a simple project you guys! For $2 you can make a dozen or more window decals to add a festive fall touch to your windows! Best of all, this imaginative craft is perfect for the kids!

To make an apple tree window cling you will need:
Transparent contact paper, cut to the size you wish to work with. We used a 6'x4" section.
Tissue Paper Squares in dark green and yellow
One strip of brown construction paper
Scissors


First peel the backing off of the contact paper and lay it sticky side up. Add a strip of brown paper for the tree trunk.


Cut several circles from your yellow tissue paper, place around the tree trunk.


Next lay your squares of green tissue paper over the yellow dots, forming the leaves of the tree. 


Finally, find a window that gets a lot of sun and smooth the sticky side to the window. It will peel off without mess or residue whenever you are ready to take it down.


I love this craft for kids because it introduces them to a sticky texture to work with, and manipulating the paper into the right placements is great for fine motor skill development.


You might also enjoy this Fall Tree Silhouette Placemat Craft for kids.