Showing posts with label A Clean Home. Show all posts

How To Remove Cat Urine From Carpet

There is nothing quite like the smell of cat pee on your carpet to really put a damper on the day. While we don't want to admit it, life with pets leads to a few messes here and there. Cat pee can be such a hard odor to get rid of, especially on carpet! It also seems that once your cat has an accident on the carpet, that spot is going to become a frequent place for future accidents if not treated.

My cat has had several accidents over the years. I have tried several methods to remove the odors and the germs! From specialty products sold in pet stores to natural remedies. I have had a variety of results as you can imagine. It seems that the products that work the best require the most work. Then one day, I had an idea and I tried it... Luckily it worked! I can't wait to share this easy DIY solution to pet odors that not only kills bacteria and germs but also has a pleasant smell!

Best of all- this is a DIY solution for pet odors like cat pee that will only cost you $2 to create. You may already have all of the supplies on hand for a frugal and fast fix to pet accidents!

The first step to take when your pet has an accident is to clean up as much of the urine as possible with paper towels. Blot it up as soon as possible until your paper towel is dry after blotting! This will make the job so much easier.

If you have a newspaper around lay it on top of the area where the accident occurred. The newspaper will absorb some of the odor.


Affiliate links are used!


Next, you need an empty spray bottle and mouthwash.

Pour mouthwash into your clean and empty spray bottle.


Simply spray this over the area that the accident occurred. Spray the area down until it is damp.


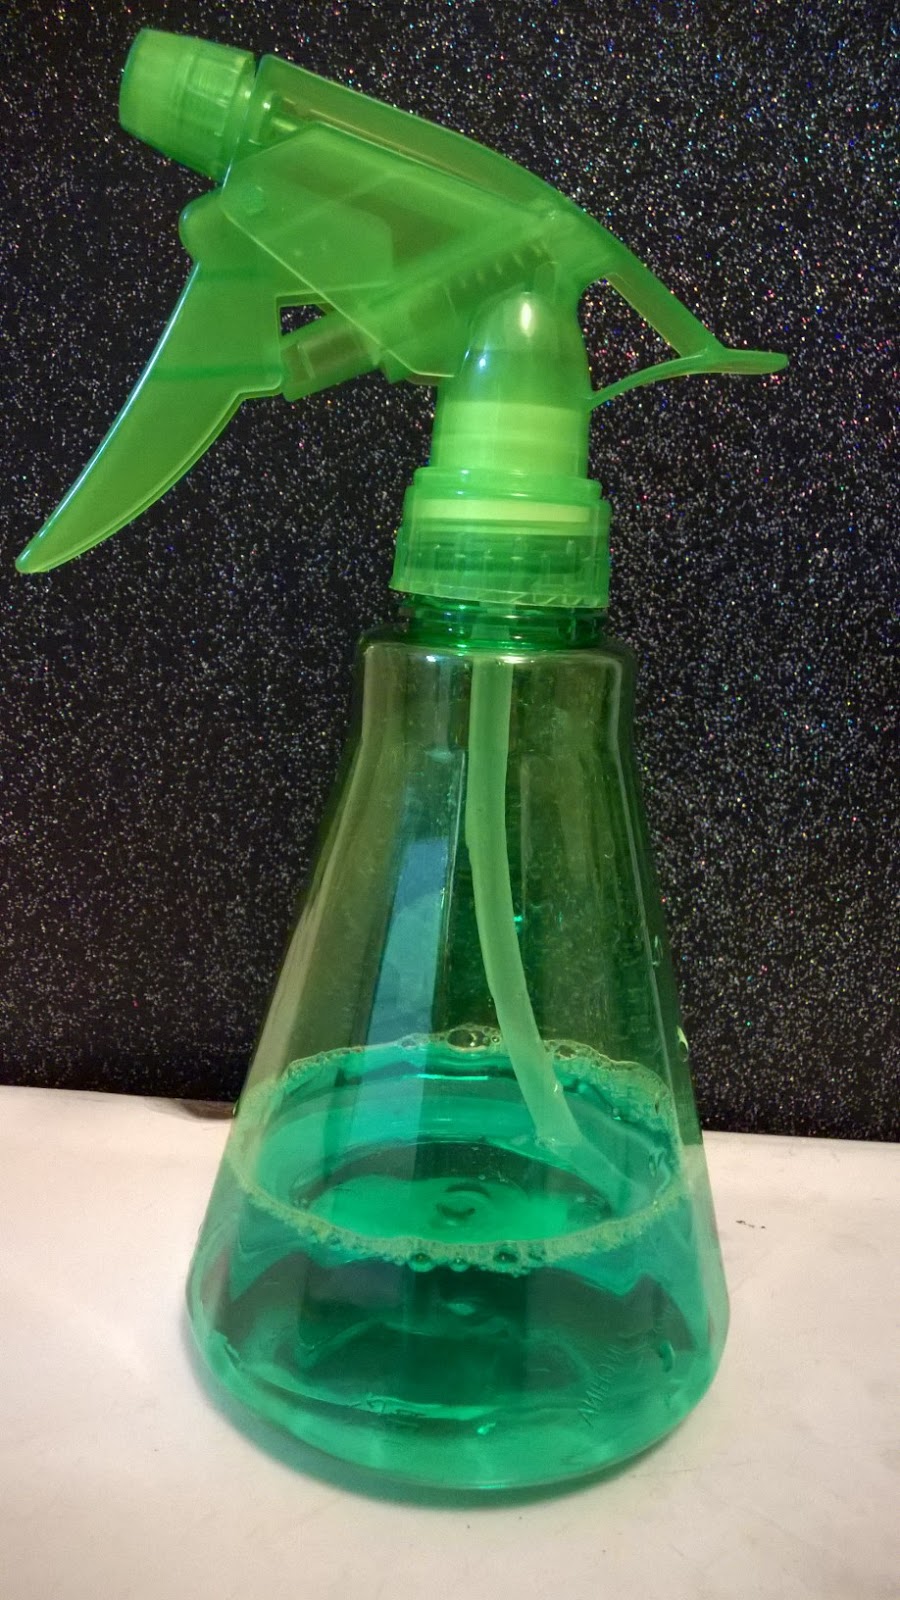
And there you have it. A simple DIY Cat Urine Remover that is super easy to make and use. The mouthwash will kill bacteria and leave a pleasant smell. As you can see I used mint, because that is what my local Dollar Tree had in stock.

How do you deal with the mess and smell when an accident happens? 


A Clean Home Challenge: Crock Pot Cleaning

I love my crock pot. I use it often! Several times a week I prepare something fantastic in my beloved crock pot. With a new baby I don't know how I would manage to prepare dinner without it. The last time I put my favorite small appliance to use I realized the interior was looking pretty funky and I made a note to clean it.


Now, how does one go about cleaning a crock pot? I saw a lot of suggestions online, from using a general cleaner, to using oxi clean, brillo pads and so on. I thought there had to be a less expensive way to maintain my crock pot so I kept searching. Someone suggested using a baking soda paste and I was anxious to try it. I had a box of baking soda in my pantry and the idea of cleaning without a harsh chemical really appealed to me.

This is what my crock pot looked like before I cleaned it.


I made a paste of 3 tablespoons of baking soda to 1 teaspoon of water.


                     Then I rubbed the paste into the base of the crock pot.

               Let this sit for about 20 minutes, then use a damp rag to wipe the baking soda off.


The baking soda scrubbed much of the dingy baked on mess out of the crock pot easily.

While the crock pot wasn't restored to its brand new splendor, it sure looked a lot better!


If you have very stubborn stains after the baking soda scrub you can apply dish soap to the stubborn baked on spots and let it set overnight. The dish soap will break up the baked on residue and will wipe off easily with a damp towel. My crock pot wasn't that bad so I didn't require this last step, but I feel confident it would work because If I have a baked on mess on any dishes this is the method I use. 

If your crock pot needs a good cleaning, this method will work well for you and it will only cost you pennies.
How do you keep your crock pot clean?

DIY Organizer (under $11 and 11 minutes)

Storage space in my home is an issue. We have 2 real closets. One is packed tightly with clothes, dvds and a filing cabinet. The other contains clothes the kids aren't ready to wear size wise, an embarrassing stack of magazines I haven't got around to reading,piles and piles of kids books that won't fit in the bookshelves  and extra diapers. In 2 of our bedrooms we have a shelf with a clothes rack attached to it. (It is not the same as having a closet!)

Now imagine your home with very limited closet space. Where would you store... anything/everything?


I created something that works well with small toys, odds and ends or anything that you might store in a small cubby. I purchased round plastic baskets from Dollar Tree. I went with what they had at the time, but have since seen larger round baskets and mid size square baskets that would work better for this project.

To create one organizer with 10 cubbies you will need:
10 plastic baskets
zip-tie closures
a hole punch


Start with 2 baskets. Line the handles up and secure the baskets together with a zip tie.


Continue adding baskets until you have 4 in a row on the bottom.


Now comes the tricky part. You will need to place your next 3 baskets on top of the 4 that are attached to each other. Get an idea of where you will connect the bottom row of 4 and this new row of 3. You can mark with a permanent marker if this helps. You will take your hole punch and place a hole on the top of the baskets on the bottom row and the bottom of the baskets on the new row. Then attach them with a zip tie.

Repeat with the next row of 2 baskets.

Repeat with the next row of 1 basket.

And this is what you have:


Please excuse my mess. 


To finish this project simply snip the tails of the zip ties.

This organizer was so easy to make. It was completed in under 11 minutes and I spent under $11 to make it.
Use this up against a wall for support.

I made 2 of these. One I use to store baby clothes. This made it so easy for my husband to help with the baby. I have a bin of onesies, pajamas, long sleeve tops, pants, dresses, socks & shoes, headbands and etc, baby blankets and jackets. Now he can see at a glance what the options are without messing up drawers.

The other I use as my own storage solution. Here is an embarrassing confession. I used to have a plastic box intended for under the bed storage of blankets that I just stashed random stuff in. One day I realized I had filled the box up... with basically junk. Samples I got in the mail, nail files, stationary... yeah just junk. Now I have a bin for headbands, a bin for lotion, a bin for stationary and so on.

I had intended to use these to get my son organized. But, I ended up going another route, which you can check out in a future post.

A Clean Home Challenge 2: The Drawer Declutter


It seems like I woke up one morning and found that my serving utensils like spoons, spatulas and ladles had multiplied. They occupied a large drawer in my kitchen and I could no longer get that darned drawer to close... and it had migrated to a second drawer of kitchen mess. This was driving me crazy.


Yeah... it was really out of control.  I found a ton of flat out junk shoved in these drawers. Take Out Silver wear and Straws, note pads, treat bags, notes and half completed grocery lists to name a few.

The only way to really tackle any project is to just dig in to it. So I pulled everything out the drawers. I found kitchen knives that should not have been in these drawers and packaged them for Goodwill. I found measuring cups with the measurements worn off and unreadable. Those went to the Goodwill box as well.  Old spoons were destined to be discarded as well as several spatulas.

When the drawers were empty I disinfected them.

Next I pulled a bean crock out of my cupboards. I have had this item for 11 years or so... I baked in it one time, and used it to store left overs a few times. It was really one of those things that I don't need but don't want to part with. So it takes up cabinet space and is never used.

Realizing the crock is gorgeous I decided it would be better used as a spoon/spatula holder where it could be functional and admired.

The items I opted to keep were a perfect fit in the crock! I have 2 empty drawers now and I can grab whatever spoon or spatula I might need without having to rummage through a messy drawer to find it.


 I was really impressed with the results of this challenge. My kitchen looks better without 2 drawers that won't close. I reduced the amount of clutter in the kitchen drawers and I put a lovely item to use in my kitchen, and I disinfected 2 drawers.

This drawer declutter was a project that needed to be completed maybe 6 weeks ago in all honesty. It only took me about 8 minutes from start to finish and it didn't cost any money to complete.

I have 2 other drawers awaiting a declutter. One holds hand towels and napkins, one holds dishtowels. I am going to reduce my towels/napkins by selecting any that are stained, frayed or in another state of disarray to get rid of.  I hope to reduce the napkins/towels by half. My family should be able to survive with 7 hand towels in the kitchen instead of 15. We don't need 5 sets of cloth napkins for the 4 of us. This will hopefully free up another drawer for a total of 3 drawers to use in another way.

My 3rd Challenge for A Clean Home involves a DIY organizer that will cost you under $11 to complete. If you have kids you won't want to miss it!

I would love to challenge you to clean out a drawer or two in your kitchen. I would be thrilled to have to you leave a comment and tell me about your kitchen drawer declutter project.


A Clean Home Challenge 1 : 50 items

The holidays have come and gone, and while Christmas is a ton of fun for almost everyone, the aftermath of the holidays can be discouraging and overwhelming. After Santa paid a visit to my children and the gifts had been exchanged with friends and family I stood in horror looking at the disaster Christmas left in its wake. New toys and clothes were piled upon old toys and clothes...boxes and bags littered just about every surface. Scraps of paper were scattered here and there. Then we get into the bedrooms, where it was every bit as bad, except figure in that laundry, and random things like a new booster seat, were stashed in those rooms at the last minute before the family arrived to celebrate.


Just a few weeks ago I went on a cleaning spree. If you follow my Dear Weary Mom series you might remember the box of burdens post. I filled a huge box up and took it to Goodwill and Community Action. Despite that massive decluttering, my house needed another overhaul to accommodate Christmas.

When I really thought about it, my house needs another round of decluttering, a deep clean and a massive organizational effort. My family of 4 with 2 dogs resides in a very small house, only about 890 square feet. We have outgrown this house to say the least, but we are trying to stay here for at least 6 months. To last another 6 months in such a small space with a growing family is going to be difficult if I don't find ways to make the space we do have work for us.

With this in mind I have been collecting ideas, sketching plans and making lists of projects that I want to tackle to whip my home into shape.

Each post in the series A Clean Home will feature an inexpensive way you can clean or organize something in your home. The first Challenge I gave to myself was to  select 50 Items from my home to donate to Goodwill. I gave myself 2 days to gather my 50 items.

Among the 50 items I had 6 towels, 2 top sheets, 3 blankets, 5 pairs of socks, 8 toys from my sons room, 2 sleepers of Harper's. 5 kitchen knives, a cheese grater, a reusable bag, a measuring cup, dog grooming products, an outgrown coat and pair of bibs, baby shoes, 3 handbags, 2 clutches, 2 hats, a book, a few magazines, 2 bottles of shampoo I didn't like, a scarf , Christmas lights and a few t shirts. I exceeded my goal of 50 items and filled 2 medium size boxes. I still plan to sort through stuffed animals and pull 5 out for a donation to Goodwill, and I suspect there are a few more towels that won't make the cut for keeping, both bath and hand towels.

Now that I have reduced the amount of clutter in my house it is time to start organizing. I hope you will keep coming back to read more about my challenges in this series. Next time, we will talk about a very messy drawer in my house and how I plan to get it under control.