Showing posts sorted by relevance for query craft. Sort by date Show all posts

Making Traffic Lights Preschool Craft


My son and I have a routine. In the morning he has free time, he can play as he like or watch cartoons. He can color or grab a stack of books to look at. While he has free time I work. At 10 a.m. He gets his notice that we will clean the living room together when am finished cleaning the kitchen. 

Roo takes advantage of that notice and plays as hard as he can while I work in the kitchen. If it appears that he is having a especially good time I might dash in to make beds and start a load of laundry so that he can extend his fun.

When the chores have been taken care of Roo and I pick up all of the evidence of his morning fun. 
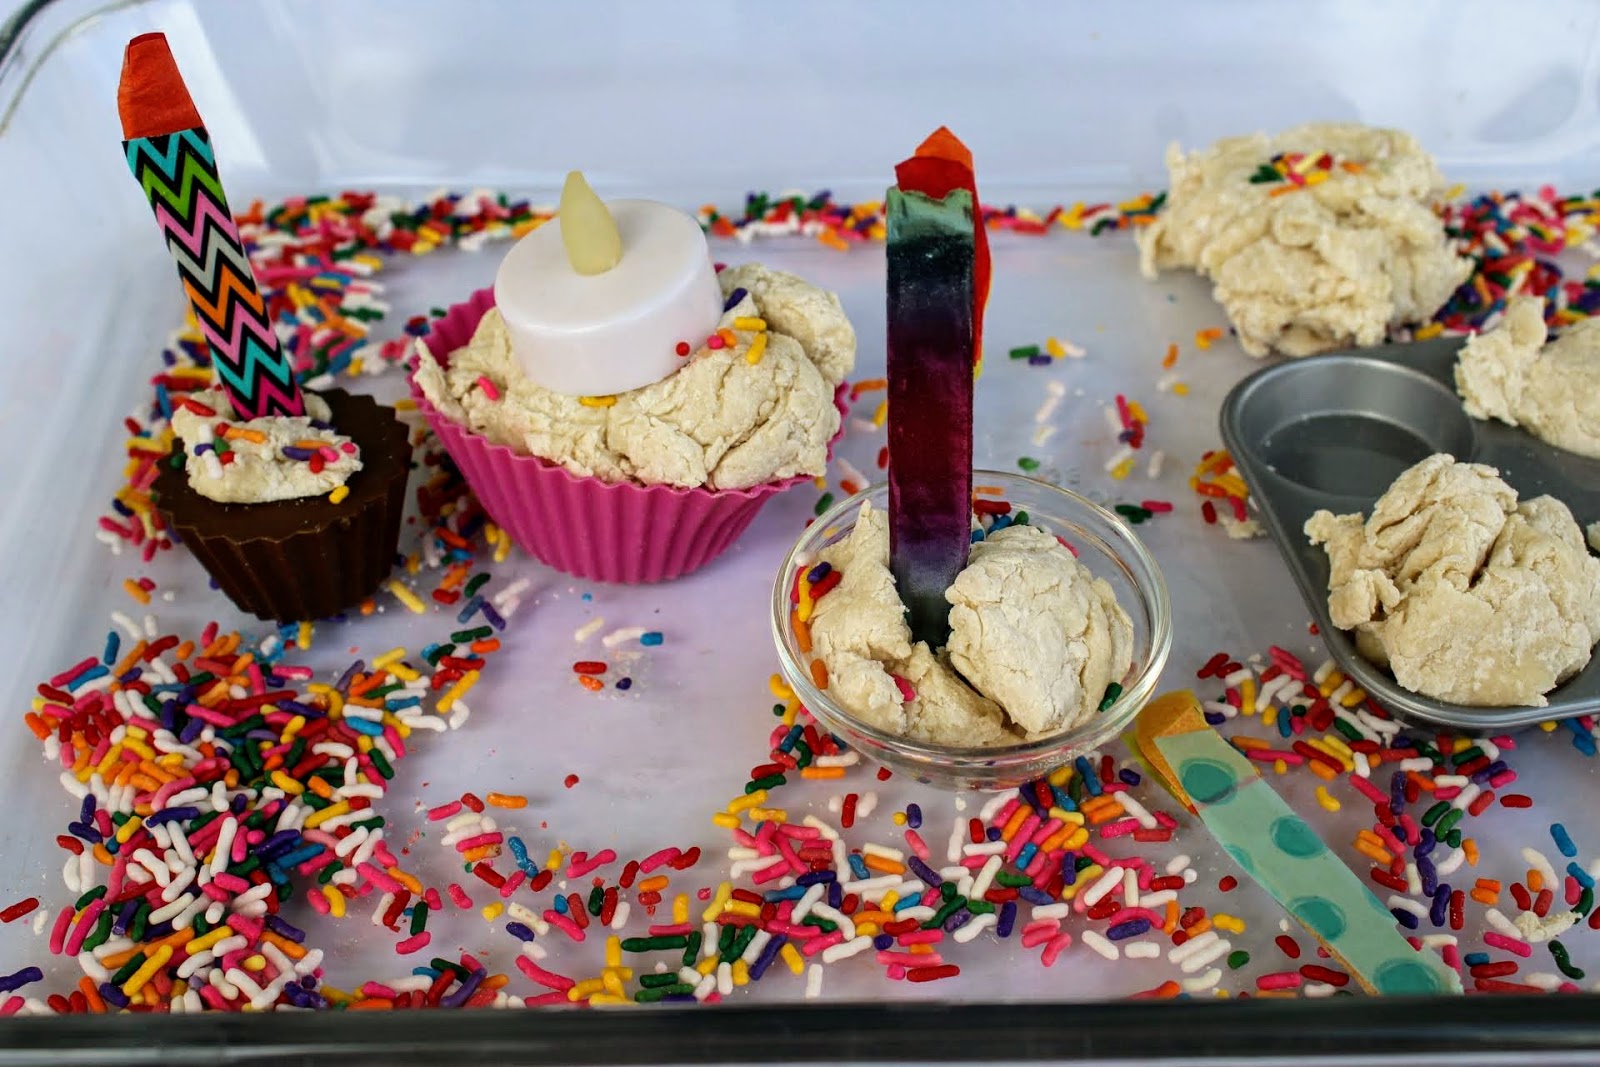
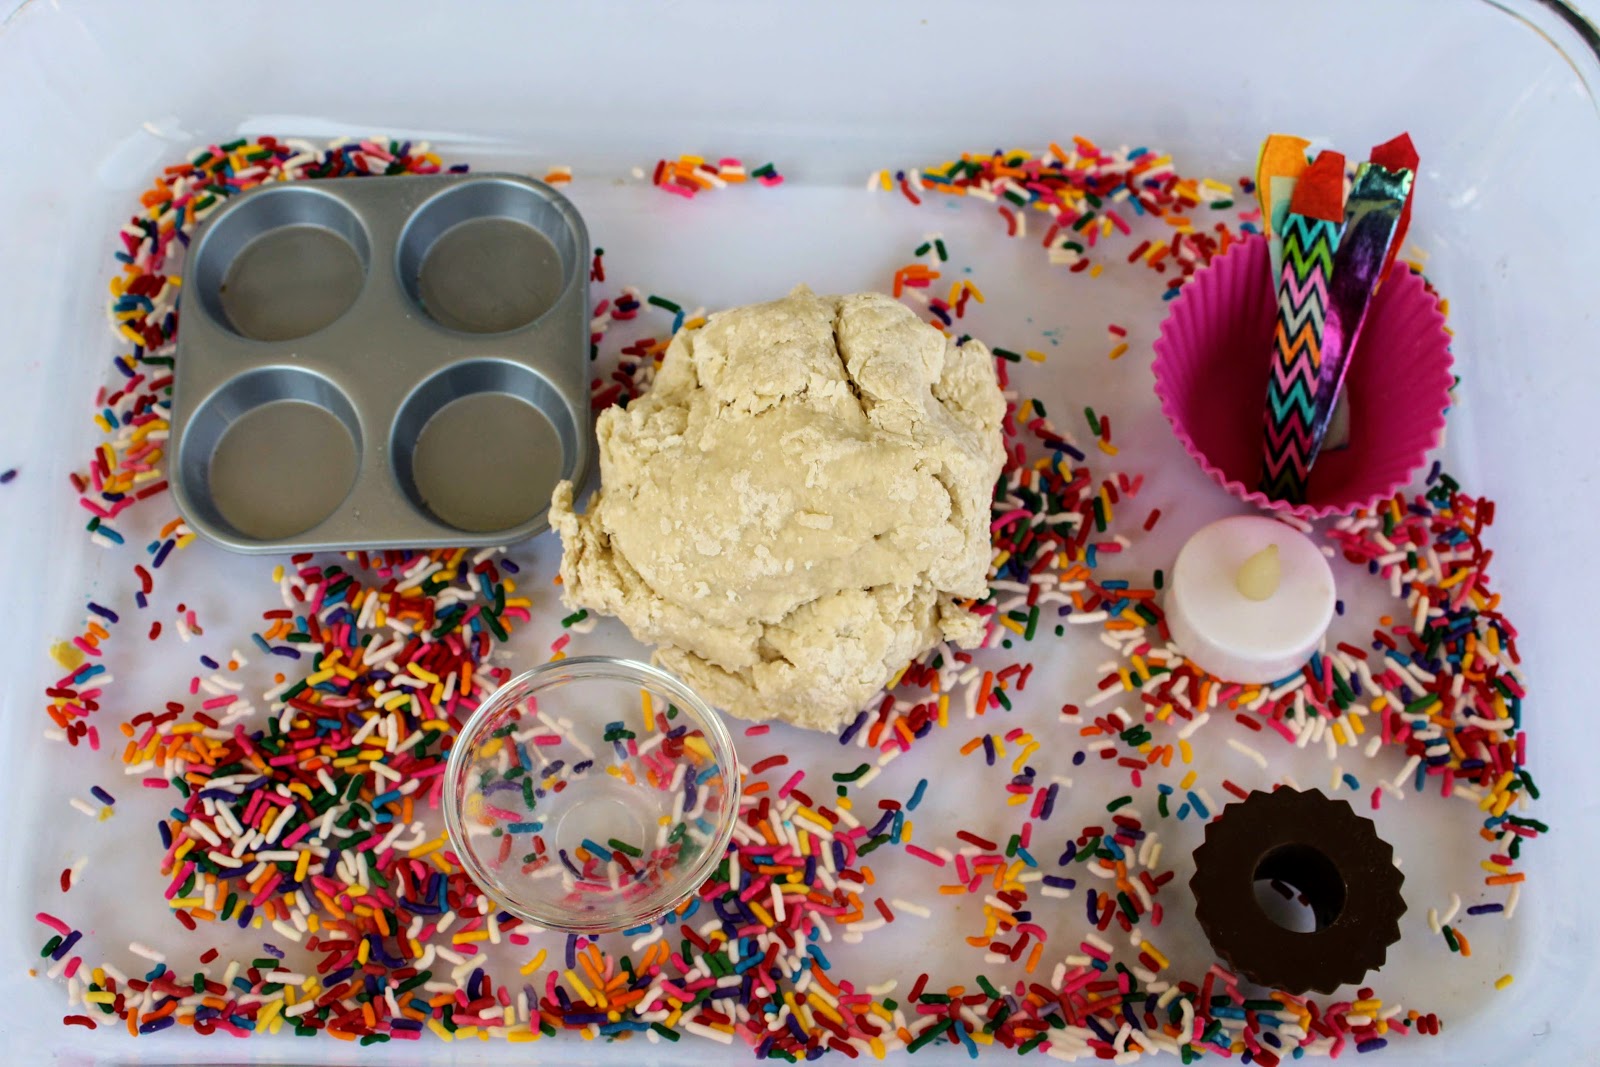
When the blankets, pillows, toys and books have been put away and the carpet has been vacuumed it is craft time. Harper likes this part of the morning because it is her chance to get on the floor and roll around.


Each week I have 2 planned crafts and I offer Roo the chance to choose the other 3 activities for the week. Last week he told me he wanted to make a "red light". 

Hmmm. That is easy peasy! Even I can manage this one without incident!

To begin the craft we got out the disposable plates I keep in our craft supplies for projects like this one, and 4 sheets of construction paper in red, yellow, green and black. I grabbed a tube of glue and we sat down to create.

I had Roo help me tear the paper into small pieces. I thought this was a good way to work on fine motor skills and develop his pencil grip.


Next I tore the black paper into 2 strips.

I made 3 circles of glue on each paper.


I demonstrated what I wanted Roo to do. Place the little bits of paper onto the glue. At first he wasn't sure why I wanted to keep the colors separate. 

But then he saw what we were doing! How cool! We had 2 "red lights" and he was ready to play. There was no waiting for the glue to dry!

And yes, that is a spider riding a motorcycle on the tracks!

2 "red lights" were not enough. With big blue eyes Roo begged "More Red Lights Please!" So we made another one with bits of paper on one of the plates we had used earlier.

I had a happy little boy who was very interested in daily craft time and who found inspiration in our craft to jump into a serious session of imaginative play. I felt accomplished that we had a smooth craft session, we worked on fine motor skills with a high interest creation. 


I am thinking of a better option for red lights for Roo. Maybe painting them on clothes pins so he could set them up by the train tracks. What do you think? What would you try?

Ladybug Craft

Paper, glue and a few fun craft eyes come together to create a cute ladybug craft your older kids will LOVE to make!


Partner, sponsored or affiliate links may be included!

I made these with Rolf, who is 8. We quickly discovered that a hot glue gun is a necessity for creating these!  

Otherwise, the supplies are quite common, making these perfect for a quick afternoon craft, or a way to make something worth bugging out over on a day that is maybe rainy, or too hot to get out and play! 

Supplies
Directions

  • Cut a circle in the size of your choice from the red paper.  With the leftover paper, cut 4 strips that are about 1" longer than the circle you just made. This will be your body.
  • Fold all of the ends of red strips over, then begin gluing them on the red circle. Glue the "tabs" you just created by folding ends. As you can see, I started with one strip going across the circle, then I continued until the strips had formed a shell.
  • Cut an oval-ish shape from the black paper, glue this under the shell you just made to form the head.
  • Add 2 craft eyes to the head.
  • With a marker, carefully add black dots.
  • Allow to dry, and you have a fun 3D Ladybug!


3d Paper Ladybug

You might also love this other fun 3D Ladybug that we made a while ago!
If you are looking for even more buggy fun, we made ladybug valentine cards . Don't forget about our B is for Butterfly craft and coloring page too!

Easy Xylophone Craft

It is summer, my kids would live in the pool or perched on a swing, with possible breaks for snacks, lemonade and some screen time if given the opportunity. While I am a firm believer in the importance of play, I am a firm believer in learning year round and brushing up on the things that kids already know too.


One afternoon we were talking about instruments and toying with a few drums, triangles, and maracas when I mentioned a xylophone. My son couldn't picture what I was explaining so I decided to make a quick craft with the kids to see if it would refresh his memory without grabbing the ipad to give him a visualization.


This craft took about 4 minutes for my speedy little boy. It would have taken half of that time had I not nudged him to color the sticks completely.


You will need
6 craft sticks
markers
glue


As you can see I placed 2 of the craft sticks at vertical slants almost mimicking a V

I had Roo color 4 of the sticks in whatever colors he liked


Next we placed the sticks horizontally on the vertical sticks, like rungs on a ladder, securing with 2 beads of white glue per stick

By the time we had placed 3 of the 4 sticks on the frame, Roo remembered what a xylophone was. This was easy to make and the kids had fun banging on the craft stick xylophone. I enjoyed that part too because it was quieter than the real deal.


This was also a great way to discuss colors, shapes, ladders and how one might use a ladder as well as how rungs are like steps in a trickier way. I loved that so much conversation happened around one simple project, involving 6 craft sticks!


Don't miss this fun paper sandwich craft for kids!


Easy Butterfly Craft


This easy butterfly craft is perfect for toddlers and preschoolers. It makes good use of common household items for a fun craft that really takes flight!


This post contains affiliate links.

Harper and I love to craft together! We try to make something every day. It is good for her development as a preschooler, and it is a great way to spend time together, expressing creativity.

This is one we came up with simple supplies that we had at home. I love crafts that don't need special supplies! This easy butterfly craft is a great example of gathering inspiration from the world around you.


To make this cute craft you will need:
Scissors
A Paper Plate
Glue
Paint {We used Kwik Stix }
An empty toilet paper roll
2 squiggly eyes

Have your child cut the paper plate to become wings. Use scissors your child is comfortable with. They are never too young to develop scissor skills which are so super important when it comes time for school!

Next paint the toilet paper roll as a body. We used Kwik Stix because they are easy to handle and clean up. They are also super fast drying!

Paint the paper plate.

Glue the painted toilet paper roll in the center.

Add the eyes and paint on a small smile.


This was easy and fun to make with Harper. She liked getting to cut the wings and paint. I helped with the hearts at her request.

You might also enjoy this easy paper plate lion craft.

Lemonade Craft for Preschoolers

This craft is perfect for a play time pause on a hot summer day. Your preschooler will have a lot of fun creating a craft to go with a glass of lemonade!

Summer is here! The kids are enjoying the chance to play at every park known to man, soak up the sun and splash in the pool! My husband and I are trying to savor these sweet and relaxed moments while they last. We know all too well that the hustle and bustle will begin soon enough as the kids head off to school and he resumes his post as the local school librarian.


Last week I squeezed lemons for our first fresh pitcher of lemonade of the summer. My kids were quite impressed with this. I love the magic of the early years! My toddler daughter thought it was "magic!" My kindergartner thought I was kidding when I told him the lemons would turn into his favorite drink.

After the fruit was squeezed and the lemonade was chilling in the fridge, I decided now was the perfect time to pull out a craft to go with a cold drink. I quickly gathered supplies and had this ready to assemble in under 5 minutes.

Supplies needed:
2 pieces of construction paper in the shape of a glass
1/2 a sheet of white copy paper, cut into cubes
2 strips of paper cut to look like a straw
One cupcake liner, yellow, cut in half
A glue stick

When I called the kids for their snack and lemonade, I had laid out the supplies needed at their place of seating. I asked them to take a long look at their lemonade glasses and notice how the drink looked in the glass.

Next I asked the kids to glue ice cubes on their glasses.
They both thought 3 ice cubes were the ideal amount.
Then I had the kids glue on the half cupcake liner for their lemon.
Novel. Lemons are food, so this had both of my mini foodies intrigued.
Finally, I instructed them to include their straw shaped paper.


This was such an easy craft for the kids. It kept them entertained for long enough to cool off for a moment before rushing back out to play and it gave them a chance to try freshly squeezed lemonade in a calm and relaxed setting. With growing a growing boy, it seems like he gulps and dashes without ever really tasting anything... {wink}. The kids also concentrated on what their beverage looked like so they could create their craft for thinking skills in early learners.

It was cute to see the kids interpretation of what a glass of lemonade looks like too.

You might also enjoy this Paper Cookie Craft.


Ribbon Tree Ornament Craft

I am so excited to decorate my trees this year! I have already been playing around with some cute handmade ornament ideas!


Today I have a really economical and adorable DIY ornament that I know you are going to want to make! It costs just about $2 to make a dozen of these! They come together so easily that making a dozen is no problem at all!

This post contains affiliate links or sponsored content.

These are cute for decorating a tree, or adding a little something to a wrapped gift!


To make these ribbon tree ornaments I used:

  • A spool of ribbon I bought at Walmart for 97 cents
  • Chunky Craft Sticks
  • Glue
  • Scissors
  • Pencil
Directions:
  • Begin by laying 4 craft sticks together, draw the outline of a tree on them.
  • Cut the sticks to shape the tree.
  • Cut the tiny top triangle from the scraps to avoid wasting a whole craft stick!
  • Cut small bits of ribbon to cover the tree shapes. Glue them on and trim.


  •  Now glue the ribbon covered craft sticks onto one more craft stick.


  • After gluing all the sections on to the base craft stick, flip it over and add a small loop of ribbon so that you can hang it!


This is a fun project to do with the older kids, and these are really pretty lovely in their simplicity! I have a short video of the process to share with you. I would love it if you gave it a thumbs up!


I can't wait to hear what you have planned for holiday crafting!

You might also like these cute DIY Mickey Ornaments!

3 D Ladybug Craft

3d Paper Ladybugs come together with the most basic of supplies to create a craft so cute your heart might flutter a bit.


This post contains affiliate links. If you make a purchase I earn a small commission at no cost to you.

This 3 D Paper Lady Bug Craft  is perfect for kids of all ages. It is so easy, that even the little ones can help make these! With red and black paper and some glue you too can create these. The cute googly eyes are optional. If you have them, of course, use them. If not, create eyes with paint, paper, buttons, or something else. 


The supplies couldn't be more basic. Glue, 2 circles of red paper, in any size you like, and black paper, and a background are all that is required really. I used a hole punch to make circles easily and I had 2 pink googly eyes, so I used them!

Cut your circles together so they are the same size. 
Then fold them in half.


Glue one side of the circle to your background paper.
Line the other folded circle up and glue it on the paper.
Cut a teardrop shape from the black paper and affix this as the head of the 3D Ladybug.


Create and affix black dots with a hole punch, or a marker.
Then attach the eyes
Now you have a cute and super easy 3d paper ladybug  craft!


You Might Like
Toddler Tulip Craft
Easy Mermaid Tail Craft

Birthday Cake Sensory Bin

This easy birthday cake sensory bin is perfect for any little aspiring chef! Made with homemade playdough and complete with loads of sprinkles and fake candles, this bin keeps preschoolers happily baking up something good!

birthday cake play doh sensory bin

After many years of mothering, I have learned that it is a good idea to have an activity planned for the afternoon. I usually have something set up for Harp like a paper craft or something she can get creative with, but lately we have been LOVING sensory bins

birthday cake play doh sensory activity


Harper loves to bake, so the idea for this birthday cake sensory bin came around. I thought she would love the chance to play with sprinkles, and I was right. When she came home from preschool, she was ready to get her hands into this bin! I have a feeling your little one will want to do the same should you recreate this project.


This was easy to assemble and super economical. You likely have all of the supplies on hand!

sprinkles in hand


This post contains affiliate links. If you make a purchase I will earn a small commission at no cost to you.

birthday sensory bin


Supplies:
1/2 cup of shampoo (any kind will do, including something from the dollar store!)
 2 tablespoons of water
1 cup of flour
Silicone cupcake molds, small cake pans, small dishes for forming cakes. Your childs play food collection is a great place to find materials to use in this bin.
Washi Tape
A battery operated votive candle
Tissue Paper in orange, yellow or red
A baking dish or a bin with a lid


To make the birthday cake dough:
Add one cup of flour, 2 tablespoons of water and 1/2 cup of shampoo together in a medium bowl. 


Begin to stir, as the ingredients start to bind together, finishing mixing with your hands.
 If the dough feels sticky, you will add a little more flour, no more than 1/4 cup.


Test for stickiness. If the dough is still sticky, add a little more flour and continue to mix until it doesn't stick to your hands.


To make fake candles:
You will need a length of washi tape that can cover a craft stick on both sides.


Allow the tape to slightly overlap the craft stick and place small squares of tissue paper on the top of the stick. I layered orange and yellow tissue paper to resemble a flame.
Fold the tape up to cover the other side of the craft stick.


Trim the edges of the tape on the sides of the craft stick.
Trim your tissue paper to resemble a flame.


To assemble the birthday cake activity bin:
Pour a bottle of sprinkles in the bottom of the dish or storage container you plan to use.
Add the dough.
Add small dishes like play food dishes, silicone cupcake molds, small baking dishes.
Add the fake candles and a battery operated votive candle, if you have one.


Invite your child to explore the activity. They will form cakes, decorate with sprinkles and add candles to serve birthday cake!

birthday cake sensory play

DIY Photo Puzzle

My kids and I are really into crafting right now. On cold, rainy and yucky days like we have been having a lot of in Ohio, there is nothing better than digging into my craft cabinet and pulling out a few projects to entertain us when the weather is keeping us inside.

On one particular day, we ended up with a stack of duplicate photos and I knew that these should be put to good use instead of sitting in a photo box or ending up in the trash. After a few moments of careful consideration, I realized that a few craft sticks and some glue would take these double photos from miscellaneous junk into a treasure for the kids.

We came up with these DIY Photo Puzzles. We had so much fun gluing them together that we made a few to share with Grandparents and Daddy, as well as a stack for the kids to tinker with.

To make a DIY photo puzzle all you need is:

A photo
craft sticks
your favorite adhesive {we used glue sticks}
A utility knife

This project is so easy to make! All you need to do is:

Lay the picture side of the photo down and add glue to the back liberally.


Line up craft sticks across the back on the glued side of the picture.


Press firmly to allow the glue to bond to the craft sticks.

Flip the photo over

This step should be completed by an adult as utility knives are crazy sharp.

Carefully cut the photo between the sticks, continuing until the photo is cut into strips backed with a craft stick.

Allow the glue to dry.

Mix up the pieces and assemble the photo puzzle.

These are so much fun to give to people and they are a great challenge for my preschooler. My toddler finds them too difficult as of now, so we are going to make a few easier ones from cards we received over the 2015 holidays for her.

If you are looking for a last minute DIY gift idea or just a fun surprise for the kids, this one takes about 5 minutes tops to complete and is sure to bring a smile or two! Best of all, you likely have materials on hand to complete this project making it very frugal!


minions puppets

This super simple popsicle stick craft brings the fun of the minions to your craft time! These are great for book-markers or as the star of a dramatic play session!


There is nothing like a toy you make yourself! On a rainy day a little imagination can go a very long way. We made these DIY minions puppets on a whim and had so much fun playing with them! I know your kids will like them too! They came together in a few moments time and kept the kids entertained for at least an hour!  

To make this easy Minions Puppet Craft you will need:
craft sticks
Blue and Yellow Paint
Craft Eyes

Instructions:
Paint the bottom half of the craft sticks blue.
Paint the top half yellow.
Add an eye and here you have easy minions puppets!

If you have an idea for handmade puppets for toddlers and preschoolers I would love to hear about it in a comment. 


10+ Crafts for Chinese New Year

Chinese New Year is coming up on January 25th, and these fun crafts are perfect for creating with the kids to celebrate in style!


We love Chinese New Year because it happens in the winter, and it gives us something to celebrate and learn about at a pretty dull time of the year for us. My husband is down because I will naturally make something awesome for dinner like egg rolls or peanut butter chicken over fried rice.


This list has something for everyone; literally! From the cute and easy paper fortune cookie to a stunning mason jar lantern; there is something for every skill level in this collection! I can't wait to hear which is your favorite craft!


Mason Jar Lanterns by Mod Podge Rocks
Chinese New Year Tangrams by My Craftily Ever After
Paper Plate Chinese Lanterns by In the Playroom
Rooster Craft by Crafts n Coffee
Egg Carton Dragons by Happiness is Homemade
Homemade Chinese Gong by Kid World Citizen
Chinese Take Out Box Craft by Create Craft Love
Chinese New Year Shakers by In the Playroom
Chinese Dragon Puppets by Crafts n Coffee
Paper Fortune Cookies by Mad in Crafts

If you have a fun idea for Chinese New Year, I hope you will leave a comment to share it!


You might also like this paper fortune cookie craft.