Showing posts sorted by relevance for query craft. Sort by date Show all posts

10+ Crafts for Chinese New Year

Chinese New Year is coming up on January 25th, and these fun crafts are perfect for creating with the kids to celebrate in style!


We love Chinese New Year because it happens in the winter, and it gives us something to celebrate and learn about at a pretty dull time of the year for us. My husband is down because I will naturally make something awesome for dinner like egg rolls or peanut butter chicken over fried rice.


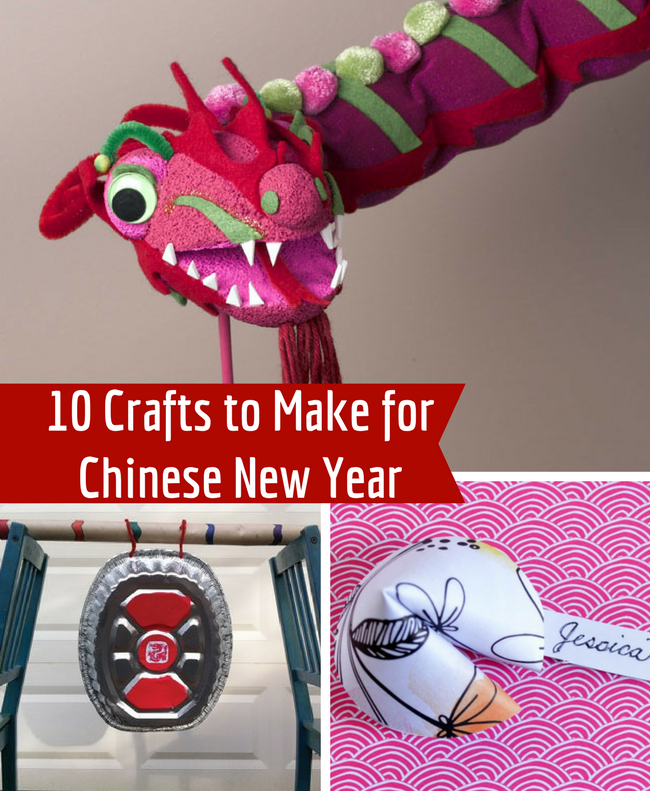
This list has something for everyone; literally! From the cute and easy paper fortune cookie to a stunning mason jar lantern; there is something for every skill level in this collection! I can't wait to hear which is your favorite craft!


Mason Jar Lanterns by Mod Podge Rocks
Chinese New Year Tangrams by My Craftily Ever After
Paper Plate Chinese Lanterns by In the Playroom
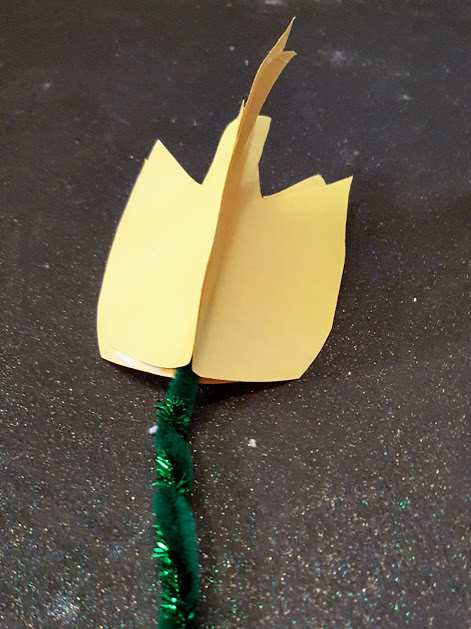
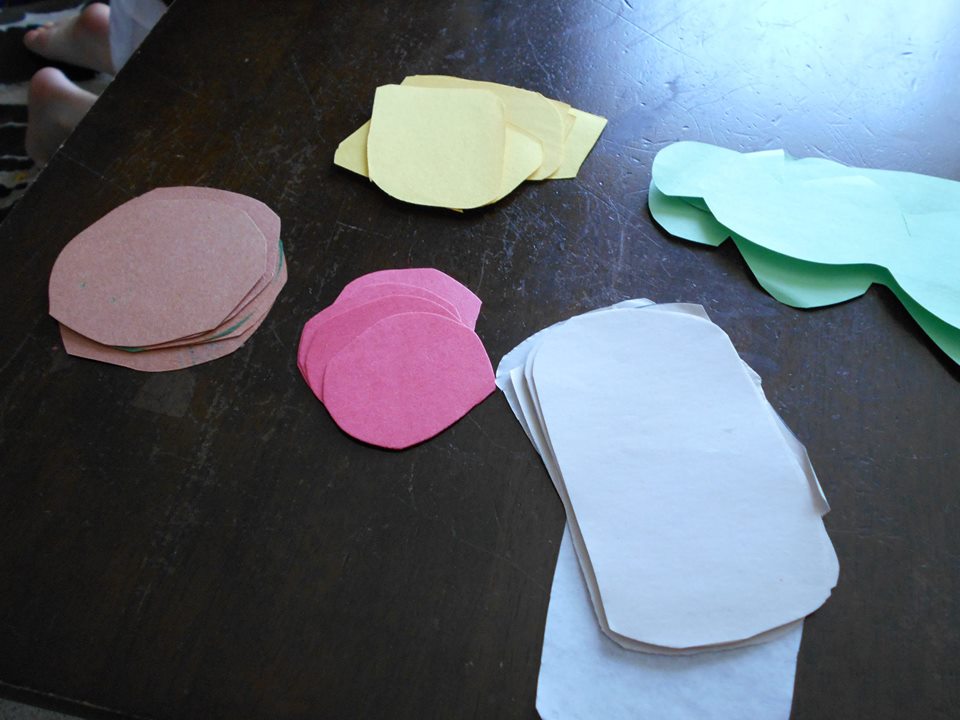
Rooster Craft by Crafts n Coffee
Egg Carton Dragons by Happiness is Homemade
Homemade Chinese Gong by Kid World Citizen
Chinese Take Out Box Craft by Create Craft Love
Chinese New Year Shakers by In the Playroom
Chinese Dragon Puppets by Crafts n Coffee
Paper Fortune Cookies by Mad in Crafts

If you have a fun idea for Chinese New Year, I hope you will leave a comment to share it!


You might also like this paper fortune cookie craft.


A is for Alligator Craft

Now that Harper is in preschool, our projects have become intentional. I want to make sure she is getting the support she needs to put all that she is learning to good use! We have been taking our time exploring the alphabet and having a lot of fun doing it too!


Today, I want to share a fun letter A craft with you that comes together in a matter of moments and takes a bite out of craft time and makes letter recognition a lot of fun for preschoolers!

This post includes partner links.

To make the A is for Alligator Craft you will need:

2 x 4" strips of green paper
1 x 2" strip of green paper
2 x 2" strips of white paper
1 googly eye
glue stick
scissors


Directions:

  1. With the 2x 4" strips  and 1 x 2" strip of green paper form your letter A and glue it in place.
  2. Cut teeth shapes in the 2 x 2" strips of white paper. 
  3. Glue the teeth on the legs of the A.
  4. Glue the googly eye on to the top of the letter A.


If you have a fun craft idea for the letter A I would love to hear about it in a comment!


Paper Plate Donut Craft for Kids

Paper Plate Donuts are a fun craft to make with the little ones! We paired this activity with the adorable children's book If You Give a Dog a Donut.


Harper and I love to get crafty together! We often pull out our Kwik Stix and paint together! She loves the freedom of painting without an anxious mom and I love offering her an outlet for her creativity.


We also love to read great stories together! So, on this day, we combined the fun of a craft using Kwik Stix with a favorite book to create paper plate donuts!


This craft is incredibly easy but offers so many options for creative expression in toddlers and preschoolers.
You can have the supplies ready in under 5 minutes for crafty fun with the kids.


Supplies
One Paper Plate per child
Kwik Stix
Pom Poms or small bits of paper to resemble sprinkles
Glue

Cut the center out of your paper plates.
Offer the kids the Kwik Stik, if you don't have any paint sticks, you can use markers or crayons.
After the paint has dried (it only takes 90 seconds) have the kids glue on pom poms or paper bits or sprinkles.

There you have some adorable and easy crafts to pair well with a fun book!

If you are making this craft you might want to grab my free Donut Coloring Page.


Fine Motor Counting Activity

This easy activity is perfect for practicing early math while developing fine motor skills.


Before I was a mom, I was a developmental psychology major. In my studies, I was intrigued by sensory and fine motor development then. Now that I am a mom, I love setting up activities for my own kids that give them hands on fun and learning opportunities without spending a ton of money to do it.


This fine motor counting activity is perfect for preschoolers.They can work on their fine motor skills while practicing counting. You might have all the materials at home to do this, making it fuss free and frugal. If not, I have included some affiliate links you can use to get your supplies.

Supplies:
Rainbow Bands
Large Craft Sticks
Sharpies


Directions:
Write numbers on large craft sticks with sharpies.
Use the largest craft sticks you can find to make the activity challenging.
Offer your child small rubber bands, like the rainbow loom style of bands and encourage your child to count the number of bands that need to go on each craft stick and slide that number of bands on to each craft stick.


If you are looking for more fine motor activities for kids, check out these posts:
Unicorn Fine Motor Bin
Play Doh Pre Writing

Paper Cookies A Preschool Food Craft

My kids are so cute! They always want to help in the kitchen! When I do dishes, my daughter Harper will push a chair into the kitchen and climb up to the sink. She will say "I can do this Mom!" or she will want to help make coffee and push all of the buttons. If there is cooking involved my son dashes in, ready to help! I welcome their company in the kitchen 90% of the time. But, as any mom will tell you, there are times when having small kids in the kitchen is not the best idea.

On those rare times, I feel bad to deny their help, so I came up with a few fun food crafts that the kids can make while I am occupied with a complicated recipe.  The first one we did as you might recall was a pizza craft. The kids had so much fun making pizzas! We have made several of these since the post!

Tonight I was frying chicken, a rare thing that I admit, I am not so great at. I didn't want the kids to get splashed with hot oil so I entertained them with a paper cookie craft. It was a huge hit!


This was incredibly easy for the kids to make, the materials were super simple making preparation a breeze for me, and best of all- this craft does not require anything special. Seriously, you are going to have the supplies in your house!


Materials Needed to Make Paper Cookies

Several Brown Paper Bags or brown or yellow construction paper
Glue
Sprinkles
A Paper Plate

Instructions

To begin, cut circle shapes in the brown bags or construction paper as your cookie base.
{I cut about 30 circles at a time so that we can do this craft multiple times}.


Place as many circle cookie shapes as you like on the paper plate.
Drizzle glue onto the circle 'cookies'
Decorate with sprinkles
Allow to dry.

This was so fun for the kids! We will be making these again soon I am sure! Do you like to do paper crafts with your kids? I would love to hear about your favorites!

Crafts Where the Quality of Your Water Matters

Water is important not only for your health but also in various processes. In its purest form, there are many uses for distilled water. You can improve water quality through systems like Brita reverse osmosis and use it for various applications. For instance, several crafts require you to use high-quality water. This article discusses some of these crafts in detail. 

Making Homemade Perfume

Perfume making is a craft that needs high-quality water. Instead of using a perfume that everyone else is using, you can make a unique one using different ingredients. Listed below are some of the materials you will need for this craft:

  • Distilled water

  • Fragrance oils, essential oils, flavor, and infused oils such as vanilla extracts

  • Glycerin


Other materials you will need include a decorated glass bottle to store the finished product (preferably colored glass), measuring spoons or cup, a glass jar for mixing the fragrance, wrapping paper or aluminum or wrapping paper, especially when using clear glass bottles, a funnel, dropper, pencil, and paper for writing your recipe. 

Advantages of Homemade Perfumes

There are several advantages of homemade perfumes; here are some of them:

  • They do not contain ingredients grown with toxins, pesticides, or chemicals, leading to environmental damage and skin sensitivity. 

  • By using natural and essential oils to make homemade perfume, you create emotional and physical healing properties such as mood-lifting, relaxing, energy-enhancing, and calming. 

  • Compared to perfumes with synthetic properties, homemade perfumes are not tested on animals. The ingredients in mass-manufactured perfumes include musk and phthalates, which can cause harm to animals. 

  • Non-natural fragrances mask the wearer's skin, while homemade ones create a more individual and personal scent. 

Canning Fresh Produce

This is another craft that needs high-quality water. By preserving food, you encourage certain bacteria to crowd out harmful bacteria. Preserving food also means freezing time to prevent it from going bad. Canning is one of the most reliable methods of preserving food. This method relies on distilled water for the best results, and you can buy distilled water online which makes this a lot easier.
 

The simplest method of canning is water bath canning, where you fill jars with acidic foods such as cucumbers, berries, or tomatoes mixed with vinegar. Cover them in a pan of distilled water until a seal forms under the lid. This process forces air out of the food and then out of the jar, creating a vacuum in the acidic environment. By doing so, the harmful bacteria will not survive. 

Water bath canning can also create several delicious foods such as jellies, jams, pickles, and whole tomatoes. If you have advanced equipment, you can try out pressure canning. Even though this procedure requires specialized equipment and more skills, it can unlock a wide range of flavors and food options. Keep in mind that the success of this process comes down to minor details like the quality of water you are using — always ensure it is distilled! 

Making Cosmetics

Quality water is also needed in making cosmetics. In this craft, water plays a very important role. Given that water can dissolve the highest number of solutes, it can dissolve most ingredients used in making cosmetic products. This makes distilled water an essential ingredient in making cosmetics, from shaving creams to shampoo.

Even in the mass manufacturing of these products, pure water is needed. This is because the presence of unwanted particles like magnesium and sodium can interfere with the precise and delicate production of cosmetic products. Distilled water doesn't contain any impurities, making it perfect for use in the production of cosmetics. Furthermore, since cosmetic products are mostly used on the skin, pure water is the most reliable, as it does not contain any chemical that can cause irritation.

Making Fun-Shaped Ice Cubes

This craft needs water without any impurities. Distilled water can make shiny and clear ice cubes in less time compared to contaminated water. The process of making ice at home is simple. Start by filling your decorative shapes with distilled water. Then, stick it in a freezer and wait for several hours.

Releasing the ice is not complicated either. Take out the ice shapes from the freezer, twisting or spinning slightly to allow the fun shapes to pop out. This will get you perfect fun shapes ready for consumption! It is important to keep in mind that ice in any form should only be made with distilled water. Anything other than that could result in poor-quality ice or impede on the flavor of your preferred beverage.

Finally

Several crafts use distilled water. This article has discussed some of them and how distilled water is used. You can try out any of these crafts at home!


DIY Barbie Serving Tray

My daughter is really into all things Barbie. So I made her this cute little rustic serving tray for her Dreamhouse play sessions. It took me less than 5 minutes and is pretty cute and you can personalize it if you wish!


We have all but given up on Barbie accessories. My kids lose them, the dog chews them and it seems like a big waste of money. I won't buy any more, but I will DIY some!


 I made this Rustic Barbie Serving Tray happen in moments with 3 supplies. It is pretty cute and it cost me $0 to make.


Supplies

6 small craft sticks 
Scissors
Glue Gun


Directions

Glue 3 craft sticks together
Trim the rounded edges off of 3 craft sticks then glue 2 of them to the longest sides of the base.
Cut the remaining craft stick in half
Glue this to the other ends


 Now you have a rustic serving tray for Barbie and her friends. Can you believe how easy that was?

We are already planning to make a version of this with taller sides to flip over as a coffee table for Barbie. You can paint the serving tray, or cover it with washi tape for a unique look if your daughter isn't into Farmhouse style decor yet.

Find all of my craft stick projects here

Handprint Fish Puppets

Monster Handprint Puppets


Easy Paper Apple Craft

Every day, my little girls says, "Let's make a craft!" I love her enthusiasm and always encourage activities we can do together. On this particular day, we were anxious to get into some fall themed crafts, and we are always super excited to kick off fall with the harvesting of apples!

This craft was so incredibly fun! It was a bit of a challenge for my almost 4 year old, but we worked together to get it right.


You will need:
A square of heavy white paper {Ours was about 6'' x6''
A piece of green, red or yellow construction paper
School Glue
A tiny strip of brown paper for the stem


To begin we made thin strips of green paper that were 4 inches longer than the square of paper
Next we began folding those strips of green paper so we had 2 folded edges per strip
We glued these on the white paper
Working in a circle we kept gluing both sides of the strips on to the square, being careful to not disturb the other strips of paper
At the end, we added a tiny stem to the top.


We liked this apple craft because it was challenging, a good exercise in patience for both Harp and I. It was also really cute when it was finished! This was a fun craft to follow up with apple slices as a snack!


3D Paper Tulip Craft

This easy craft is perfect for spring! Requiring simple supplies, this 3 d tulip craft comes together in a matter of moments to create a sweet craft for the kids!


This craft comes together super fast to create a cute 3 d project that is perfect for spring! These tulips are pretty in any color! So, feel free to use a different color than yellow if that is what you like!

We made these on a rainy day to get crafty and pass the time indoors. We shared these with special friends to brighten their day too! How fun right?!
You will need:
3 sheets of yellow paper
school glue
green pipe cleaner
scissors

To begin, fold 3 sheets of paper in half. 
Draw your tulip shape on half of the paper, then cut that
Glue on half on to a second half, then glue the third sheet.
Stick your pipe cleaner in the center of the flower and secure with extra glue.

I think a bouquet of these would be a fun way to add a touch of spring to your decor! Stick them in a jar or vase for flowers that won't wilt!


You might also like these crafts:
Toddler Tulip Art
10 Spring Flower Crafts


Fine Motor Counting Activity

This activity is perfect for small hands. It combines counting and fine motor work for a fun, hands on approach to learning. This introduction to math is perfect for preschoolers. Best of all, you can get everything you need to set this up at Dollar Tree.


Little hands love pinching, so this activity is perfect for making math fun while engaging fine motor skills! My kids both loved this early introduction to counting when they were smaller, and I often pull this activity out when we have little guests in our house who need something to do. This is the ultimate boredom buster and will always have a place in my busy bag collection.


All you need to make this is some tiny clothespins from dollar trees craft section and a few craft sticks. Mark the numbers you are using on the craft sticks and hand the kids some clothespins. Encourage your child to count the clothespins and put them on the craft stick. 

This is one of those activities you will want to supervise, to keep the pins from mouths, noses and ears. 


If you enjoyed this easy activity for kids, you will want to check out some of my other preschool projects.

Easy Rain Drop Craft

Spring is here and we have been trying to make the best of the rainy days that comes with the season. Harper and I thought a raindrop craft would be the perfect way to spend the last rainy day we had. This was perfect for my 3 year old. Oh, who are we kidding?! I had a lot of fun with it too. I mean, there is glitter involved!


This craft was so easy, yet so engaging!
All you need is:
A pair of scissors
A few sheets of blue paper
glue
glitter


Begin by cutting a drop shape 


Next have your toddler or preschooler liberally apply glue to the paper.


Next, invite the child to shake some glitter on the drop!


And there you have a way to add a little sparkle to any rainy day, regardless of the season!

This was a 5 minute craft, it took very little time to assemble, but it completely engaged my little one! We love easy paper crafts for those hey, let's make a craft moments.

Making Sandwiches with Harper {Kids Craft}

A few days ago, Little Miss Harper wanted to help me make lunch. I love her eagerness to help and her interest in learning. But, on this particular day, I wanted to keep her busy and out of the kitchen, as I was in the middle of a project.

I asked her if she wanted to make paper sandwiches while I made lunch, it sounded appealing to her! I had a collection of paper sandwich fixings ready for an occasion like this. I found a yellow glue stick to imitate mustard. Harper was all set to make sandwiches!

To prepare for this activity I had previously cut the following shapes from construction paper

bread shapes  white paper
red circles for tomatoes
squiggly green leaves for lettuce
yellow squares for cheese
brown circles for meat

You will need a glue stick. Red or Yellow is fun with this paper food craft, like ketchup and mustard!


As you can see, this activity is completely basic. Construction paper and glue. I offered Harper ample supplies for building sandwiches. To keep her busy and having a lot of fun!


She began by adding mustard to the bread and adding tomatoes.


Next up was cheese! 


Harper was completely into this craft. She loved making sandwiches. She added layer upon layer, happily crafting while I made lunch!


My kids both love a good paper food craft! If I find myself with a few extra moments and a pack of construction paper I make little craft bags for occasions like this day.  They are always a huge hit with my kids. They have enjoyed making paper cookies, paper pizzas and paper jam sandwiches. These are the best kind of kid food crafts in my opinion because they are virtually mess free and they are really a lot of fun!

11 Apple Crafts to Make with the Kids

I can't help but get excited about the end of summer, because it means that fall is near! Trips to the orchard with the family; lots of action in the kitchen, the temps are finally cool enough for baking! And of course, the crafting with the kids! How could I not get excited for fall!? 

This year I have 11 apple craft to make with the kids to share with you that I know you will have fun making with your little ones!

 Apple Crafts to Make with the Kids


Toilet Paper Roll Apple Stamp
Paper Plate Apple Craft
Caramel Apple Fall Craft
Apple Suncatchers
Take a Bite Out of Fall Craft
Apple Playdough
Button Apple Trees
Fruit Loop Fall Tree
Apple Tree Craft
Toilet Roll Apples
Stuffed Paper Apples


I love all of these ideas! I am hoping to make them all with the kids! We are planning to make these Apple Tree Window Clings again this year but we might make it a crafting marathon with these great ideas!

You can find my Halloween posts here

You might also like this easy homemade play dough recipe

Paper Plate Witch Craft

This paper plate craft is perfect for toddlers and school aged children. This one requires simple supplies you likely already have and comes together in a flash!

We have been crafting up a lot of Halloween fun! The kids are really excited about spooky fun and awesome costumes, so I have been indulging their interest and excitement with easy crafts! 


To make this fun witch craft all you will need is:

A paper plate
Green Paint or Markers
2 fun googly eyes
Glue
Black Construction Paper
Orange Construction Paper
Scissors


Color or Paint the Paper Plate Green


Cut a triangle from the black paper, then cut a strip slightly longer than the triangle, glue these onto the paper plate like a witch's hat.


Tear a few strips of orange paper for hair. Tearing instead of cutting will give kids a chance to use fine motor skills plus make the paper curl slightly, which is just fun! Glue the hair onto the witch. 

Next, add eyes and draw on a nose and a mouth. We gave our witch a cute smile.


There you have a cute, friendly and fun Paper Plate Witch craft! This is great for little ones because it is creative, it gives them the opportunity to use their scissor skills and work their fine motor skills too. Additionally, it offers your home a touch of personalized Halloween decor!

You might also like this cute Angry Bird's Pig Craft.