Showing posts sorted by date for query sensory bins. Sort by relevance Show all posts

Sensory Party in a Bag


Sensory play doesn't have to be complicated or messy to be fun! This sensory party in a bag is the perfect way to engage little hands without a mess, or a lot of complicated supplies.

We love sensory play! When Rolfie was a little boy we discovered the world of sensory bins and have never looked back.

I used to think that sensory play had to be complicated to be fun. After about 7 years of making bins and finding way to engage the senses via play, I realized that sometimes less is more.

This sensory party in a bag is a great example. Sometimes when the kids are overwhelmed by their emotions I like to pull out some basic supplies and create an invitation to unwind.  Summer break can be rough, especially if you are stuck with your sibling all day long. After a day of arguing, I surveyed my craft cabinet and pulled out some simple supplies to create this easy sensory bag. It gave both kids a chance to take a break from each other and get their selves together.


Supplies:
Baby oil gel
A zipper seal bag
Dyed rice
Confetti


Directions:
Pour about 2 tablespoons of baby oil gel into a zipper seal bag.


Add a handful of dyed rice to the bag.
Add some confetti.
Seal.
*If your child has "rough hands" you might wish to reinforce the bag with duct tape along all 4 sides to keep it mess free.*
Invite your child to squish the bag and take a few moments to enjoy the cool sensation of the gel in the bag with the texture of the rice, as well as the visual appeal of the sensory party in a bag.


You can find all of my sensory play ideas here.

Reader favorites include:


Easy Dyed Rice

Dyed rice for sensory bins has never been easier! This 3 ingredient method dries super fast and provides vibrant results!


I love to make sensory bins, almost as much as the kids love to play in them! They still love the sushi sensory bin we made ages ago and it inspired me to try dying rice for more sensory fun. 

To make this dyed rice you will need:
  • Rice
  • Food Coloring
  • Hand Sanitizer


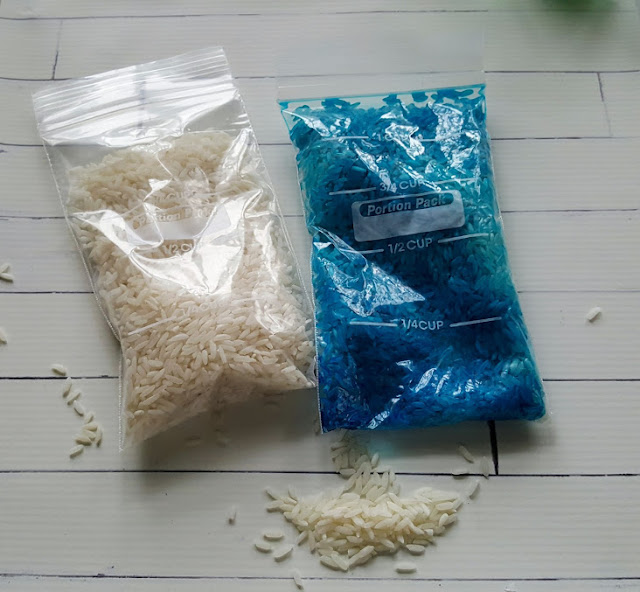
 Place the uncooked white rice in a zipper seal baggie. I used 3/4 cup per color.
Add a tablespoon of hand sanitizer.


Add 3-5 drops of food coloring (I used the cheap stuff from dollar tree FYI).


Release the air from the baggie to avoid popping it. The shake it, squish it, wiggle the rice around until it is coated completely. The pour the rice on a paper plate and let it dry for about 45 minutes.


Repeat with additional colors as desired.


Naturally, we did all of the colors of the rainbow!

You can find all of our sensory play ideas here


How to Dye Oatmeal without Water for Sensory Play

Dyed oats are perfect for sensory bins! You won't believe how easy it is to dye them without any water!


I have made a ton of sensory bins for my kids over the years. We have explored rice, beans, sand and even straws as fillers. I knew I wanted to try something different, and inspiration was as close as my pantry. I pulled out some oatmeal and got busy experimenting.


First, I tried soaking the oats in dyed water. That was a fail. They clumped together and formed a soggy mess. I couldn't dry them out. 

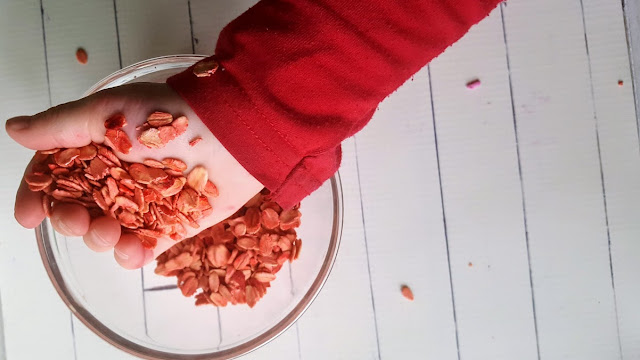
Next, I thought about how we dyed rice, and decided to try that method on oats. The results were perfect. The oats didn't clump together and they are so soft!


To dye oats you will need:


  • One cup of oats 
  • Food coloring of your choice
  • Hand sanitizer
  • One Ziploc bag


Directions:


  • Pour the oats into the bag.
  • Add 7 to 10 drops of food coloring.
  • Add a generous dollop of hand sanitizer to the bag.
  • Seal the bag and shake until all of the oats are coated.
  • Pour the oats on a paper towel or paper plate to dry.


Dyed oats are perfect for sensory play. Stay tuned for bins that use dyed oats.

You can find all of my sensory content here


Unicorn Fine Motor Bin

Little hands will love this fun threading bin! It is a great fine motor exercise that kids will be magically enchanted with!

unicorn sensory bin

Harper and I love to make and play with bins. They are perfect for an afterschool activity for her, and she is always curious about what she might find in one of our bins. This was a really easy bin that I put together literally from our junk drawer. 

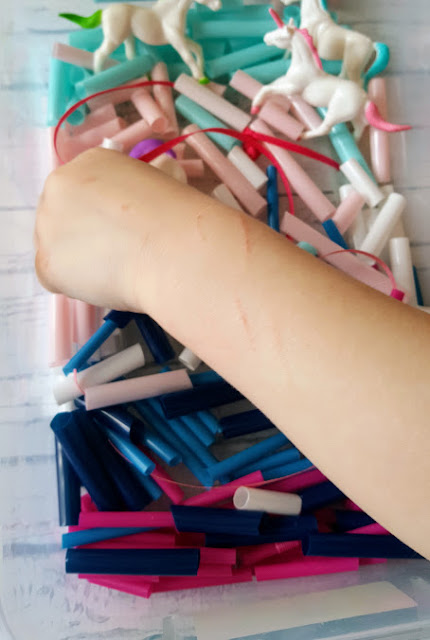
We had a bunch of Ikea straws from a recent binge visit and a few sections of ribbon. I ran across these leftover party favor unicorns and knew immediately what we would do with these goodies. In case you don't have all these things at home, this post contains affiliate links. If you make a purchase I will earn a small commission from the advertiser.


Supplies:
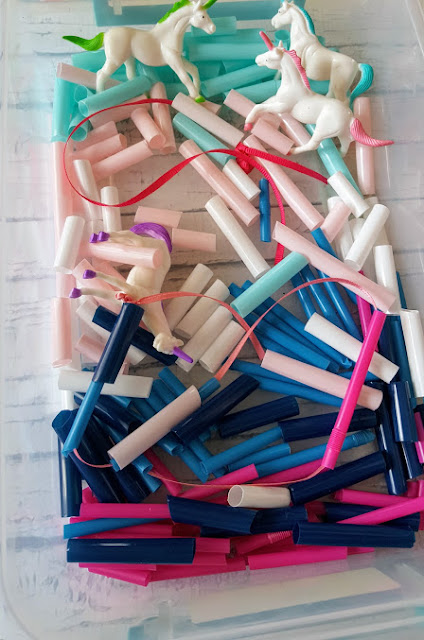
Straws; I used soda and milkshake straws in assorted colors to offer variety.
I used 4 straws of each color
Ribbon; 12” length; add several strands.
A plastic bin with a clip on lid


Instructions:
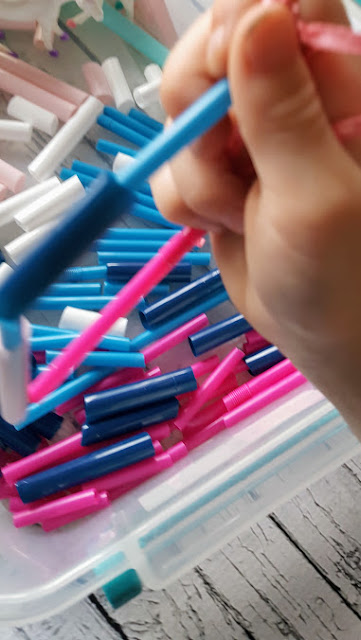
Cut your straws by color in assorted lengths
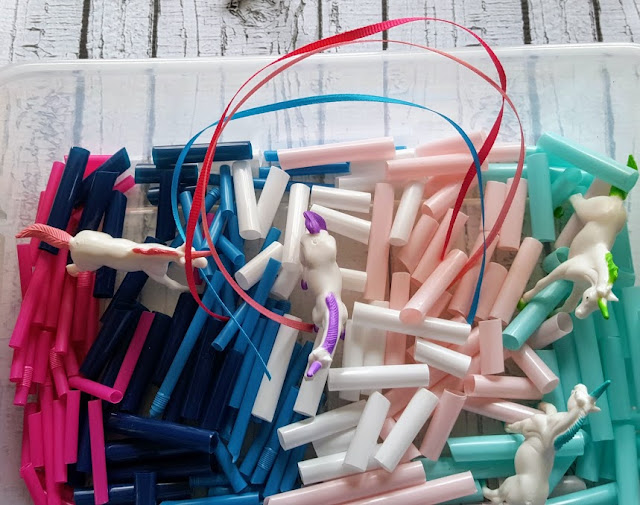
As you cut the straws add it to the plastic bin to layer the colors


Tie a knot one on end of the ribbons. Depending upon the width of your ribbon you may want to add
several knots so that the straws will not slip off


unicorn sensory bin

Add a few unicorn figurines for fun


With supervision, allow your child to explore the texture and colors of the straws in the bin and thread
them onto the ribbon.

unicorn fine motor activity


This was a fun fine motor activity for Harp with an added touch of unicorn fun. She happily threaded straws most of the afternoon!


Find  unicorn gift ideas here.


Birthday Cake Sensory Bin

This easy birthday cake sensory bin is perfect for any little aspiring chef! Made with homemade playdough and complete with loads of sprinkles and fake candles, this bin keeps preschoolers happily baking up something good!

birthday cake play doh sensory bin

After many years of mothering, I have learned that it is a good idea to have an activity planned for the afternoon. I usually have something set up for Harp like a paper craft or something she can get creative with, but lately we have been LOVING sensory bins

birthday cake play doh sensory activity


Harper loves to bake, so the idea for this birthday cake sensory bin came around. I thought she would love the chance to play with sprinkles, and I was right. When she came home from preschool, she was ready to get her hands into this bin! I have a feeling your little one will want to do the same should you recreate this project.


This was easy to assemble and super economical. You likely have all of the supplies on hand!

sprinkles in hand


This post contains affiliate links. If you make a purchase I will earn a small commission at no cost to you.

birthday sensory bin


Supplies:
1/2 cup of shampoo (any kind will do, including something from the dollar store!)
 2 tablespoons of water
1 cup of flour
Silicone cupcake molds, small cake pans, small dishes for forming cakes. Your childs play food collection is a great place to find materials to use in this bin.
Washi Tape
A battery operated votive candle
Tissue Paper in orange, yellow or red
A baking dish or a bin with a lid


To make the birthday cake dough:
Add one cup of flour, 2 tablespoons of water and 1/2 cup of shampoo together in a medium bowl. 


Begin to stir, as the ingredients start to bind together, finishing mixing with your hands.
 If the dough feels sticky, you will add a little more flour, no more than 1/4 cup.


Test for stickiness. If the dough is still sticky, add a little more flour and continue to mix until it doesn't stick to your hands.


To make fake candles:
You will need a length of washi tape that can cover a craft stick on both sides.


Allow the tape to slightly overlap the craft stick and place small squares of tissue paper on the top of the stick. I layered orange and yellow tissue paper to resemble a flame.
Fold the tape up to cover the other side of the craft stick.


Trim the edges of the tape on the sides of the craft stick.
Trim your tissue paper to resemble a flame.


To assemble the birthday cake activity bin:
Pour a bottle of sprinkles in the bottom of the dish or storage container you plan to use.
Add the dough.
Add small dishes like play food dishes, silicone cupcake molds, small baking dishes.
Add the fake candles and a battery operated votive candle, if you have one.


Invite your child to explore the activity. They will form cakes, decorate with sprinkles and add candles to serve birthday cake!

birthday cake sensory play

Flower Garden Sensory Bin

Flowers are so much fun for little hands! Harper loves to pick them, plant them and even pull the weeds. I made a fun flower garden sensory bin for her and this super simple bin has not disappointed Harp at all!


Affiliate links are included

Supplies:
Dried black beans
Artificial flowers
Sand toys


Instructions:
Pour the dried black beans into the container.
Add Terracotta Pots and artificial flowers.
Offer a variety of tools to explore the beans with. Plastic serving tongs, sand toys
like shovels and rakes, kitchen spoons and small gardening spades are all fun options for
small hands. I chose items that would fit into the container with the lid for easy clean up and storage.
This is a sensory bin your little ones will want to play with many more times.
With supervision allow your child to explore the beans, the tools and plant the flowers.


    This bin was so simple. But, the best things in life usually are.

    As I put the bin out, Harp was ready to start gardening right away. Rolf heard the beans being poured into a pot and he exclaimed "I love these bins!"


    He naturally wanted to play too. Harper was more than happy to share her flower garden with Rolf.


    The kids loved the sound the beans made when poured into the pots. They also like the smoothness of the beans.


    To make it even more realistic, I later added a drop of rose to a few flowers and jasmine to a few others to add the fun of fragrance to the bin.


    Wen playtime was over it was simple to lay everything in the box and snap the lid on for easy storage. 


    We will definitely be playing with this again! 


    You might also like this In the Sky Sensory Bin.
    Find all of my sensory bin ideas here


    Sushi Sensory Bin

    A few weeks ago while shopping at my Kroger I saw these adorable erasers- sushi style- in the clearance section. At 69 cents they were a steal. I couldn't pass them up! My husband said "What are you going to do with them?".

    What am I going to do with them? Make a sensory bin of course! A Sushi themed sensory bin sounded like fun to me!

    I picked up a bag of long grain white rice, one pound was on sale for $1.09. I used this as my base.


    My son was intrigued. He couldn't wait to get his hands in the bin of rice!

    Next we added our Sushi Erasers.


    Again, Eager Hands were grasping to get involved. Not that I can blame him!

    Finally, we finished the bin off with a pair of chopsticks.


    And there you have our under $2 sensory bin! It was easy to make and fun for Roo to play with.

    I liked that we could enjoy the feeling of rice when we touched the bin, the rice was fun for roo to dig around in. He likes the way it sounds when he picks up a handful and drops it in the bin. The chopsticks are great for his fine motor skill development.

    When he grew tired of picking up the erasers with the chopsticks he fed rice to an assortment of dinosaurs. Then he decided to toss handfuls of rice into his barnyard toy for the other animals to eat... and yes, it got messy. But, I went with it! After all this was my big idea of fun and dried rice is pretty easy to sweep up.

    Do you engage in sensory play with your kids? I would love to hear about your favorite sensory bins.