Showing posts sorted by relevance for query kids birthday. Sort by date Show all posts

Button Sensory Bag

Sensory Play doesn't have to be complicated or messy! This easy button sensory bag is perfect for keeping little hands busy and eager minds learning. Best of all, it comes together in just a few moments!

Hair Gel Button Sensory Bag
Add caption


Sensory play is awesome for kids. It is fun, and can be as simple or as complicated as you wish. I love to give my kids the tools they need to play, learn, and relax. This button sensory bag is easy to make and can serve several purposes.


The button sensory bag is perfect for quiet reflection time. I made this for Harper on one of those rough days when she needed a chance to unwind. As she got herself together we used this bag for sorting colors and shapes. Manipulating the buttons is awesome for fine motor practice.


                                                          This post contains affiliate links.

Supplies Needed:
A zipper seal sandwich bag
Hair gel


Directions:
Place aout 1/4 cup of hair gel in a zipper seal bag.


Add glitter to the hair gel. I thought blue was a nice touch, but you can use whatever color you like.

Add assorted buttons.

Seal. If your child is young or has "rough hands" You might want to reinforce the edges and opening with duct tape.


Invite your child to explore the bag. Squish it, sort colors, or sort by sizes.

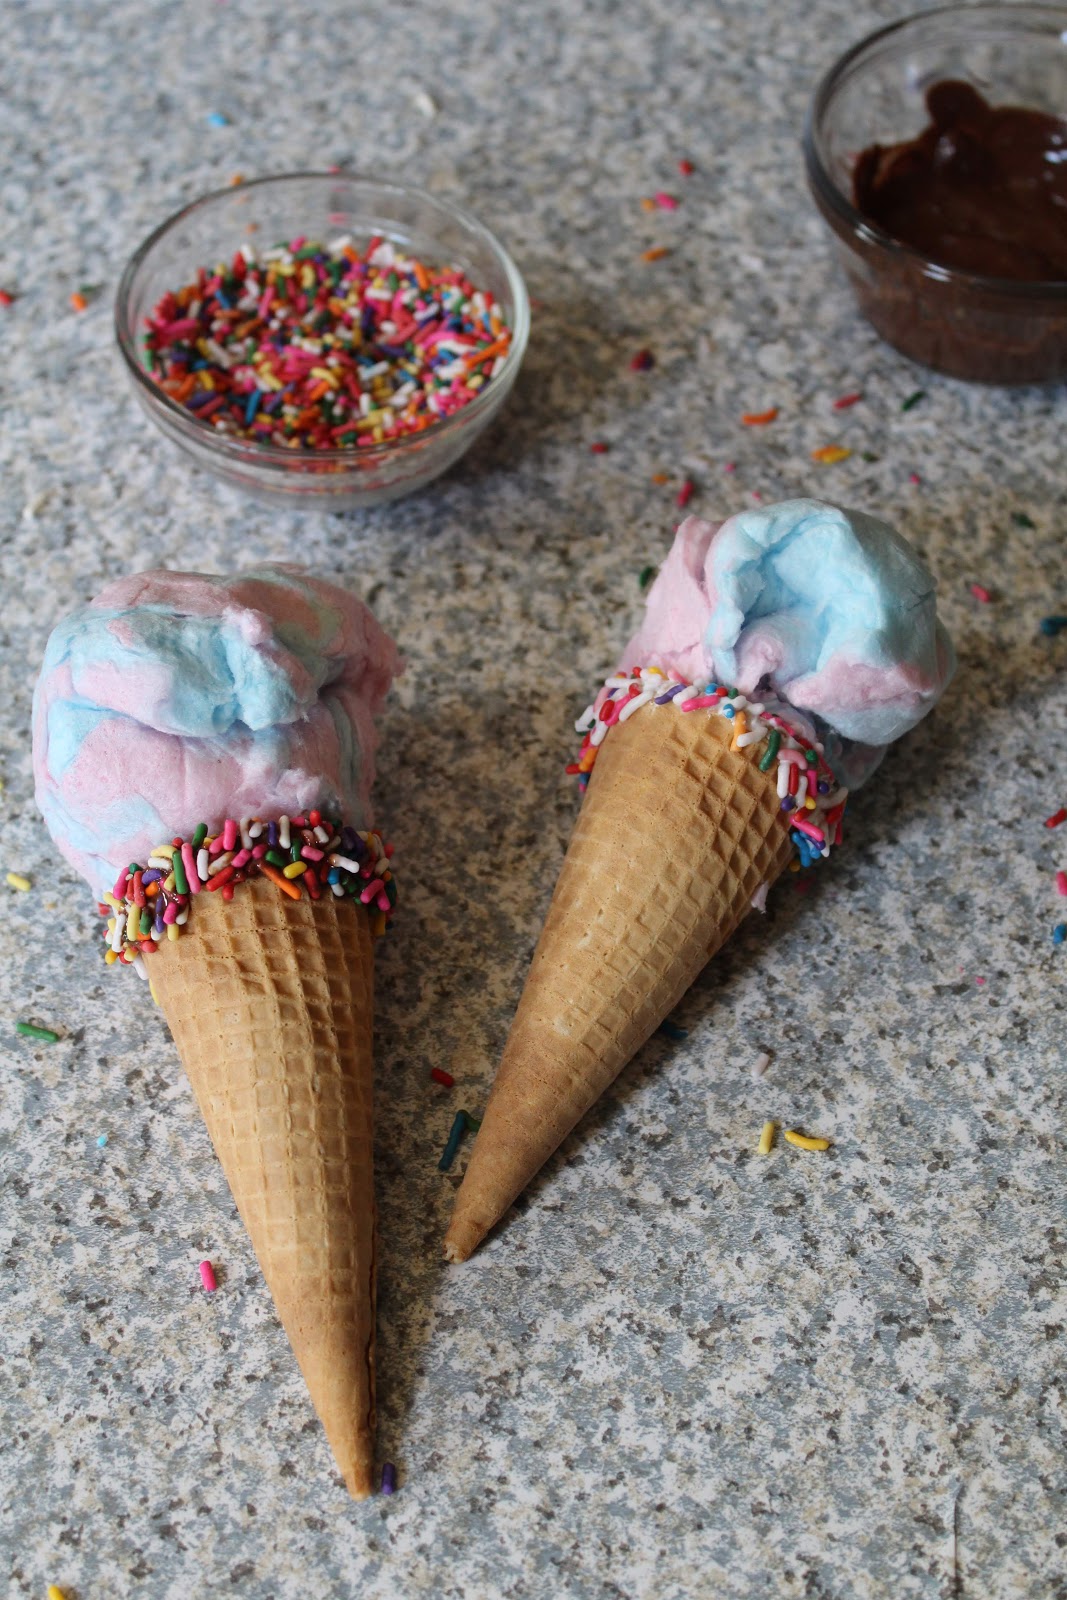
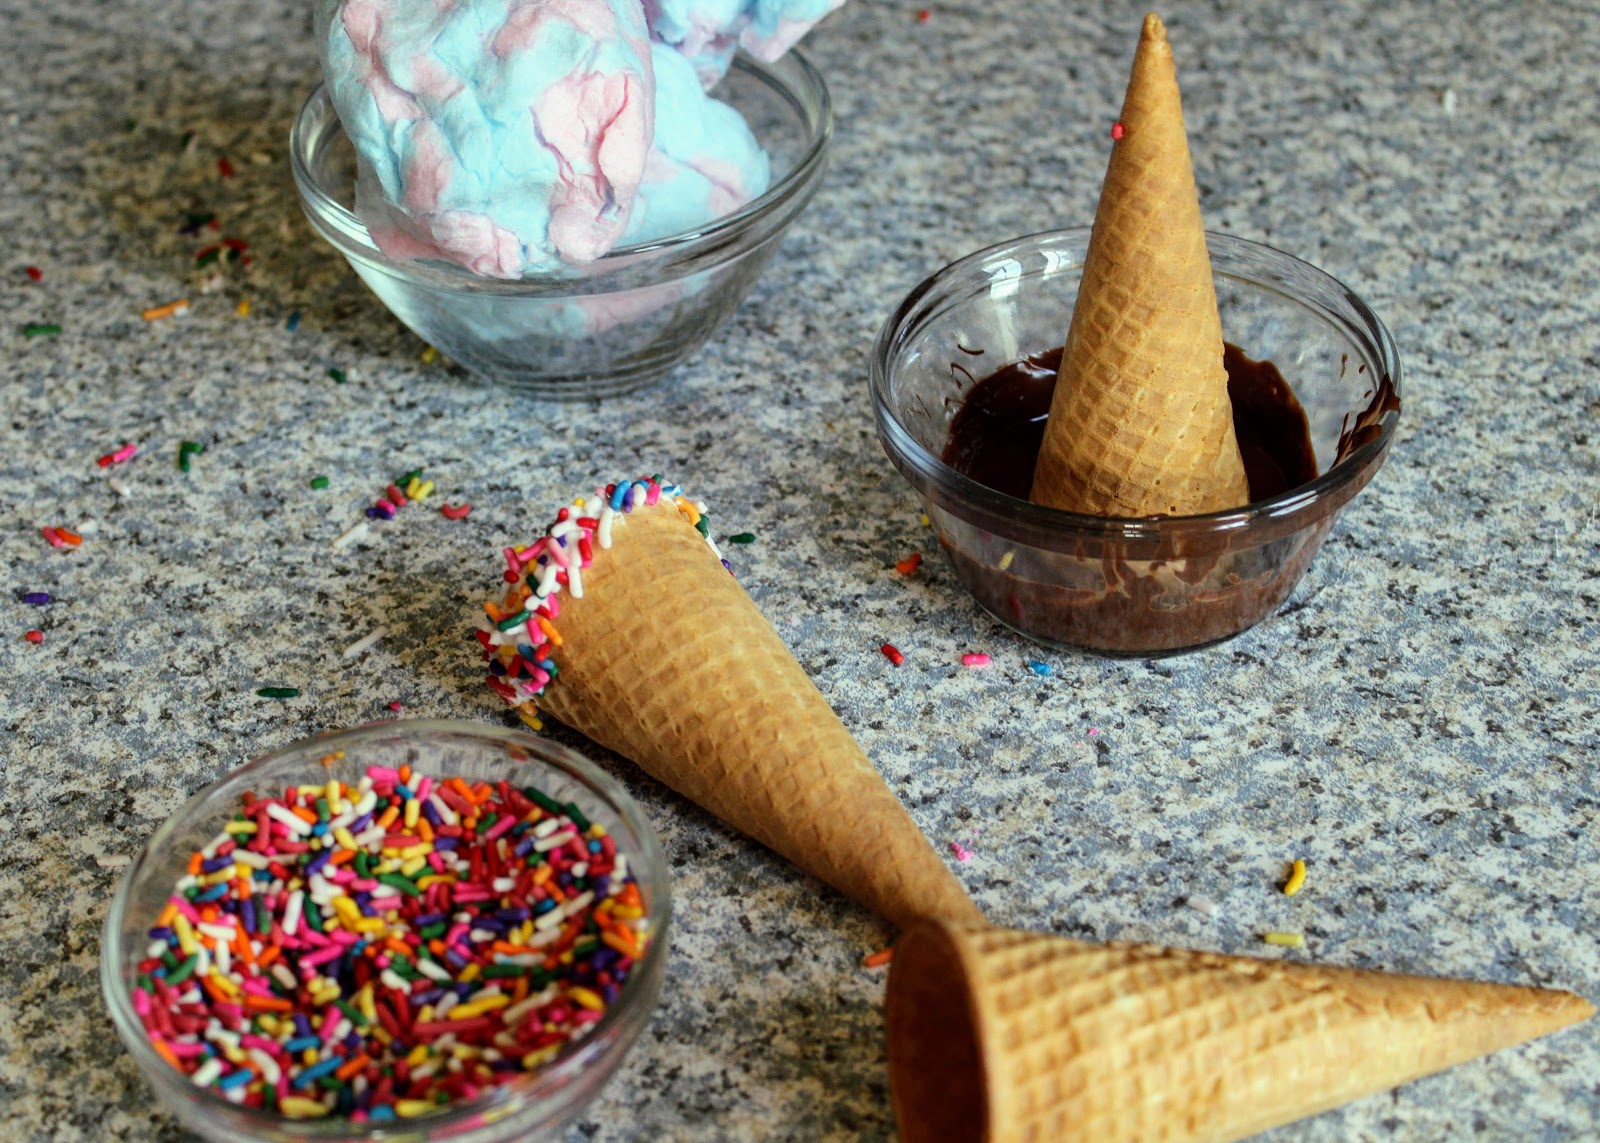
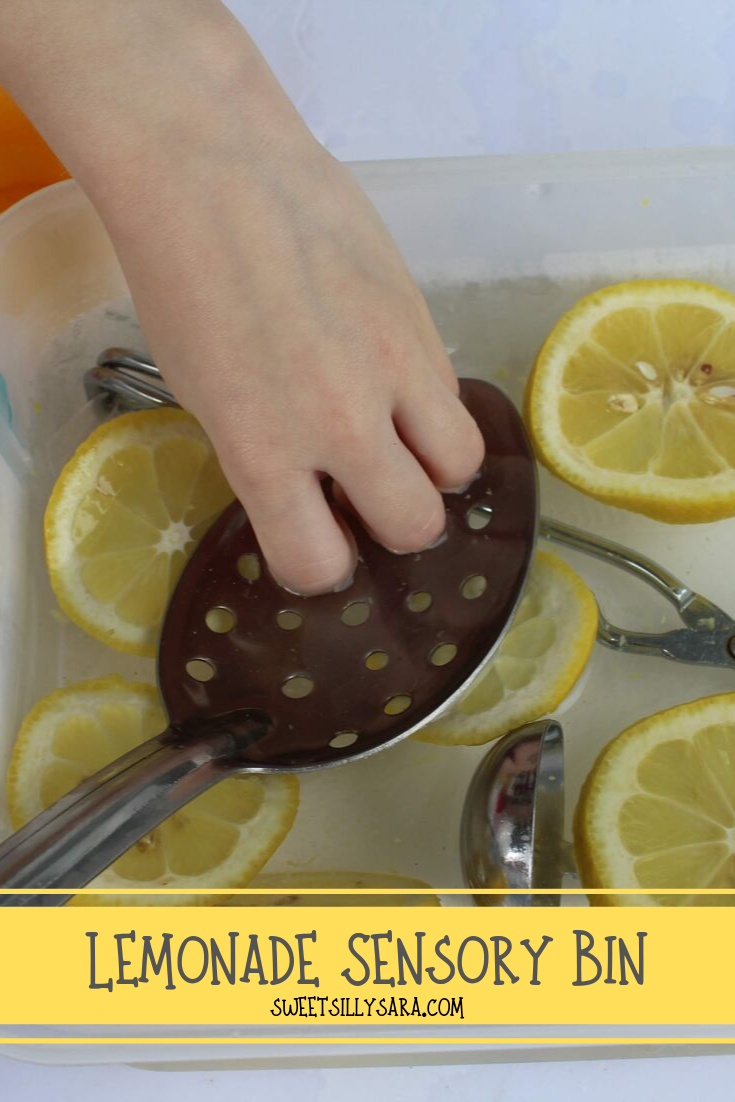
You can find more sensory activities ideas here:
Birthday Cake Sensory Play is always a hit!
Flower Garden Sensory Bins are perfect for rainy days!

Sensory Party in a Bag


Sensory play doesn't have to be complicated or messy to be fun! This sensory party in a bag is the perfect way to engage little hands without a mess, or a lot of complicated supplies.

We love sensory play! When Rolfie was a little boy we discovered the world of sensory bins and have never looked back.

I used to think that sensory play had to be complicated to be fun. After about 7 years of making bins and finding way to engage the senses via play, I realized that sometimes less is more.

This sensory party in a bag is a great example. Sometimes when the kids are overwhelmed by their emotions I like to pull out some basic supplies and create an invitation to unwind.  Summer break can be rough, especially if you are stuck with your sibling all day long. After a day of arguing, I surveyed my craft cabinet and pulled out some simple supplies to create this easy sensory bag. It gave both kids a chance to take a break from each other and get their selves together.


Supplies:
Baby oil gel
A zipper seal bag
Dyed rice
Confetti


Directions:
Pour about 2 tablespoons of baby oil gel into a zipper seal bag.


Add a handful of dyed rice to the bag.
Add some confetti.
Seal.
*If your child has "rough hands" you might wish to reinforce the bag with duct tape along all 4 sides to keep it mess free.*
Invite your child to squish the bag and take a few moments to enjoy the cool sensation of the gel in the bag with the texture of the rice, as well as the visual appeal of the sensory party in a bag.


You can find all of my sensory play ideas here.

Reader favorites include:


Cupcake Coloring Page

Grab this free cupcake coloring page for a sweet coloring activity for the kids!


Cupcake Coloring Page


Since my kids have been home for remote school for *almost* a full year now, I have become an expert on how to keep them entertained, and what to do to give them a break from each other. When tensions run high, I like to offer them a coloring page or two. It gives them a chance for quiet reflection, and an outlet for creativity. I love to create coloring pages to meet the need or suit the season. This cupcake coloring page was designed on a day when Harp needed a little sugar to combat her salty attitude.

Print as many as you like, share with a friend, or send to school with your little ones to spread a little sweetness for Valentine's Day. These are also nice for sending along with a birthday treat. Make sure to pin this free coloring page for later!

If you are looking for more free print-able coloring sheets, I have a bunch for you!

Reader favorites include:


Stars and Stripes Bin

Bring a touch of patriotic flair to your sensory activities with this easy to set up Stars and Stripes Bin.
It is fun to play in and gives little hands a chance to design the flag. Make it for the 4th of July, or anytime for hands on play.


A few weeks ago I ran across a bag of white sand in my craft supplies and I wanted to use it before it spilled all over my craft room. I had visions of our rascally kitten Richard finding it and using it like a mini litter box. 

I kept poking around in my supplies and found a bag of glow in the dark starts. Inspiration was born.
This was an easy bin to assemble and both of my kids enjoyed playing in this bin. 


Supplies:
Popcorn kernels
Hand sanitizer
Blue food color
Red paper
Small glow in the dark stars
Paint brush
Plastic bin with lid
Scissors
Zipper seal storage bag.


Directions:

To make blue dyed popcorn:
Place about a 1/2 a cup of unpopped popcorn kernels, 2 generous drops of hand sanitizer and several drops of blue food coloring in a zipper seal food storage bag. 
Shake well.
You can allow the kernels to dry in the bag overnight, or place them on a paper towel to dry for several hours.


To assemble the bin:
Cut a sheet of red paper to fit inside of the bin you plan to use.
Pour white craft sand over the red paper.

In the upper left section, pour the blue dyed popcorn kernels.


Add a paint brush and an assortment of stars.


Invite your child to brush sand away to create the stripes.


Encourage your child to add the stars to the popcorn kernels.


When not in use, replace the lid on the bin for easy storage for future play!

Find more sensory bin ideas here.
Reader favorites include:


Cotton Candy Ice Cream Cones

This easy treat is perfect for sharing with a group of kids! On the hottest day, these tasty ice cream cones won't drip because they are made with cotton candy! Everyone loves these cotton candy ice cream cones!


Harper and I are always getting into something. She loves to bake and is known in our home as the making baking girl. But, between friends, my oven really needs to be cleaned before we bake, and I have no idea how to actually do it... google here I come. But, in the meantime, I can't deny my girl her fun in the kitchen!

This post contains affiliate links.

We had a box of sugar cones and Harper had talked me into a bag of cotton candy recently. Inspiration hit, and this is what we came up with. Cotton Candy Ice Cream Cones. To make them "fancy" we dipped them into chocolate and then into sprinkles.

This is such an easy treat to make. They would be perfect for sharing at a birthday party, or in the classroom for a mess free snack. You can make a dozen of these in under 10 minutes.

Ingredients

1/2 cup of Wilton white candy melts 
1 package of cotton candy
Sprinkles


Instructions

Melt the chocolate in a microwave at 50% power for 30 seconds. Stir and repeat until the chocolate stirs smooth.
Immediately dip your sugar cones in the melted chocolate.


Next dip the cones into sprinkles, allow to dry for about 15 minutes.
Stuff the cones with cotton candy.
Wrap in cellophane or serve immediately.


 More easy recipes and crafts 


Reader favorites include:
Mermaid Tails

Homemade Rice Pudding


Lemonade Sensory Bin

This hands on activity is perfect for engaging the senses while serving up an awesome opportunity dramatic play for preschoolers.


Harper and I both love lemons. We like the way they smell and taste. The last time I sliced up a few lemons for my eating pleasures (yes, I eat lemons like oranges!) Harp was intrigued by the seeds. She sweetly demanded  asked to pick out all of the seeds. 

There are worse things a girl of her age could be interested in doing, and an idea was born. I knew we could throw together a really easy lemonade bin that would keep her happy all afternoon. 


Supplies:
A Knife
Clear Plastic Bin
Water
Ice
Lemons
Serving Spoons
Cups
Dishes


Directions:
Pour several cups of ice and water into the plastic bin.
Slice a lemon or two and float the slices in the water.
Add spoons, tongs, cups and bowls for instant fun.


Invite your little ones to make lemonade.
They will want to touch, maybe taste and definitely smell things in here!


This is the perfect way to spend a hot day. Let the kids splash, squeeze and dish up cool spring refreshment!

If you liked this sensory play idea, keep scrolling babe, cause I have so many fun ideas for sensory play!

Reader favorites include:
Easy button sensory bags
Birthday Cake Sensory Bin

FREE Unicorn Coloring Page for Adults

I made a pretty to share with you! This patterned unicorn coloring page is perfect for teens and adults!

Print one or a hundred, but please, only use them for personal use. Don't sell them please!

My daughter Harp loves to color. She often grabs our dual coloring book and asks me to work on a page with her. She had a unicorn themed birthday party so we made these to share with the grown ups who patiently waited during all of the fun. 

I decided to share a little whimsical fun with you too. Harp and I have a stack of these leftover, and we like to pull them out here and there. We have quite a few coloring pages on site here. Make sure you check them out and print some for preschoolers or elementary aged kids. 


                                                Print this FREE Unicorn Coloring Page for Adults 


I don't have many printables for adults yet, but I have tons of abc themed worksheets and coloring pages to print. Find some of them here
A
B
C
D
E
F
G
H

Check out these unicorn fine motor bins!

How to Dye Oatmeal without Water for Sensory Play

Dyed oats are perfect for sensory bins! You won't believe how easy it is to dye them without any water!


I have made a ton of sensory bins for my kids over the years. We have explored rice, beans, sand and even straws as fillers. I knew I wanted to try something different, and inspiration was as close as my pantry. I pulled out some oatmeal and got busy experimenting.


First, I tried soaking the oats in dyed water. That was a fail. They clumped together and formed a soggy mess. I couldn't dry them out. 

Next, I thought about how we dyed rice, and decided to try that method on oats. The results were perfect. The oats didn't clump together and they are so soft!


To dye oats you will need:


  • One cup of oats 
  • Food coloring of your choice
  • Hand sanitizer
  • One Ziploc bag


Directions:


  • Pour the oats into the bag.
  • Add 7 to 10 drops of food coloring.
  • Add a generous dollop of hand sanitizer to the bag.
  • Seal the bag and shake until all of the oats are coated.
  • Pour the oats on a paper towel or paper plate to dry.


Dyed oats are perfect for sensory play. Stay tuned for bins that use dyed oats.

You can find all of my sensory content here