Showing posts sorted by date for query play dough. Sort by relevance Show all posts

Playdoh Meatball Math

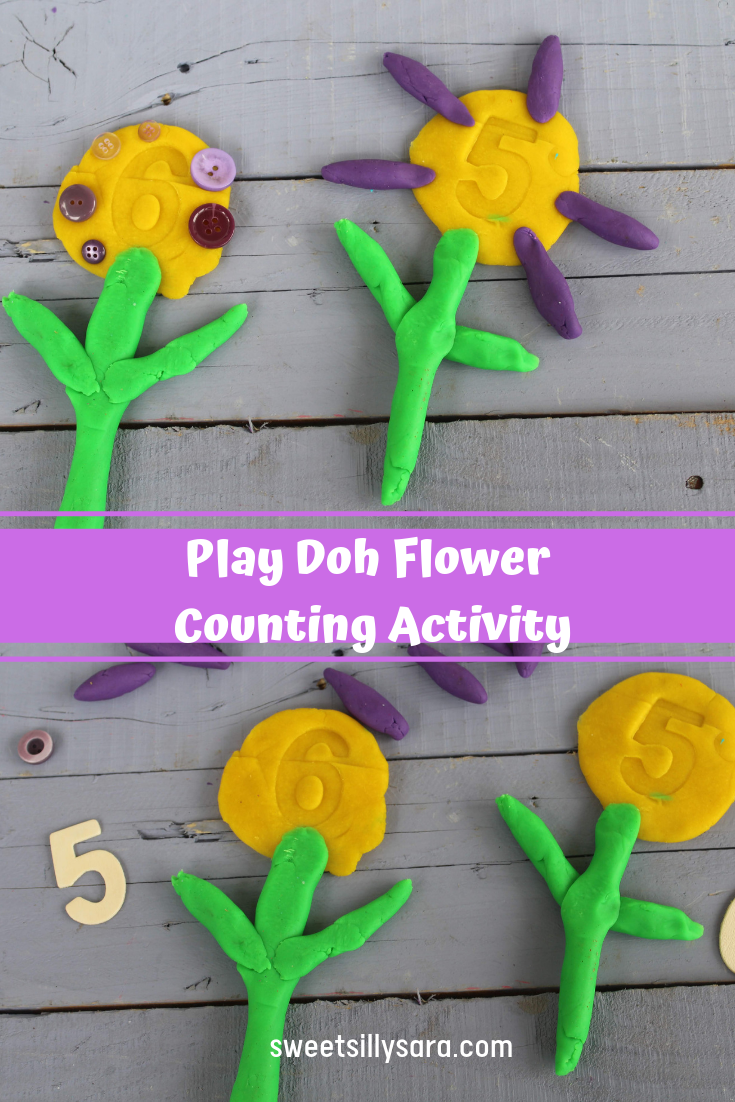
Are you looking for a way to make early math engaging for kids? This play doh activity makes for a fun way to master early counting skills in a manner that kids are going to want an extra helping of.


We are a play doh family through and through. Over the years I have created so many hands on lessons for my kids as well as invitations to play that started with a simple can of squishy play doh.  From a prickly cactus craft that my tween was enchanted by, to  DIY food puzzles for toddlers. I have always felt that playdoh was one of the best toys to have on hand because it doubles as a learning tool.

This idea is so much fun! It starts with 2 cans of play doh and a cute little pan. Grab a few dominoes and your little learners are ready to jump into this awesome activity.


Supplies:
Play doh. I used yellow, a little red and a little orange.
A small pan
Dominoes


Directions:
Create a pan of noodles from the yellow playdoh by rolling out into thin strips between your hands and tear them off at various lengths.
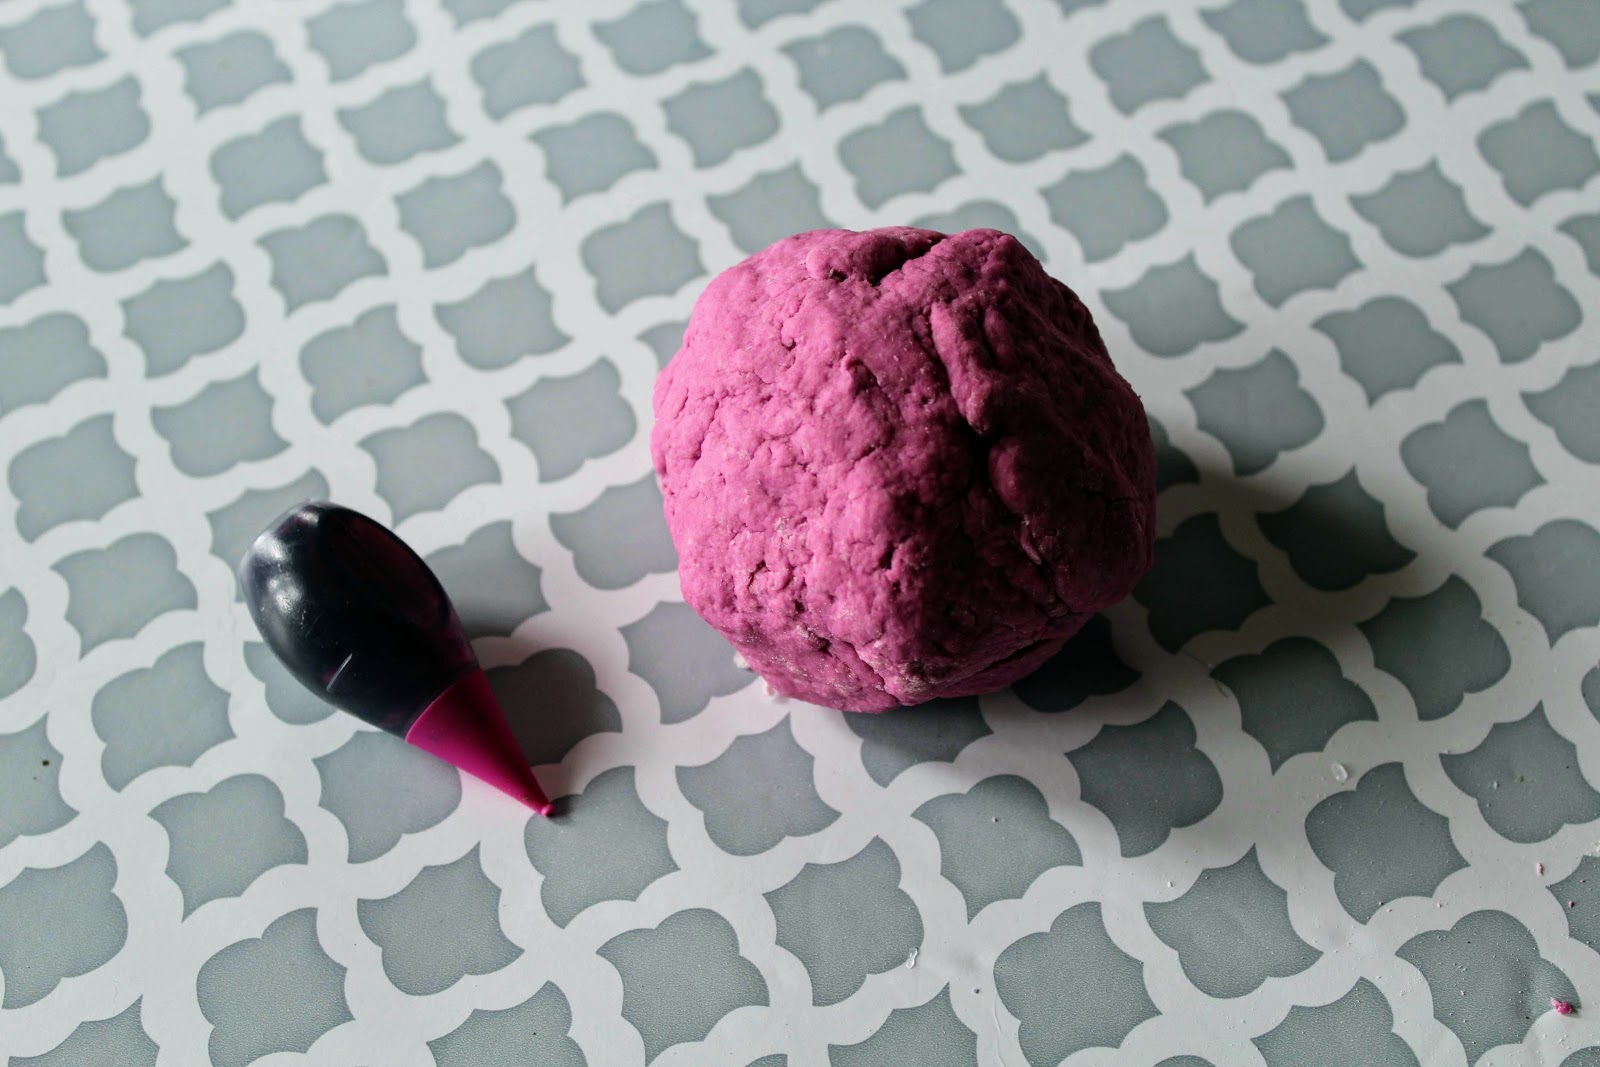
Combine a ball of red and orange dough together to make the meatballs. 
Now tear off small sections and roll them into balls.
Place the noodles into the pan.
Leave the meatballs over to the side.


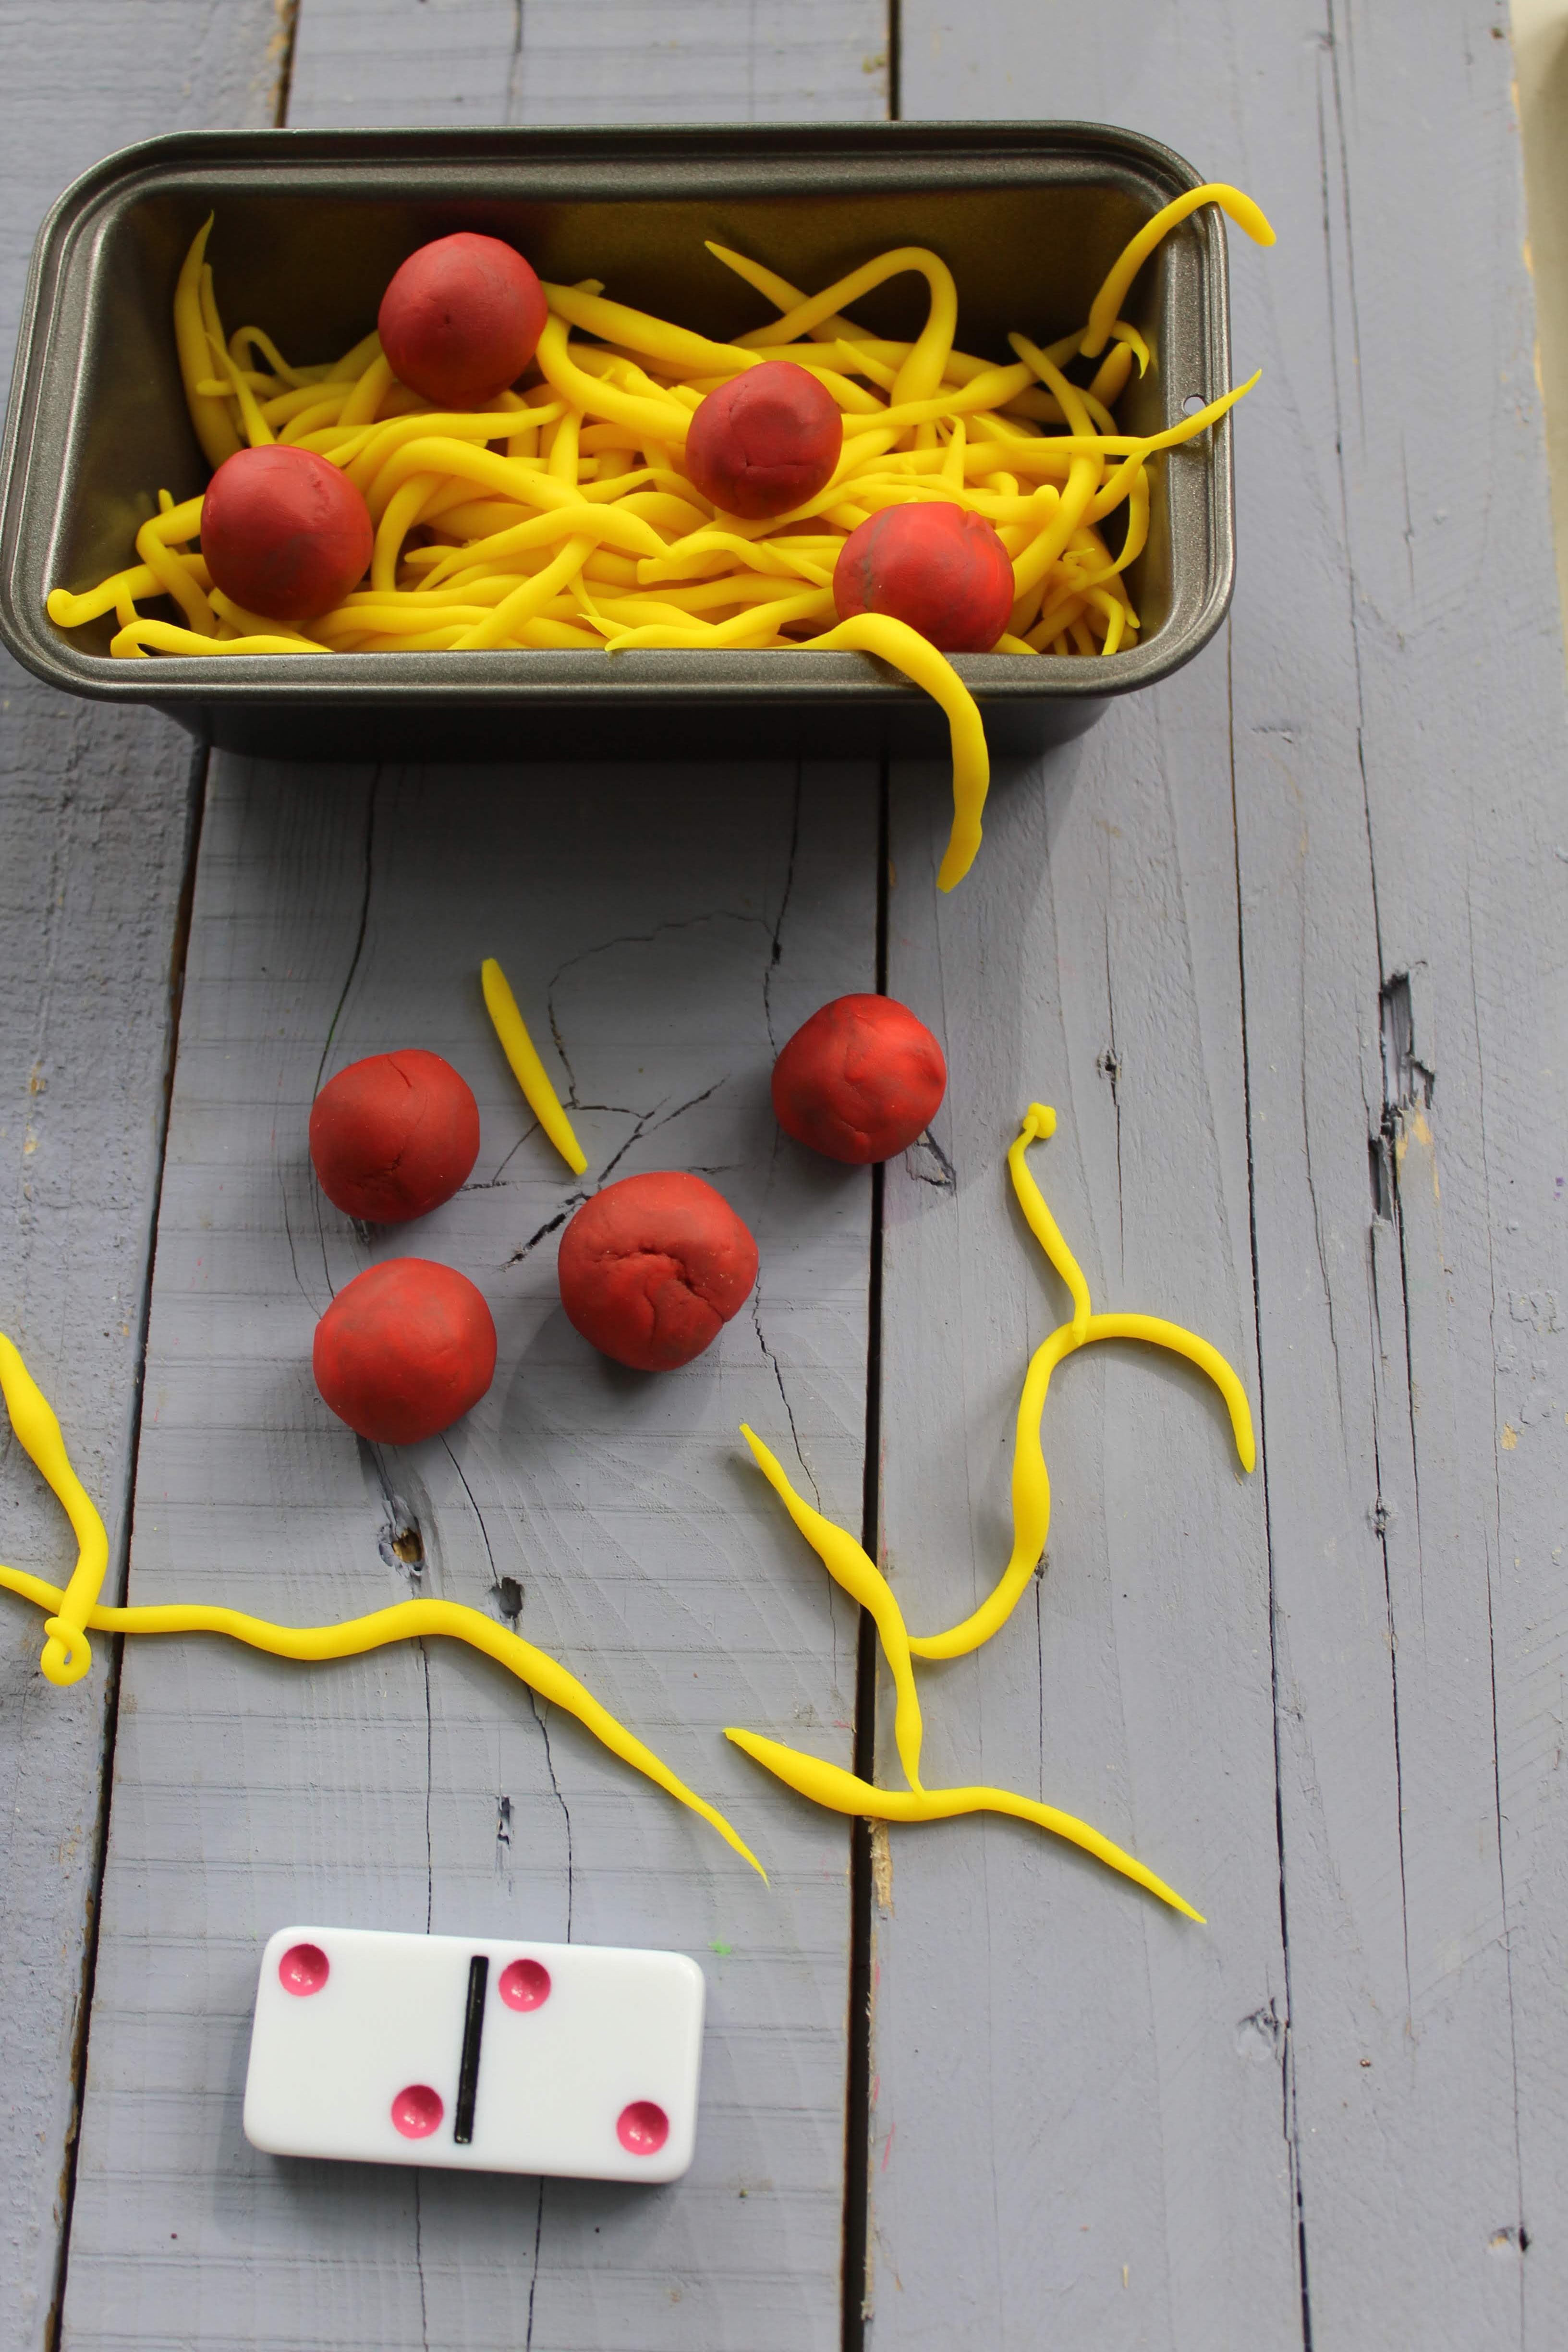
Invite your preschooler to select a domino from the pile and count the dots.
This is how many meatballs this spaghetti needs. Count the meatballs as you add them to the noodles.


Repeat as desired until you have used all of the dominoes or mastered your counting lesson. I know your kids are going to love this take on early math!


Find more epic playdoh activities here.

Favorites include:

Play Doh Pie Counting

Lollipop Counting

Play Doh Pre Writing Activity

Play Doh Snails

Play Dough Ornaments 


Find more fun math ideas like these math games for kids.

Lego Stamped Pumpkin Art

 Harper and I love to paint with, well, anything but a paint brush! Last week she came home from school and asked me if I wanted to make something with paint, and how could I resist the invitation? This lego pumpkin idea was just the thing. It pairs cute and creepy together just right.


This is such an easy activity, and it is fun for kids of all ages! Even Rolf, who is 12 now, was curious about this and told us it was a "cool idea" before dashing back to his busy preteen activities. 


Supplies:
Orange Paint
Black Paint
Green Paint
Legos
Paper Plate
Paper


Directions:

Pour a small amount of orange, black and green paint onto a paper plate.

Offer your child legos in assorted sizes and paper.

Encourage your child to dip a lego into the orange paint and make the shape of a pumpkin.


Now, fill that shape in with more lego stamps.


When you have filled in the shape of the pumpkin, dip a lego into the black paint and make a face.


Next, give your pumpkin a stem with the green paint.
Allow to dry and display.


These were a really fun, kid led Halloween craft. I know your kids will love making pumpkin art this way.


You can find all of my Halloween crafts here

Painting projects here:

Reader favorites include:

Pumpkin Window Clings

Ghost Play Dough Ornaments

Freaky Halloween Foods

 Halloween is such a fun time of year. We certainly love to go all out with decorations, epic costumes for the kids, and of course, the best treats! This year why not bring the festivities to the dinner table with these Freaky Halloween Foods? These ideas are sure to delight your family and maybe even creep them out a little.


I have so many fun Halloween ideas on site. While you are here, you might want to check out these homemade play dough ghost ornaments.

This collection of freaky foods has some really fun ideas in it! From puking pumpkin taco boards to scary spaghetti and pumpkin stuffed peppers. I am sure you are going to find something you want to make for your family! Be sure to click through the links below to check out the full recipe.


Puking Pumpkin Taco Board by Maple and Mango

Meatball Mummies by Spend with Pennies

Deviled Spider Eggs by Living Sweet Moments

Scary Spaghetti by By Andrea Jannsen

Jack O Lantern Stuffed Peppers by Hip Homeschool Moms

Black Bean Pasta by Vegan Dollhouse

Trick or Treat Cheese Ball by Centsless Meals

Spooky Gnocchi by Wild Vegan Flower

Pumpkin Stuffed Peppers by Sula and Spice

Spooky Spaghetti by Summer Yule


Pretzel Mummy Snacks are a great freaky Halloween food for later in the evening, maybe as a movie snack.


Fun Crafts You Can Explore With Kids At Home

 Are you spending your day with your kids at home? If so, then you might want to explore and plan some activities that you can enjoy together. There are lots of options worth considering here so let’s look at a few to ensure that you have a great time with your little ones, even if you are stuck in doors. 


Pexels Source CCO License


Clothing Design 


First, you should think about designing clothing with your kids. This is a great way to get them to think creatively and ensure that they have something that they can use or enjoy. There’s no limit on the type of clothing that you can create if you have the right materials and equipment. For instance, you can use holographic vinyl to add wonderful designs to any item of clothing from t-shirt to jackets. If you’re not sure how to begin with this possibility, then you’ll find some great guides online.

Wood Work


Next, you should explore woodwork options. This is something that you can explore if you have older children as it might be too tricky for younger kids. You might think that this is going to mean investing in a lot of equipment and items but it doesn’t have to. You just need to get some wood to work with. You could also think about exploring upcycling ideas. This will allow you to create items from old pieces of wooden furniture and accessories that you probably have lying around the home. Again, there are some great YouTube guides for woodworking with kids at home. 


Painting 


You might also want to think about painting with your kids. This could be an activity such as repainting a room or you might want to let them get creative with arts. If you are interested in letting your kids stretch their artistic muscle, then you should make sure that you get a blank piece of paper or a blank sheet from a home depot store. You can spread this out over the floor and just let them go a little wild. You might want to explore possibilities such as finger and hand painting as long as you don’t mind cleaning them up afterwards. 


Homemade Playdough 


Finally, kids love playdough. It allows them to get creative and design anything that they can imagine. Whether that’s pretending to make food in a restaurant or styling an egg. You can buy playdough, but why not think about creating your own instead? This in itself can be a fun activity to explore with your kids. All you need to create your own playdough is flour and salt as well as a little time. You can also use food colouring to create play dough in a wide variety of different colours. It’s a little messy but a fantastic option for time with the kids. 


We hope this helps you see that there are some great ways that you can spend time with your kids when you are stuck at home. Whether you want to get messy or just chill, we’re sure you’ll have a great time.


Finally, foster care kids love playdough. It allows them to get creative and design anything that they can imagine. Whether that’s pretending to make food in a restaurant or styling an egg. You can buy playdough, but why not think about creating your own instead? This in itself can be a fun activity to explore with your kids. All you need to create your own playdough is flour and salt as well as a little time. You can also use food colouring to create play dough in a wide variety of different colours. It’s a little messy but a fantastic option for time with the kids. 


Play Doh Sea Snails

 Play doh is always a favorite play time tool at my house. There are just so many ways you can create with it! This play doh snail activity is so easy! Kids of all ages will love to grab a can of doh and a few favorite shells and get creating! 


Summer is near, and we are so glad. We have been virtually learning for about 15 months now and we are ready for a break. While the kids have less work to submit each day as the year dwindles down, we have more idle time than ever. I am NOT the mom who wants to entertain kids all day long (sorry guys!) so I turn to open ended creative ideas like this one a lot. It keeps the kids happy and gives me a chance to get some things done. 

Even my 11 year old had fun with this one. Rolf usually is too tween cool for any of my hands on play anymore, but this one was high interest and he got involved with his sister.


These play doh sea snails are awesome for rainy day play too. You only need 2 colors of play dough and a few shells to make the magic happen!

Supplies:
Sea shells 
2 or more colors of play dough


Instructions:
Invite the kids to roll out a color of doh for the body of the snail. Carefully insert one end of the rolled doh into the shell. Make sure the end is rolled thin, and don't force it too far into the shell.


Form some small antennae and attach to the head of the snail.
Add small details with a different color of play doh.
Repeat with more shells for a bunch of cute little friends!


This is such a fun activity for kids that requires so little in supplies. It is economical and easy, but can create more detailed creatures with a little patience and imagination.

You can find more fun play doh ideas here
Reader favorites 

Play Dough Ghost Ornaments

This easy Halloween craft is perfect for anyone who wants to add a little boo to the holiday without having to spend any cash! You already have the ingredients to make the Play Dough Ghost Ornaments in your pantry! 


With the kids being at home this year, it feels like old times, we have time to craft in the afternoons again, and I LOVE it! With Halloween coming up, we decided to add a little boo to our decor with this easy homemade play doh ghost ornament craft. This is such an easy craft to make! It is perfect for all ages, from kids to adults.  You can make about a dozen of these (or more depending on your cookie cutter size) from a batch of dough.


Ingredients:
1 cup water
1 cup salt
2 cup flour


Directions:
Mix dry ingredients in a bowl.


Slowly add water, a few spoons at a time, until dough is smooth.
You will know you haven't added to much water if your dough is easy to handle and isn't sticking to your hands messily.


Knead by hand for 5 minutes and let rest for 10 minutes.


Roll out the dough until it is about 1/2 an inch thck.
I used a cookie cutter to cut the shape of ghosts.
Next, poke a hole thru the top of the ghost so you can hang it up.
I used a BBQ skewer.

After cutting my shapes, I used a black crayola marker to make the face of the ghost, on the raw dough.

Place  the dough on a cookie sheet and place it in a cold oven, turning up the temp to 200 degrees. Allow your ornaments to bake for about 90 minutes. Check them frequently to make sure they are not browning (if they are pull them out.)

Allow the ornaments to cool then feed a section of bakers twine or a string into the hole and hang.


Add a variety of faces to your ornaments for a boo-tiful variety of economical and adorable DIY Halloween decorations.


You can find all of my Halloween crafts here.
Reader favorites include:

Play Doh Lollipop Counting

Give early math lessons a sweet spin with this play dough lollipop counting activity. It  combines counting, fine motor skills and a touch of creativity to provide lots of hands on educational fun.


Play doh is my go to tool for hands on learning fun. There are so many ways to use it to learn. This play doh lollipop counting activity is fantastic because it uses basic supplies like craft sticks and play doh to create a math lesson little kids will love!


Supplies:
Assorted colors of play doh
Craft Sticks
Numbers or dice


Directions:
Invite your child to form the lollipops with a small bit of play doh and the craft sticks.
Encourage your child to pick a number from the pile or roll a dice.
Whichever number they come up with, encourage them to roll out that many itty bitty tiny balls of play doh in a different color.
Decorate the lollipops with the small balls of doh.
Repeat with more numbers for a hands on math lesson that works in fine motor skill work too!


You can find all of my play doh ideas here
Reader favorites include:
Play Doh Pie Counting
Play Doh Pre-writing
Play Doh Stamping

Play Doh Flower Counting Activity

Make counting and learning early math tons of fun for little ones with this hands on activity that combines early math with hands on tactile play. 


Play doh is the ultimate tool for play or learning at my house. We love to squish, mold and create with it, plus there are so many ways to learn with it. Adding it into our math lessons was a natural choice.

I was looking for a way to get Harper excited about early math, but it is hard to focus in the spring. There are so many colors, sights and smells to take in after months of indoor confinement.
As I took in the sights of spring, my inspiration was blooming all around me. 

This post contains affiliate links. If you make a purchase I will earn an advertisers fee at no additional cost to you.


Supplies:
Play Doh; green and any 2 other colors
Number Stamps


Directions:
With green play doh, form 2 flower stems
With any other color of play doh form the flower body
Tear off 10 pinches of play doh and shape it to look like petals.
Select two numbers.
Stamp them on the flowers.
Offer your child buttons and the petals of play doh you formed.
Encourage your child to say the number stamped on the doh.
Now, add the coordinating number of buttons to one flower.
Add the coordinating number of petals to the other flower.
Repeat with other numbers.

Find more play doh ideas here Reader favorites include:
Sunscreen Play Dough


Play Dough Multiplication Activity


This play doh multiplication activity is perfect for an introduction to multiplying for eager little mathematicians.


Rolf has been working really hard on his multiplication in the 3rd grade. During the 1st quarter of the year, he was struggling with the concepts. We tried flash cards, which are not at all fun. We tried making tables, which was also a snore. Then it dawned on me, why not true School House Rock?

That did the trick and made it a little more fun for him. Harp was learning too, so we decided to make the process a hands on fun way to learn to multiply. We do use affiliate links in this post. If you have a purchase I will earn an advertising fee.

We started with ones and twos to keep it simple; while Harp was only 5 at the time of this activity (yes! I sat on these photos for almost a year!) I knew that forming these math facts in her mind was a great way to start her off on the right foot.

Supplies:
Play Doh in Brown and Green
Pony Beads 
Wooden Numbers


Directions:
Roll the brown play doh to resemble a tree trunk
Flatten out a can of green play doh for the leaves
Select two wooden numbers and press them into the top.
Use the edge of a number to make the x symbol
Offer your child a selection of pony beads.
Have them press the correct number of pony beads into the dough.
To explain the concept to my girl I told her to count out the first number of the problem in beads, then to do it again and press them in.

Reader favorites include:

Design Your Own Play Doh Ornaments

Kids of all ages are sure to love this Design Your Own Play Doh Ornaments project. It is perfect for holiday crafting and turns out so cute everyone will love to display these!


I am crazy for all things play doh, so naturally I had to make something for Christmas from my favorite craft material. These ornaments are so easy! They will have you saying, who knew you could not only draw on play doh but you can bake it too?!

This post contains affiliate links. Making a purchase means I will earn a small advertising fee, at no cost to you.


These easy ornaments give kids a chance to design their own addition to the Christmas tree! Made with basic supplies this is the perfect project to do with the kids for minimal mess this holiday. 


You can make your own white play doh, like in my super soft play dough recipe, just leave the food color out, or to make this activity really easy during a generally already packed holiday season, just buy cans of white play doh.


To make these design your own play doh ornaments you will need
Supplies
white play doh
washable markers
cookie cutters
bakers twine
A pen or stick to poke a hole with


Directions
Roll the play doh out to be about 1/8" thick.
With your cookie cutter of choice cut shapes of doh.


Poke a hole in each ornament so that it can be hung after completion. I used an ink pen to make my holes.


Use washable markers to draw on the designs.
Bake at 350 degrees for about 30 minutes.
Allow to cool.
Thread bakers twine through the hole and display on your tree.


Find all of my Christmas crafts here
Reader favorites include:
Button Tree Ornaments
Mickey Mouse Jingle Bell Ornaments


11 Apple Crafts to Make with the Kids

I can't help but get excited about the end of summer, because it means that fall is near! Trips to the orchard with the family; lots of action in the kitchen, the temps are finally cool enough for baking! And of course, the crafting with the kids! How could I not get excited for fall!? 

This year I have 11 apple craft to make with the kids to share with you that I know you will have fun making with your little ones!

 Apple Crafts to Make with the Kids


Toilet Paper Roll Apple Stamp
Paper Plate Apple Craft
Caramel Apple Fall Craft
Apple Suncatchers
Take a Bite Out of Fall Craft
Apple Playdough
Button Apple Trees
Fruit Loop Fall Tree
Apple Tree Craft
Toilet Roll Apples
Stuffed Paper Apples


I love all of these ideas! I am hoping to make them all with the kids! We are planning to make these Apple Tree Window Clings again this year but we might make it a crafting marathon with these great ideas!

You can find my Halloween posts here

You might also like this easy homemade play dough recipe

Play Doh Pie Counting Activity

Play doh pies are the perfect way to make learning a hands on activity. Little learners will love getting a good grasp on counting and number recognition.


Harper is my go to girl for all things to make or bake. She loves to get involved in all of my projects.
We made a chocolate chip cookie pie a few weeks ago and she was hooked on pie making! She asked me everyday for a week if we could make another pie.


Finally, I came up with an idea that thrilled her and satisfied her desires to make a whole bunch of pies.
Play doh pies are great for fine motor play, rolling the dough into little balls is fun!
Adding a few wooden numbers turned the activity into a counting lesson too.
This post contains affiliate links. Making a purchase helps to keep my site running!
Supplies:
A mason jar lid
play doh tool for cutting


Directions:
Roll out a can of yellow play doh
Cut the doh to fit a mason jar lid to form your pie shell.
Use any leftover doh to cut strips. These will form your lattice crust.
Encourage your child to roll a can of play doh into small balls.
Select a number you want to work on counting to.
We decided on number 6.
Have your child count the selected number play doh balls to the pie shell.
Now have your child count the number of leftover crust strips.
Have your child add the selected number of lattice strips to the top of the pie.

Repeat with other numbers.


We loved this activity, it was easy to set up, encouraged learning and hands on play, and kept Harper busy for several afternoons. Play doh is our favorite learning tool these days!


If you are looking for more play doh ideas here are a few reader favorites:


Super Soft Playdough

This super soft playdough recipe is so easy to make. It requires no cooking and is made with a unique ingredient for squishable soft results.

Super Soft play doh made with hair gel


Rolf and Harp are both crazy for play doh. They go through several cans a week on average. I tried making a scented play dough when they were smaller, but we found that it molded really fast. That was enough to make me not want to make it again for YEARS.

play doh made from hair gel


This post contains affiliate links. If you make a purchase I earn a small advertising fee at no additional cost to you.

Last week they needed play dough and the idea of going to the store for playdough to keep my sanity, because like I said, they NEEDED it (ie the little one was whining for it. Anyone ever see that old movie the Creepshow? Recall the old man chanting for cake? Harp was kinda like that but she was making a fuss for PLAY-DOH) made me feel a little overwhelmed.

homemade play doh


Going to any store with a tired, demanding child sounds like the worst idea ever. So, I decided to just make it again and hope for better results.

I made this playdough with a bottle of cheap hair gel, because doesn't everyone have hair gel as a craft supply? The results are super soft and squishable.

play doh supplies

Ingredients

1/2 cup of clear hair gel; the cheap stuff from the dollar store will work just fine!
1/4 cup of water
1- 1.5 cups of flour 

Directions


Place 1/4 cup of water and 1/2 cup of clear hair gel in medium size bowl.

play doh supplies

Add 5 drops of neon food coloring to the liquid mixture.


homemade play doh

Stir until well combined.


Add 1 cup of flour to the liquid.


Begin stirring until the contents begin to clump.
At this point, you will decide if you need to add additional flour. If the mixture feels sticky, add an additional 1/4 cup of flour, and continue to stir.

diy play doh


When the flour has been incorporated, test for stickiness. 
Add additional flour if needed
When the playdough is not sticky, it is ready to play with!

super soft playdough

Store in an airtight container when not in use.

diy play doh

Find more crafts here: