More Than Just Brushes: The Fun and Learning of Painting with Unconventional Tools
Painting is a beloved activity for kids, but it can sometimes feel limited to just brushes and paint palettes. Here's a secret: there's a whole world of creative exploration waiting to be discovered with everyday objects like wine corks! In fact, incorporating unconventional tools like corks into your child's next art project can be both fun and educational.
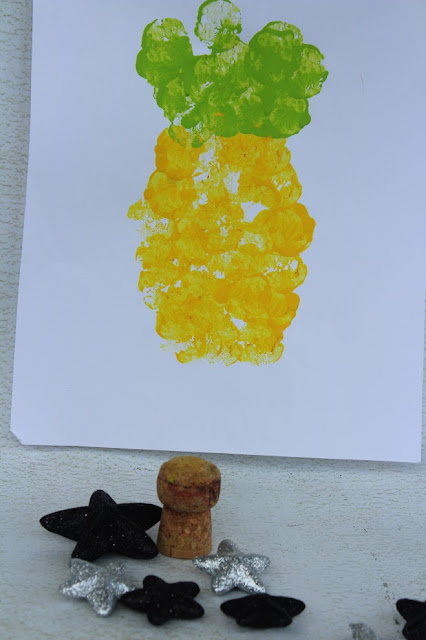
This is such a fun project for little ones, and the results are simply stunning. You will love adding this cork stamped corn art to your refrigerator.
.jpg)
Why Unconventional Tools?
Sensory Play: Wine corks provide a unique texture for little hands to explore. The cork's bumpy surface creates interesting marks on the paper, adding a new dimension to sensory play, which is crucial for early childhood development.
Fine Motor Skills: Grasping and maneuvering a cork requires focus and hand-eye coordination. This strengthens the small muscles in the hand and wrist, which are vital for tasks like writing and buttoning clothes.
Problem-Solving: Using a non-traditional tool like a cork encourages kids to think outside the box. They'll experiment with different ways to hold the cork, apply pressure, and achieve desired effects on the paper.
Creativity Boost: Stepping away from the standard brush opens the door to a world of artistic possibilities. Kids can create unique textures, patterns, and shapes with the cork, fostering their creativity and imagination.

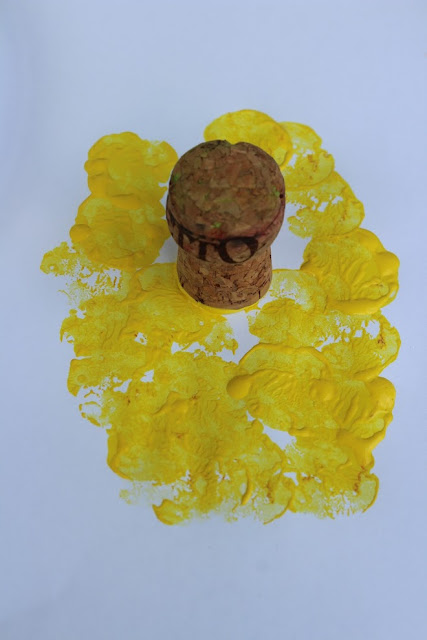
The Case for the Corked Indian Corn
Your corked stamped Indian corn craft is a perfect example of the magic of unconventional tools. It combines the classic appeal of a seasonal craft with the exciting exploration of using a cork for stamping. This project allows kids to:
Learn About Nature: Indian corn, with its vibrant colors and unique shapes, can spark conversations about nature and harvest traditions.
Practice Colors: Painting the corn provides an opportunity to explore different colors and how they mix together.
Develop Pattern Recognition: The repetitive stamping with the cork creates a pattern, helping kids develop basic pattern recognition skills.

Supplies:
Paint in red, orange, yellow, green and brown colors.
A paper plate
A cork
Paper

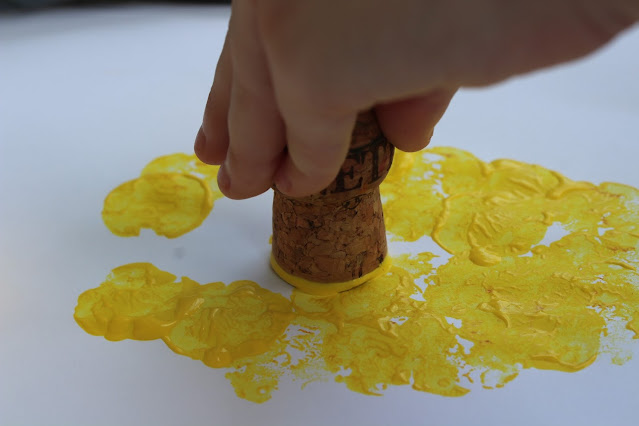
Pour a quarter size dab of paint in each color onto a paper plate.
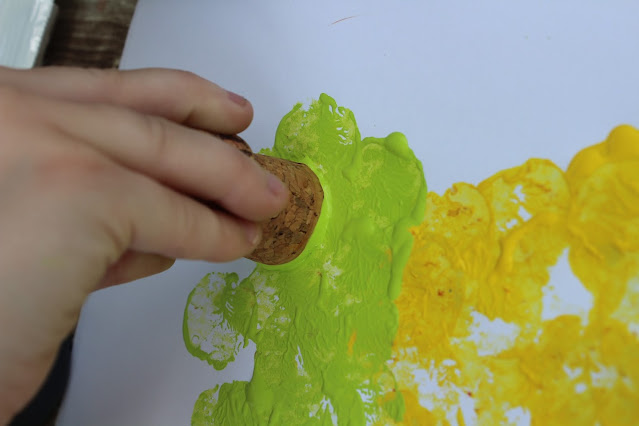
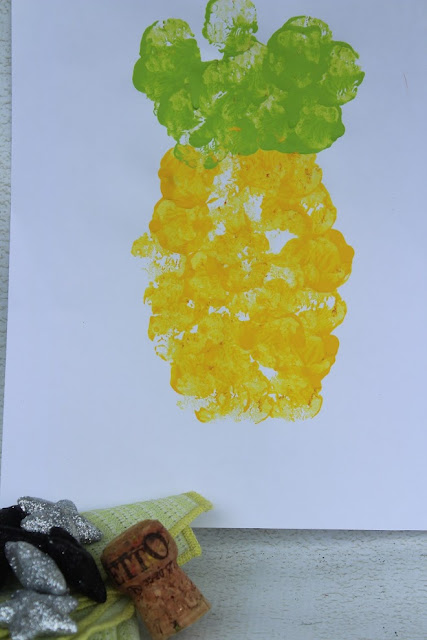
Using a cork, begin to shape the green husk of the corn. To make it easy


.jpg)
Beyond the Cork:
Wine corks are just the tip of the iceberg! There are endless possibilities when it comes to unconventional painting tools. Here are a few ideas to get you started:
- Nature's Paintbrushes: Use leaves, pinecones, or even feathers to create unique textures and shapes.
- Kitchen Creativity: Spoons, forks, and even rubber spatulas can be transformed into fun painting tools.
- Recycled Fun: Give plastic bottles, cardboard tubes, or even bubble wrap a new life as creative painting tools.
So next time you're planning a painting activity with your kids, ditch the traditional brushes and explore the world of unconventional tools. You might be surprised at the fun, learning, and creativity that unfolds!
Find more cool crafts for kids here:
Hungry Caterpillar Process Art


.jpg)


.jpg)