Playdoh Meatball Math

Are you looking for a way to make early math engaging for kids? This play doh activity makes for a fun way to master early counting skills in a manner that kids are going to want an extra helping of.


We are a play doh family through and through. Over the years I have created so many hands on lessons for my kids as well as invitations to play that started with a simple can of squishy play doh.  From a prickly cactus craft that my tween was enchanted by, to  DIY food puzzles for toddlers. I have always felt that playdoh was one of the best toys to have on hand because it doubles as a learning tool.

This idea is so much fun! It starts with 2 cans of play doh and a cute little pan. Grab a few dominoes and your little learners are ready to jump into this awesome activity.


Supplies:
Play doh. I used yellow, a little red and a little orange.
A small pan
Dominoes


Directions:
Create a pan of noodles from the yellow playdoh by rolling out into thin strips between your hands and tear them off at various lengths.
Combine a ball of red and orange dough together to make the meatballs. 
Now tear off small sections and roll them into balls.
Place the noodles into the pan.
Leave the meatballs over to the side.


Invite your preschooler to select a domino from the pile and count the dots.
This is how many meatballs this spaghetti needs. Count the meatballs as you add them to the noodles.


Repeat as desired until you have used all of the dominoes or mastered your counting lesson. I know your kids are going to love this take on early math!


Find more epic playdoh activities here.

Favorites include:

Play Doh Pie Counting

Lollipop Counting

Play Doh Pre Writing Activity

Play Doh Snails

Play Dough Ornaments 


Find more fun math ideas like these math games for kids.

Road Trip Through Iceland: Unique Signs and Regulations You Need to Know

 Are you planning a road trip through Iceland? This blog post will provide you with information on how to navigate Iceland's unique road signs and regulations so that you can enjoy a safe and stress-free journey. Whether you're driving in Iceland for the first time or are an experienced traveller, this post will ensure that you stay informed and well-prepared for your upcoming adventure.


Slow Down in Towns and Villages


When driving in towns and villages throughout Iceland, it is important to remember to slow down. The speed limits in these areas are typically lower than elsewhere on the island, with 30km/h being the common limit. This is especially important when you’re driving a car rental in Iceland because many of the roads in these areas are narrow, and winding, and can have hidden blind spots. Be sure to keep an eye out for pedestrians, cyclists, and horses as they may be crossing the roads at any time.


Watch Out for Pedestrians


When driving in Iceland, it's important to be aware of pedestrians and give them the right of way. Pedestrians should always be given priority over vehicles on the road. Pedestrians have the right of way at all times when crossing at intersections or marked crosswalks. If you’re driving and there’s a pedestrian at a crosswalk, stop for them regardless of whether there are traffic lights or not. As a general rule, if you see a pedestrian at a crosswalk, slow down and allow them to pass. 


Don't Drive Off-Road


If you're planning on going off the beaten path while driving in Iceland, it's important to understand that it is illegal to drive off-road in this country. The terrain can be unpredictable and difficult to navigate, especially if you're unfamiliar with the landscape. Driving off-road may also damage the environment and wildlife.  Therefore, it is best to stick to roads and trails designated for vehicle use. And rent a four-wheel drive car when driving a long trip through Iceland, so that it is easier to drive the unpaved roads found throughout the countryside. 


Drive on the Right Side of the Road


When driving in Iceland, it is important to stay on the right side of the road. This is the same for most countries, however, if you are coming from a country that drives on the left side of the road, you must be extra vigilant. Most Icelandic roads are two lanes, so always keep to the right lane unless you are passing someone or making a left-hand turn. It is also important to be aware of any traffic coming from the opposite direction, as well as cyclists, motorcyclists and pedestrians. 


Use Headlights at All Times


When driving in Iceland, you must use your headlights at all times. All cars rented in Iceland are equipped with daytime running lights, which must be turned on while driving during the day. During the night, headlights must be used. It is also important to be aware of weather conditions, as fog, rain, or snow can make visibility even more difficult. By using your headlights during these times, you increase your safety and the safety of others on the road. 


A Guide to Simple Living: Tips on Downscaling Your Life

 If you're feeling bogged down by the amount of stuff you own, it might be time to consider downsizing your life. Simplifying your possessions can make a huge difference in terms of reducing stress and improving your overall quality of life. This guide will provide tips on how to downsize your life without sacrificing any of the comfort or convenience you currently enjoy. You'll also find advice on how to deal with common challenges that come with simplifying your lifestyle. So if you're ready to declutter your home and simplify your life, read on!

via Pexels


1) Move to a Smaller Home


Moving to a smaller home can be a great way to simplify your life and reduce clutter. It's an opportunity to start fresh and live with just the essentials. Making the move doesn't have to be overwhelming or expensive; there are plenty of ways to downsize without breaking the bank. Start by decluttering your current home, then consider what size home you should look for. Researching different neighborhoods and locations will also help you find a place that fits both your budget and lifestyle.


Think about how much space you need, what types of amenities you require, and which features are must-haves for you. Then, keep yourself organized throughout the process by making lists, taking photos for reference, measuring each room, and creating a timeline for when you want everything done. Ultimately, your household moving to a smaller home can open up new opportunities for living more simply while still providing the comforts of home.


2) Get Rid of Unused Items


One of the best and most effective ways to simplify your life is to get rid of all the items you don't need or use. This can be overwhelming at first, but it's worth the effort. Start by sorting through your belongings and decide what stays and what goes. Be honest with yourself; if something is taking up space but not bringing any value into your life, then it's probably time to let it go. You can donate items that are still in good condition, sell them online or hold a yard sale, or simply throw away anything that isn't worth keeping.


3) Invest in Multi-Purpose Furniture


Investing in multi-purpose furniture is a great way to keep your home organized and free of clutter. Consider purchasing items that can be used in more than one way, such as a bed with storage drawers underneath or a coffee table with shelves. This will not only save you space but also make it easier to stay organized since everything has its place. Investing in multi-purpose furniture can also add character and style to any room, making it look more inviting.


In conclusion, downsizing your life can be a rewarding experience that leaves you feeling refreshed and liberated. It may seem scary at first, but taking the time to declutter and invest in multi-purpose furniture will make your life simpler and more organized in the long run. Follow this guide for a few helpful tips on how to downsize your life without sacrificing comfort or convenience. With these strategies, you'll be well on your way to living a simpler, happier life.


Getting Our Children Crafting and Creating: 4 Things to Remember


Source - CC0 License


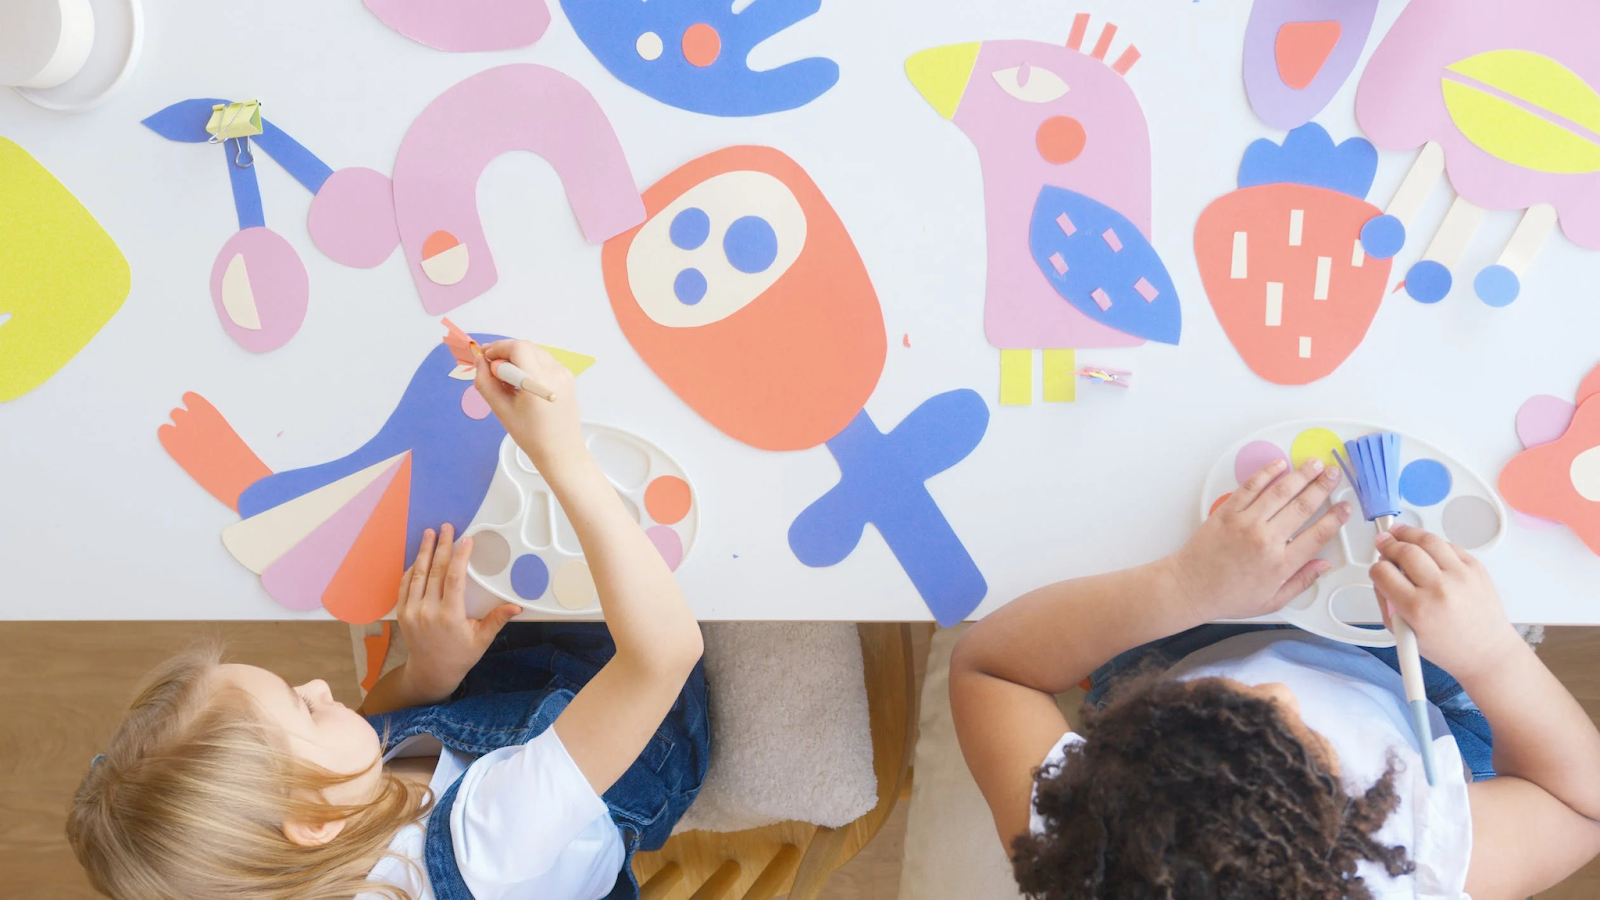
Crafting is an amazing hobby for the entire family. Crafts can spruce your home up and can provide hours of fun. The problem in the modern day is that our kids may not necessarily like the idea of getting into crafts, especially when they're a bit older. They may be more interested in watching videos on YouTube or playing their Switch, but it's important to get our children interested in crafting. It is never too late to teach our children about arts and crafts. Let’s show you a few ways to ensure that it's a part of your children’s lives.

Provide the Right Resources

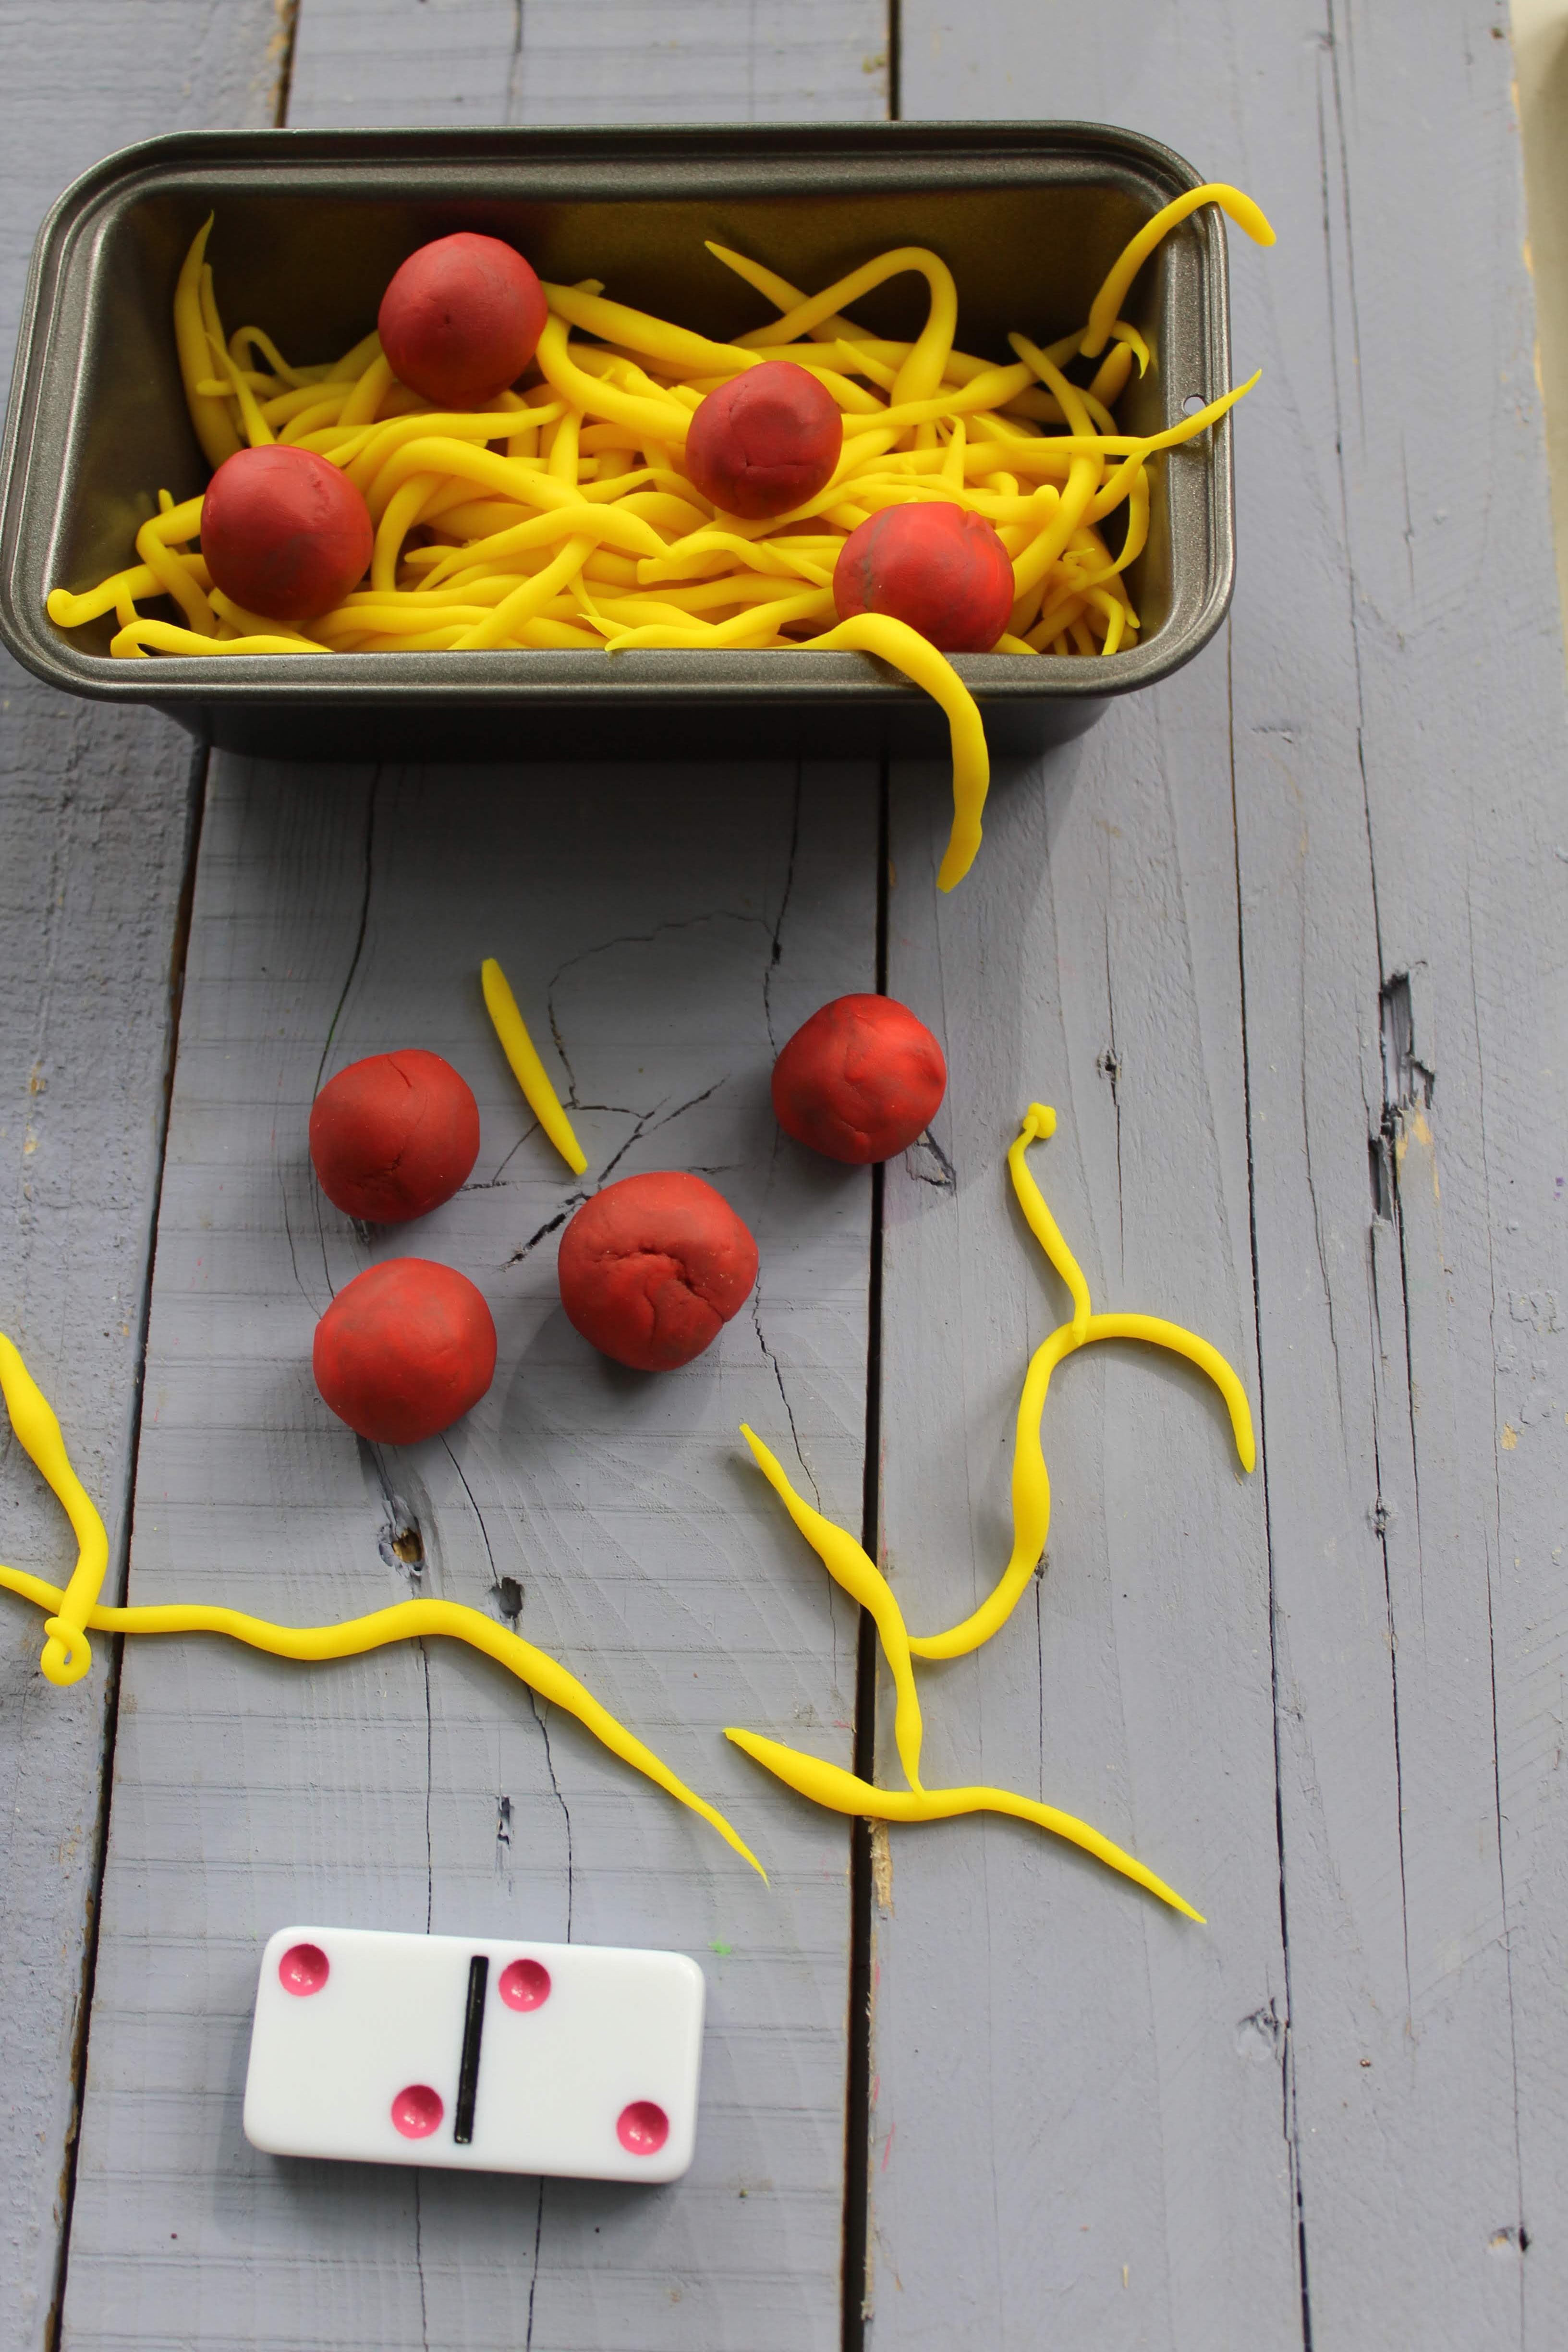
The most important place to begin is finding the type of crafting that your kids would prefer to get on board with. Your children may be more interested in sticking pasta on paper or they may want to fashion little characters with amazing detail using macrame cotton rope to be a tiger's tail or hair for a little Stick figure. 

Whatever your children need, it is important to have an abundance of tools. We have to remember that creativity is something that shouldn't be limited in scope. When we have more tools at our disposal, it means that we can fulfill our vision better. But in order to get your child interested in something means providing a wider palate of tools. Your kids may not know what they're interested in just yet, which is why it's critical to provide as much inspiration as possible.

Make Sure You Can Clean Up

You might think it's a good idea if you can get them interested in arts and crafts but you might be dreading the cleanup! We've all been there! The best thing you can do is to have an area dedicated to arts and crafts. It might not be in the house, but setting up in the garden shed exclusively for messy play will take the stress out of the equation. If you have to do it in the house on a rainy day the best thing you can do is to have paint-proof mats laid everywhere, as well as make sure that your kids are protecting their clothes from glue, paint, and glitter! 

As nice as it is to encourage our children to get into arts and crafts, we could be stressing out about the mess they make which, over time, could stop them from wanting to create. Of course, we don't want a messy house, but it's critical that we get the balance right.

Do It Together

This sounds simple, but lots of parents give their children things to do and then leave them to it. It all depends on how old your child is; if your child is 9 or 10 they've already got a number of years of experience in playing video games and may not necessarily want to get involved in things like messy play. 

With a child of this age, it's important for us to sit down with them and gain an insight into what they would like to create. It could be as simple as giving them a pencil and some paper and asking them to draw how they are feeling. Arts and crafts are certainly things that appeal more to younger kids, but if you have younger children, ensuring that you stay with them and get creative to see what you can come up with as a family is a wonderful way to spend quality time together, but it also allows them the freedom to experiment with designs and colors. 

It can be a great lesson for you as well; sometimes we don't use our imagination as much as we should. The great thing about spending time with your kids creating stuff is that there are no rules! You can do anything you want, and this is something that, as parents, we can benefit from remembering once in a while!

Inspire Them

While creating can be an amazing thing, it benefits us to give our children inspiration. You can choose to go to an art gallery or museum but this could be intimidating for young children. However, spending time as a family can be a wonderful experience to provide a dose of culture. You can always start by getting a copy of The Art Book as a coffee table read. 

When your children start to look at the different painters and sculptors, from medieval to modern times, it can provide a great springboard for your child to do something more the next time they approach the canvas. It's important to remember that we don't fill them with a sense of dread and everything they create is going to be fantastic. We just need to give them that encouragement. 

Creativity is a tool with no rules at the outset, but as your child gets older, they may attempt to create something that they pictured in their head but are not getting it right. The expression “art is never finished, only abandoned,” comes to mind here, but it can be an amazing way to help streamline their talents, especially if your kids are showing interest in crafts or starting to create different pieces of art. 

The best thing about getting into crafts is that nothing is off-limits. You can create collages out of recyclable materials, make sculptures out of clay, sew pieces of cloth together to make an heirloom, and on it goes. The more your kids get inspired the more they will create, and this is an amazing thing to see.


Being artistic is an amazing way to express ourselves and we can use crafting to connect with our children on a different level, but it can also help our children become more in touch with their emotions. One of the biggest problems with using digital tools is that there is not always a hands-on approach that can be better utilized with arts and crafts. If you want your children to be more creative, in tune with their emotions, develop problem-solving skills, and express who they are in healthy ways, it is a great idea to get your children interested in crafting and creating.


Nilla Wafer Bark


Make this no bake Nilla Wafer Bark the next time you crave a sweet that is soft, crunchy and delicious! It is made with common pantry staples to make a fast candy that everyone is sure to love.
This recipe is so easy you might want to get the kids in the kitchen to help you prepare this for a dessert to enjoy at home, or a treat to share with friends.


I love to make homemade bark. My husband Adam loves candy, so these kind of recipes are always a hit at home. This one is no exception; it is easy to whip up when you realize a sweet is needed, and no matter what you have on hand, I know you are going to come up with something totally tasty.


1 cup of white chocolate chips

1 cup of sprinkle white chocolate chips

1 cup of vanilla wafers

1 ½ c large marshmallows (or about 12)

½ tsp crisco or coconut oil


Directions:

  1. Line a baking dish with parchment paper.
  2. Add vanilla wafers to the baking dish.
  3. Add marshmallows to the dish.
  4. Melt white chocolate chips, sprinkle chocolate chips and crisco together over a double boiler, or in the microwave. Stir often. When the chocolate chips can be stirred smooth, remove from heat.
  5. Pour the melted white chocolate over the contents of the baking dish.
  6. If needed, stir everything around to completely cover with melted white chocolate.
  7. Stick in the refrigerator for about 45 minutes, or until the white chocolate has hardened.
  8. Cut into chunks and enjoy.
  9. Store leftovers in an airtight container.


Keep this easy recipe on hand for those times that the pantry is bare, or maybe you just crave candy but don't have the time to dash to the store. This also makes a great homemade gift to share at the holidays with a candy lover in your life.


If you are looking for more homemade bark recipes you won't want to miss these favorites.


Easy Rudolph Bark