Showing posts sorted by relevance for query bark. Sort by date Show all posts

Coconut Rice Krispie Treats Recipe {Dairy Free}

Earlier this week I needed to make a snack to share with little boys. I thought I would go with a standard favorite and make Fruity Pebble Treats until I realized margarine has milk in it and I needed a snack that was free of milk and chocolate.

I started a batch of a nutella type Rice Krispie Treats... then I realized after adding the Jif version of Nutella that oops this has chocolate in it... It was irrelevant anyways because the recipe was a total flop. 

I scanned my pantry and came up with coconut oil as an ingredient a little more digging searching produced a bag of coconut flakes...

So, I created a recipe that is free of milk and chocolate for my dears that face food allergies. I wasn't sure how they would turn out so I used {Mr.} Adam as a guinea pig. He said they were good but that they were too adult for kids. I shrugged my shoulders and said "I am okay with that because I tried."

Imagine how thrilled I was to hear from the Moms a few days later that the Coconut Rice Krispie Treats were a hit and that several Moms thought they were lovely! So here is the recipe, I hope you like it too!


print recipe

Coconut Rice Krispie Treats {Dairy Free}
Dairy Free Rice Krispie Treats with a delicious coconut flavor!
Ingredients
  • 4 1/2 cup Rice Krispies
  • 10 ounces Marshmallows
  • 2 tablespoons Coconut Oil
  • 1/3 cup Coconut Flakes
  • as desired Sprinkles
Instructions
Spray a baking dish with coconut oil spray as well as a pan.Add 2 tablespoons of coconut oil and 10 ounces of marshmallows to the sprayed pan. On medium/low heat melt the oil and marshmallow. (This took about 3 minutes, be sure to stir frequently)
When the marshmallows and coconut oil melt add 4/1/2 cups of Rice Krispies and 1/3 cup of coconut flakes to the pan, stirring until the cereal is well coatedSpread the mixture into the prepared baking dish.Add sprinkles.Allow to cool for one hour.Cut into squares and serve.
Details
Prep time: Cook time: Total time: Yield: 16 servings


If you liked this easy recipe you might want to check out my Pretty Pebble Marshmallow recipe or My Nuts About Cookies Bark recipe. Thanks for dropping by today!


Strawberry Ghosts

Trying to eat a little healthier this fall? You are in luck! With this simple recipe you can make a serving of candy coated fruit to satisfy your cravings.


I am always trying to make fruits and veggies more appealing to my kids. This recipe is a sure way to get kids excited about strawberries, while giving them a little of the candy they desire.

Supplies:
Strawberries
White candy melts
Candy eyes
Parchment or wax paper


Directions:
Wash the berries and dry them on a paper towel.
It is very important that you remove all the exterior moisture before you dip into the chocolate.
If there is still water/moisture on the berries when you dip into the chocolate; it will clump up fast.


When the berries are dry melt the white chocolate/almond bark according to the directions on the packaging.
Dip the berries into the melted chocolate, working fast.
Place the berries on the wax paper.
Before the chocolate has a chance to harden, drop 2 candy eyes on each berry.


When all of the berries have eyes, you can place them in the fridge to help the chocolate harden.
You can enjoy these within 15 minutes or so.


These are perfect for sharing at a Halloween party! What a sweet little spooky ghost!


I bet you can't eat just one!


These are delicious, easy to make, and while they do have a candy coating, they are so much healthier than some of the options Halloween is best known for!


Make a batch and stop by to share a little BOO! with a friend or neighbor!
Or maybe just eat them all by yourself! 


 You can find all of my Halloween ideas here

Reader favorites include:

Is Garden Landscaping Expensive?

A nice aesthetic garden has a delightful ambiance of its own. The green resonates the healthy and
growing aura of your house and gives pleasure to look at. However maintaining a garden is no cheap
task. They are very costly and not every landscaping idea is welcoming to everyone’s budget. If you
haven’t had much of an experience with landscaping or are out of touch with the landscaping rate, we
will fill you in with the most up to date costs to help you become realistic with your landscaping plans.
1. What factors will affect the cost of landscaping?
There are many factors that you must take into account before exploring the cost of your
garden landscaping

Learn more about adding trees to your landscape here:
  • The size of your garden
  • The span of the coverage
  • Special nurturing for exotic plants
  • Type of fertilizers and pesticides used
  • Cost of pants and mulches
  • Your gardener’s salary
2. How much do gardening services cost?
Gardeners have a lot to do with the size of your garden. On an average for an average sized house
garden; gardening services would range from £15-45 per hour. Another factor that decides the cost of
gardening is the efficiency of a gardener, their level of expertise and their experience. On an average
that would be around £150 - 300 per day for 2-3 hours of gardening every day. Gardening services
include weeding, weed removal, trimming, pruning, lawn clearance, lawn care, lawn mowing etc.
Source: http://azworks.co/wp-content/uploads/2018/12/landscaping-ideas-with-rocks-beautiful-river-rock-landscaping-ideas-rock-garden-landscaping-with-rocks-garden-landscaping-and-backyard-landscaping-landscaping-ideas-rocks-gravel.jpg
3. How much does garden cleaning cost?
Garden cleaning by a professional will cost you at around £35 -40 per hour.
4. How much does soil irrigation cost?
Most people tend to dismiss the irrigation, but the fact that water costs is not to be ignored. For
£8-10 per hour your garden will remain hydrated.
5. How much does maintaining a turf cost?
Turf maintenance is a chore not everyone has the time for. Hiring a professional to do will cost at
around £14 per square meter.
Source: https://i1.wp.com/www.mrright.in/ideas/wp-content/uploads/2017/11/Small-garden-landscaping-ideas.jpg?resize=600%2C400&ssl=1
6. How much does bark mulching cost?
To keep your plants warm and well hydrated in summer time, you should consider mulching which has
an approximate cost of £12-38 per cubic meter.
7. How much does new plants cost?
For garden makeover you need plants, however, plants do not have a fixed price. The same plant you
buy on sale will have a massive difference from the plant you buy from a nursery. Plants are also very
dependent upon the area where you choose to do the plantation. The price will range from £30-40 per
square meter.
8. How much does fence installation cost?
Fence installation will cost you £40-50 per meter for close boarded and £50-60 per meter for a closed
board fence.
9. How much does paving cost?
Sandstone paving will cost you £80, while block paving being a slightly cheaper option will cost you
around £70-80.
10. How much does decking cost?
Softwood decking comes in cheap at £70-80 per square meter, while hardwood decking ranging from
£130-160 depending on the type of wood used.

Beginner's Guide: How to Carve Handmade Woodcarvings

 stock-photo-carpenter-wood-chisel-tool-carving-old-wooden

Handmade wood carving crafts combine the beauty of nature's materials and the ingenuity of manual carving and are loved by many. With the development of wood carving, more and more people have become interested in exquisite wood carving crafts and are looking for ways to learn wood carving techniques. After all, it is a very pleasurable thing to carve a lovely little wood carving yourself. If you are also a beginner learning wood carving, then this guide is a good one to have.

Step 1: Prepare the required tools

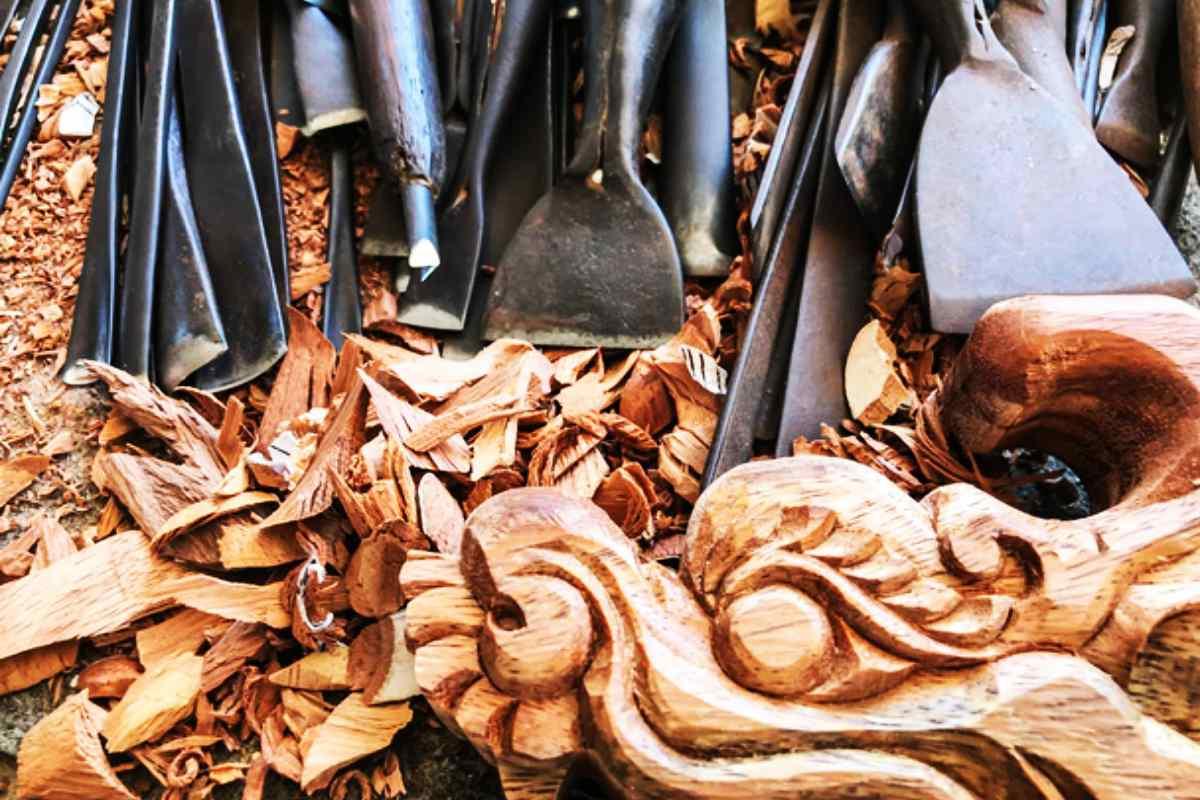
  1. Basic Engraving Tools: 

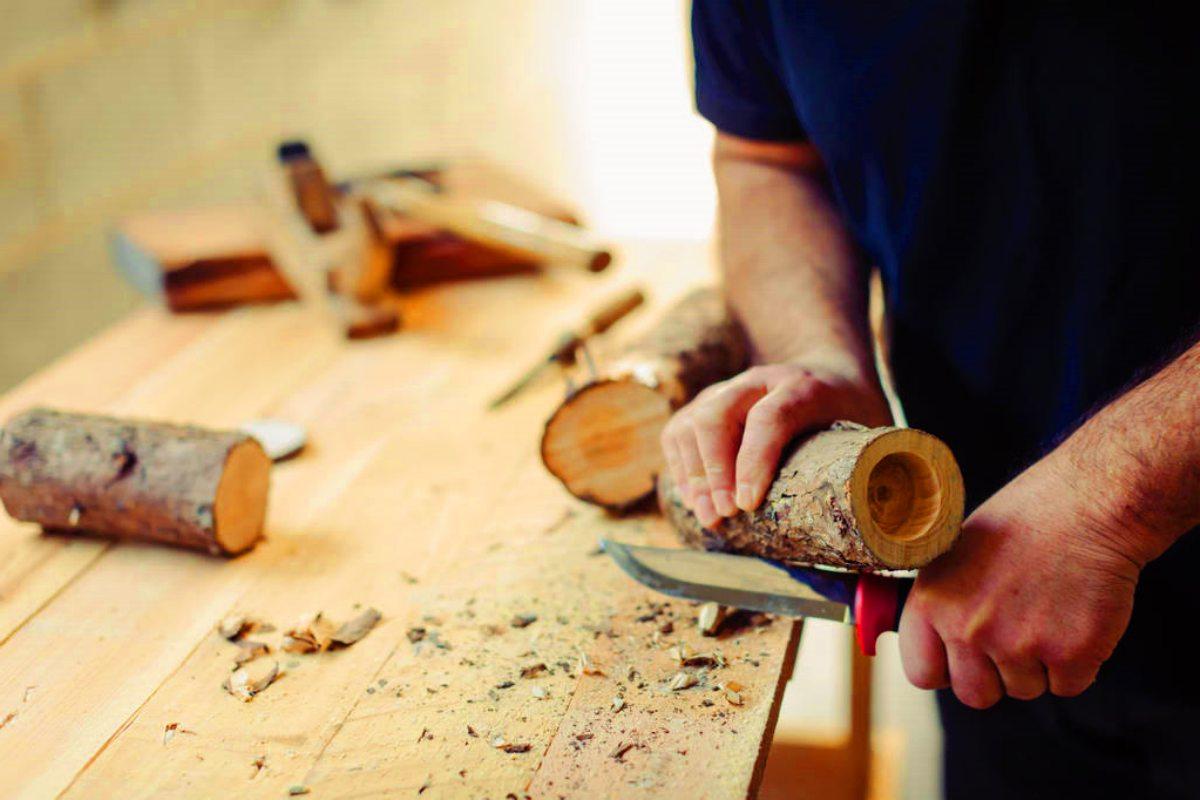
As a beginner, you do not need to buy advanced carving tools that are difficult to handle like the masters do, but just some basic engraving tools will suffice. For example, a flat knife, small saw, pencil sharpener chisel knife of different widths, as well as V-shaped knife and U-shaped knife for carving details.

  1. Auxiliary tools

sandpaper, brushes, clamps, pencils, sketch paper.

  1. optional tools: 

as a beginner who is not very good at using various shapes of carving knives, you can prepare an electric carving pen.

Step 2: Design Draft

To make a wood carving craft, beginners first need to design a draft. According to their own ideas, find similar works and copy, draw on the draft paper. Because wood carving has many different carving techniques, wood carving draft is mainly divided into hollow relief, three-dimensional round carving and plane carving. Each of these three forms has different design ideas. Openwork is the most difficult, so it is recommended that beginners choose either three-dimensional round carving or plane carving.

1.Three-dimensional round carving

First of all, we need to draw the plan of the wood carving according to our own ideas, and then deepen the details. Because the round carving is a three-dimensional shape, although we draw a plan, but we need to build a three-dimensional drawing in our mind, in the draft drawing to mark out which areas need to be reserved for how much size.

stock-photo-wood-carving-exhibition-professionally-carved-cars-trucks-children-toys

2. Plane engraving

Plane engraving is mainly in a fixed size plate, according to the drawing of the pattern for carving can be, is the most simple, the most suitable for beginners of the engraving process. So in the sketch only need to mark out the size of the plate and depict the pattern you want to carve can be.

stock-photo-talented-carpenter-meticulously-carves-detailed-elaborate-designs-piece-wood-using

Step 3: Selection of materials

  1. Material:

 beginners choose softwood, such as basswood, pine, poplar and other wood easy to carve. Remember not to choose hardwood for the first time, the material is too hard for beginners to carry out carving is easy to appear hand injury accident.
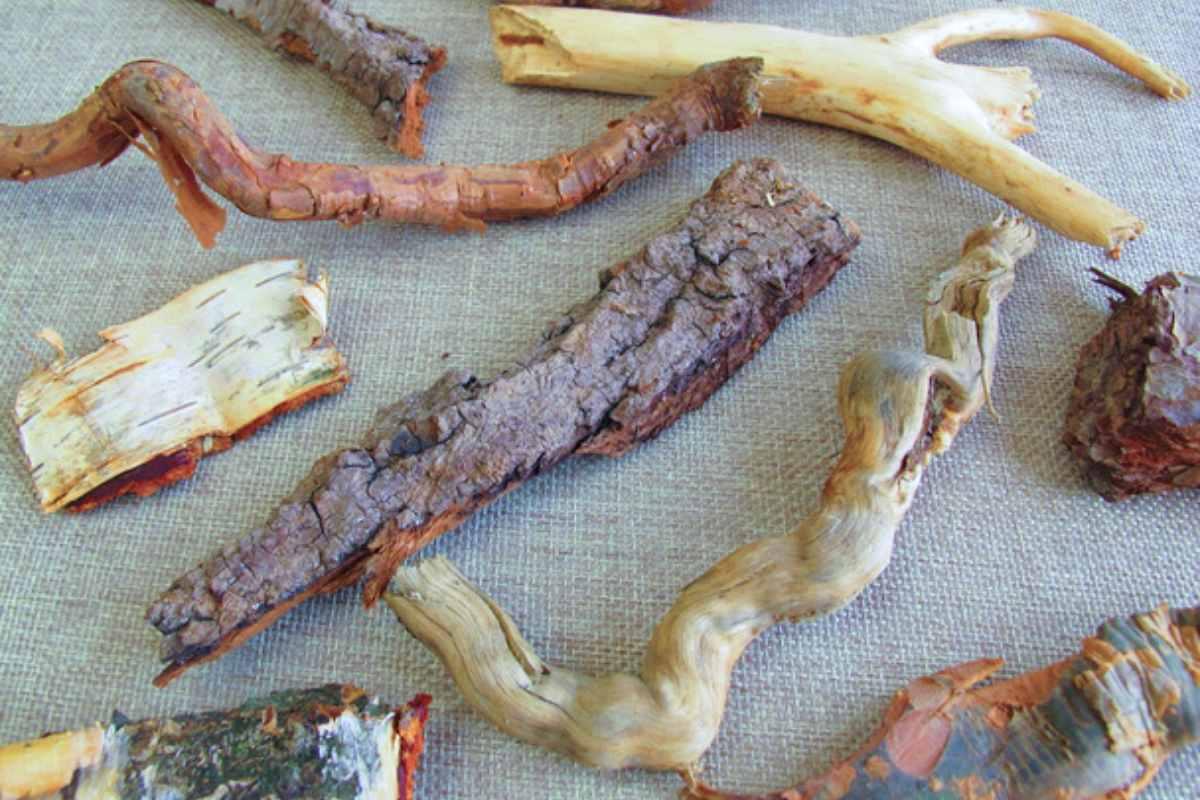
  1. Shape and size: 

according to the draft map marking the size of the wood to choose to meet the requirements. If it is a flat carving, find the right size can be: if it is a round wood carving, you can go to look for some unique shapes of wood, such as a long strip of wood with forked branches to carve a long ribbon fish.

  1. Appearance: 

there should be no obvious cracks and scars on the wood, otherwise the wood carving may have irreparable flaws after completion.

stock-photo-tree-roots-and-bark-for-crafting

Step 4: Base shape

Roughly remove the excess wood from the wood by chiseling and cutting. After removing most of the wood, use tools to sand the rough basic shape according to the draft. During the sanding process, the volume of each part of the wood should be left to allow some room for the rough carving later.

stock-photo-man-making-rustic-wooden-candle-holders-tealights-workshop

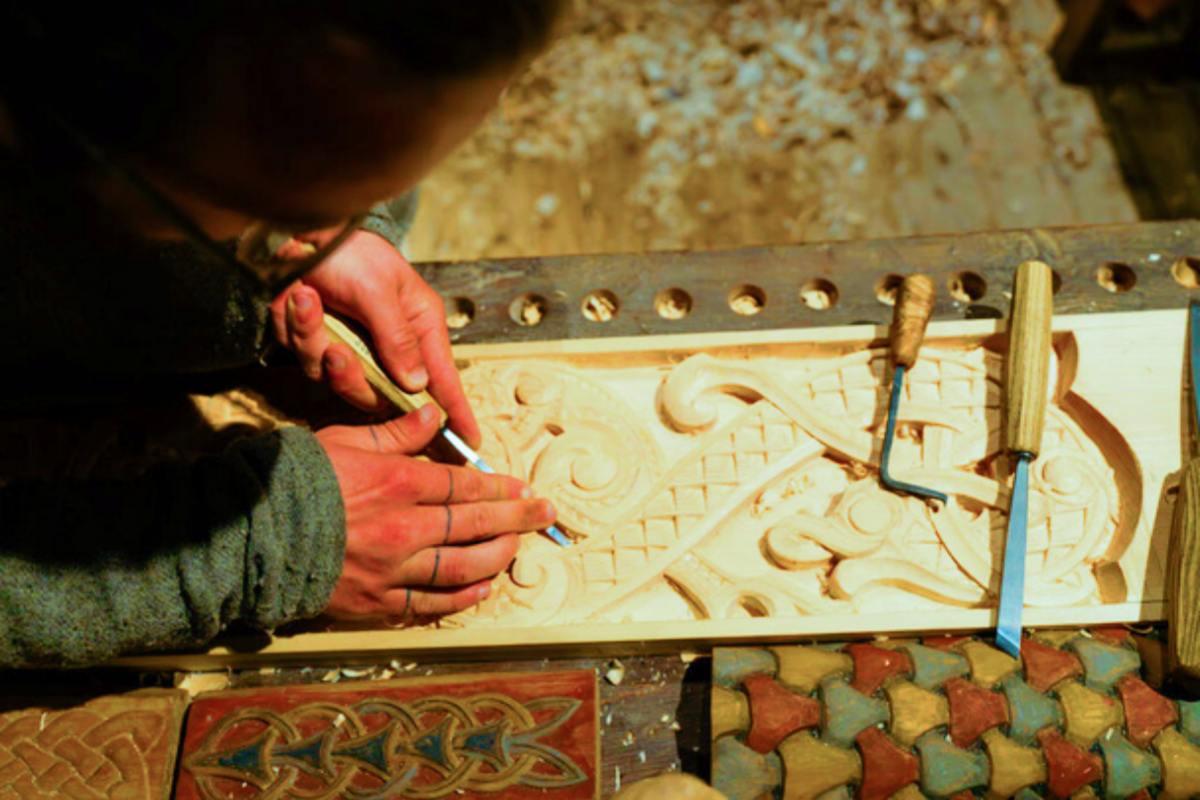
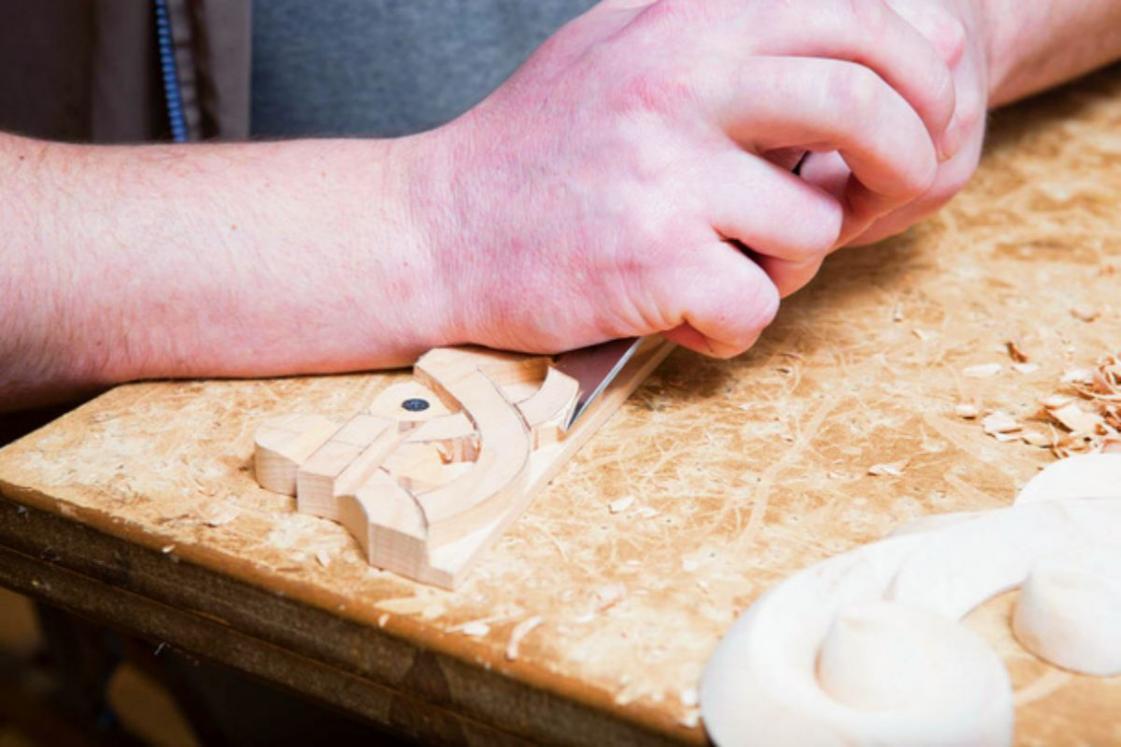
Step 5: Rough and fine carving

The basic shape of the wood carving work is completed, and then you need to take out the ready carving tools, in the wood carving was deliberately left on the margin area for processing. Fine carving requires beginners to work on the fine details of the work to modify and carve, according to their own ideas to optimize the carving of the details of the part. Rough carving requires the beginner to continue shaping the overall shape of the wood carving with a wider carving knife.

stock-photo-woodcarver-creates-a-furniture-ornament-woodcarvers-hands-chisels-tools-wood-carved-ornament

Step 6: Polishing

After the carving work is completed, the overall work will have angular carving marks. If you want to preserve the original carving marks and give the carving a more natural look, you can skip this step and go straight to coloring the wood carving wax. If you want the overall appearance of the piece to be smooth and have a flowing aesthetic, you will need to sand it. Use sandpaper to sand the edges and corners, and then use a brush to clean up the wood shavings after the sanding is completed, and the overall carving of the wood carving is finished.

Step 7: Post-treatment (waxing)

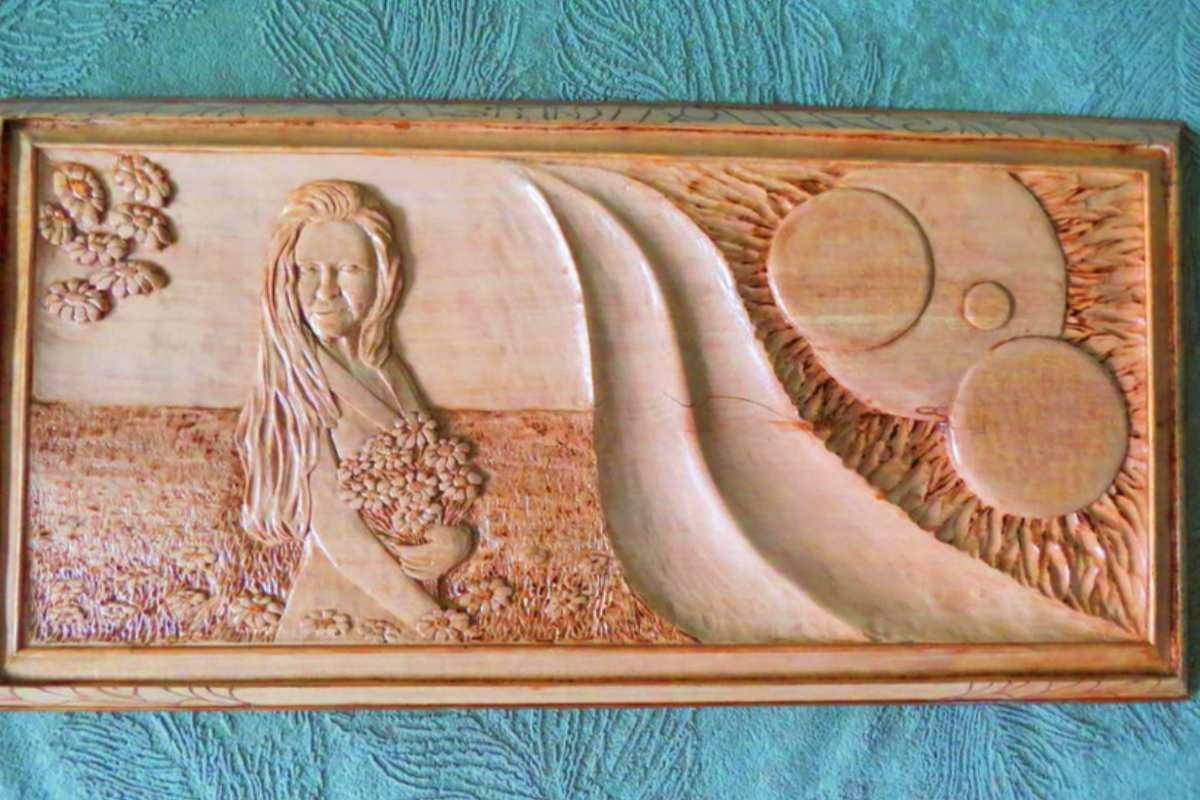
After cleaning up the wood carving and making sure there is no debris on its surface, you can start the final waxing work. If you like the original color of the wood carving, you can use wood dye to highlight the wood grain of the wood carving and show the natural original color. If you like colorful wood carvings with rich visual effects, you can use acrylic paints to color the wood carvings, which will have a good decorative effect. Finally, oil wax, varnish and other paints are applied to create a protective layer for the wood carving.

stock-photo-woodcarving-painting-sleep-girl-daisy-field

Conclusion

By following the steps in this guide, beginners can quickly learn how to carve a wood carving craft and know the details and safe practices to pay attention to in each step. Beginners, go to choose a few suitable carving tools and start carving your first wood carving crafts, which will be a very interesting and fulfilling thing for you.