Image Source: CC0 License
It’s not until we become parents that we truly realize just how much stuff accumulates when there’s a baby in the house. After all, the theory is that newborns don’t need a great deal. Unfortunately, while there is truth to that statement, the stuff that they do need can be bulky, not to mention that it builds up surprisingly fast throughout their first year or so of life. Given that this period often passes in a blur, many unprepared parents then look up to find themselves quite literally buried by baby stuff or using entire rooms and attic spaces for the sole purpose of storing those used baby items.
Given that you’re only going to keep on accumulating more things into your child’s second year (and, let’s be honest, every year after that), this is by no means a sustainable way of doing things, and it highlights the need to think about the best ways to stop that mountain of baby stuff from ever building in the first place. This can save you a world of stress when you simply don’t need it, as well as ensuring that your home is always far clearer than it would be.
The question is, what exactly are the best hassle-free ways to fight that mountain, and how can you put them into practice for results that stop you from ever having to scale to its top?
Step 1: Develop a system early on
Too often, we make the mistake of not having any storage system in place for our old baby clothes, etc. until they’re already taking up space. Unfortunately, this can result in piles of unsorted clothes and old toys that range across so many ages that you don’t even know where to begin. Given that you’re already an overworked parent, it’s therefore not at all unusual to take one look at this build-up and close the door to deal with it another day. Then, before you know it, you have that much-dreaded mountain on your hands.
This is precisely the escalation that you’re reading this article to avoid, and the best way to do that is to put at least some kind of storage system in place as early as possible. Ideally, adding this to your list of things to do after finding out you're pregnant means that you won’t even need to worry during those already busy newborn days. Even better, you can find ways to correlate this with your baby prep in general. For instance, you may find it useful to label some storage containers with ages newborn, 3-6 months, and so on. Then, you’ll be able to see exactly what you’ve got ready for baby, as well as keeping those boxes on hand for when your new youngster grows out of each age range.
Step 2: Research your options for removal
Unless you’re planning on having more children (in which case, sustainable storage solutions are a must!), you’re best off getting rid of used baby items as soon as you’ve filled a storage container or moved into a new age range. Luckily, there are countless ways to do this, and most of them don’t require all that much effort on your part. For one thing, asking around any pregnant friends, or those that you know are making plans of this nature will most likely see you getting rid of the vast majority of stuff. Even if there’s no pregnancy on the horizon, don’t hesitate to ask around – most likely, your friends will know someone who could use the extra! If you have no luck here, then there are also plenty of additional routes to consider online, many of which could see you earning some semi-decent cash for cast-offs. Great platforms for selling high-quality second-hand baby items especially include –
eBay
thredUP
Toycycle
Kidizen
And more
Simply make sure that you set up a profile in the early days, and get into the habit of uploading items before you put them into storage so that they never have a chance to creep up on you.
Step 3: Put everything away in pristine condition
Considering that you’re finished with them and ready for them to stop cluttering up your house, it’s often tempting to put items away without properly cleaning them. After all, you can do that another day! In reality, though, storing clothes that need a wash, or even a stroller that’s covered in the usual wear and tear of snacks, spit-ups, and so on, can both damage the quality of those items, and make it less likely that you’ll ever get around to getting rid. After all, cleaning one thing is bad enough – cleaning a whole attic full of stuff just isn’t something that you have time for!
Luckily, you can save yourself time by making sure that every single item you have in storage is cleaned and ready to go for the fast turnaround that you’re ultimately aiming to achieve here. The effort that you spend on putting that one load of used clothes straight in the washing machine, or deep cleaning a stroller that’s no longer a good fit, will most certainly save you work in the long run. Not to mention that, if you’re going down the sales route, this proactive cleaning focus can see you getting far more money, as well as guaranteeing good reviews that make it easier for you to get rid of similar items fast in the future.
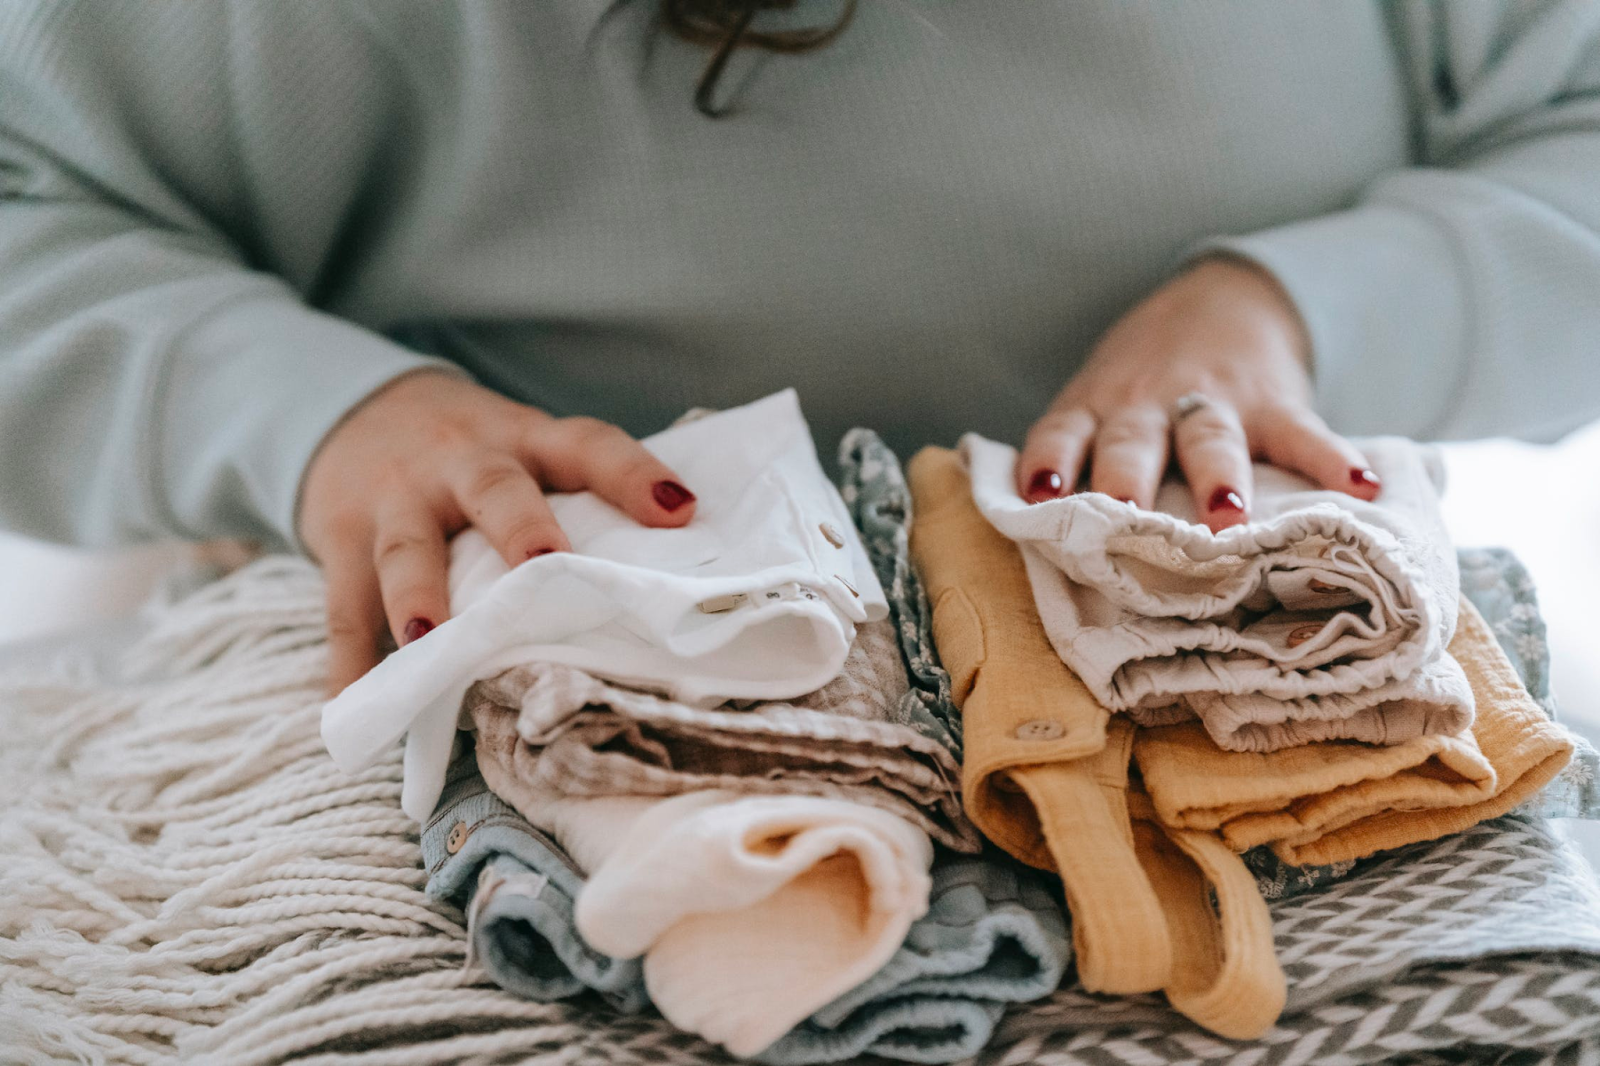
Image Source: CC0 License
Step 4: Operate on an in-out basis
Despite your best efforts, used baby items can still build surprisingly quickly considering how often you’ll need to update things like your baby’s wardrobe. In fact, with entire outfit overhauls necessary every three months or so for that first year, you could end up with a whole mountain of stuff in less than six months if you aren’t careful.
To avoid this, it’s always worth approaching used baby items with an in-out mindset. In other words, every single time that you bring new wardrobe sizes, etc. into the house, make a distinct effort to get rid of the size that came before it, and to not buy anything more until you’ve achieved that goal! It may seem strict, but setting yourself this rule makes it impossible for these items to build, buying you time to get rid without panic, and making sure that you never have more to deal with than you can manage.
Step 5: Take inventory once in a while
While most of us are used to taking inventory at work, few of us apply the same thinking to our home lives. Yet, when it comes to the potentially mammoth task of sorting used baby items, this simple process can become invaluable for helping you to keep your sanity and your space.
After all, if you don’t know what you’ve got, then it’ll be impossible to effectively impose things like the in-out rule discussed above. Not to mention that, even if you think you know everything that you need to organize/reduce, it’s all too easy to forget even entire boxes of clothes that could then end up as the basis for a build-up if you aren’t careful.
Luckily, taking even a basic inventory of things like age ranges every few months is all you need to offset this risk and is a process that couldn’t be simpler if you’ve got a decent storage system in place as mentioned. This way, you can always keep track of what needs to go first, what’s newest to your storage setup, and what’s happening with everything in between.
Step 6: Don’t let yourself get sentimental
Image Source: CC0 License
So, you’re prepped, ready, and armed with all of the platforms/know-how to keep used baby stuff under control. Only, then you see the first babygro your newborn ever wore or that coat that they took to their first meeting with the family. Suddenly, you’re overwhelmed with emotions, and can’t shake the feeling that you need to keep every last scrap of it for the sake of memories.
In reality, though, there are very few things that warrant keeping simply for sentimental value. After all, even if you did keep every memorable outfit, you’d likely look at them once every twenty years and coo before putting them back to clutter your home again. With this in mind, our last and perhaps most crucial pointer is to stop yourself from being sentimental about items that, ultimately, have served their purpose. By all means, keep things like the odd handmade piece, or perhaps even that first sleeper that you can’t part with. But, be strict with yourself, and make sure that you’re limiting what you keep to these few special instances before you’ve got an avalanche on your hands.
It’s by no means easy to stop a mountain of baby stuff from building at some stage, but taking it one step at a time with these tips in mind should at least help you to keep your home that bit clearer, and more manageable, for your baby’s first year and beyond.


.jpg)