Showing posts sorted by date for query mason jar. Sort by relevance Show all posts

Play Doh Pie Counting Activity

Play doh pies are the perfect way to make learning a hands on activity. Little learners will love getting a good grasp on counting and number recognition.


Harper is my go to girl for all things to make or bake. She loves to get involved in all of my projects.
We made a chocolate chip cookie pie a few weeks ago and she was hooked on pie making! She asked me everyday for a week if we could make another pie.


Finally, I came up with an idea that thrilled her and satisfied her desires to make a whole bunch of pies.
Play doh pies are great for fine motor play, rolling the dough into little balls is fun!
Adding a few wooden numbers turned the activity into a counting lesson too.
This post contains affiliate links. Making a purchase helps to keep my site running!
Supplies:
A mason jar lid
play doh tool for cutting


Directions:
Roll out a can of yellow play doh
Cut the doh to fit a mason jar lid to form your pie shell.
Use any leftover doh to cut strips. These will form your lattice crust.
Encourage your child to roll a can of play doh into small balls.
Select a number you want to work on counting to.
We decided on number 6.
Have your child count the selected number play doh balls to the pie shell.
Now have your child count the number of leftover crust strips.
Have your child add the selected number of lattice strips to the top of the pie.

Repeat with other numbers.


We loved this activity, it was easy to set up, encouraged learning and hands on play, and kept Harper busy for several afternoons. Play doh is our favorite learning tool these days!


If you are looking for more play doh ideas here are a few reader favorites:


Homemade Cherry Orange Soda Pop Syrup

Homemade Cherry Orange Soda is light, refreshing and perfect for sipping. It comes together with only a few ingredients to make a gourmet soda that you won't be able to get enough of.

This post contains affiliate links.

We have a  Drink Mate in the kitchen and I vowed to put it to use this summer. I made a delicious Strawberry Peach Soda recipe a few weeks ago and I couldn't wait to make more fizzy drinks.  The neighborhood kids were more than happy to be my taste testers, so I started experimenting.

This is such an easy homemade soda pop recipe. If you are not using a soda machine like the drink mate or soda stream, you can make this work with club soda.

Supplies:

1 orange
1/2 pound of pitted fresh cherries
1 cup of sugar
1 cup of water
Mesh Strainer

Directions:

Combine fruit, water and sugar in a saucepan.
Over medium heat bring to a boil.
Reduce heat and allow the fruit syrup to simmer for 20 minutes.
Pour through a mesh strainer.
Allow the syrup to cool.
Discard fruit (This is wonderful over ice cream if you are so inclined.)


Soda directions:

Carbonate filtered water.
Add 2 ounces of cherry orange syrup per 8 ounces of carbonated water (or club soda) to ice.


If you want a stronger, sweeter soda increase the syrup from 2 to 3 ounces.


My family loved this. The kids liked the sweet, juicy, bubbly flavor. I loved that it was a caffeine free option and that I know what is in it, and that I can control the sweetness of this soda.


I served this on a hot day, with lots of ice. My husband mixed a little vodka into his and declared it to taste like summer should.


If your family loves this, next time double or triple the batch for the syrup. You can store it in a mason jar in the fridge for a few weeks.


When pitting your cherries, a cherry pitter is a handy tool to have. If not you can find other ways to get the job done. I sliced mine in half to make smashing the fruit even easier.


If you liked this cherry orange soda recipe you won't want to miss my Homemade Strawberry Peach Soda.

You might also like 12 Homemade Soda recipes.

Glowing Night Lights (No Electric!)

These glow in the dark jars are a fun diy to make with the kids. They are perfect for a night light that comes together in one minute or less, with only 2 supplies!


 My son Rolf is 9 now. He is so curious and eager to learn. One night last week it was storming and he was worried about losing power, and how he could sleep in the dark. So we took to the kitchen to whip up some super simple glowing jars which were perfect for a night light!


This post contains affiliate or sponsored links.

I used tonic water and glow in the dark powder to create this jar. It couldn't be easier to make!
If you have a black light fixture, you can skip the glow in the dark powder as tonic water naturally glows under a black light. 

Tonic water contains quinine which absorbs ultraviolet light, causing it to glow.

Directions:
Fill a mason jar with tonic water
Add 1 teaspoon of glow in the dark powder
Stir
Replace the lid.
Allow to charge under a light for a moment and watch it glow!


Find more cool DIY Ideas here

You might also like this easy glow in the dark necklace.

15 Teacher Gifts for Under $15

If you are looking for teacher appreciation gifts that won't break the bank, these ideas are under $15! These thoughtful ideas will help you say thanks for a great year, and best of all, you can get them without leaving the house!

This post is a collection of amazon links. If you make a purchase I earn a small advertisers fee, and you will get free shipping if you are a prime member so win/win!


Engraved Pastel Pencils
Teachers can never have enough pencils. Make the thought a personal one by adding the teachers name to these pretty pastel pencils.

Because I had a Teacher
Let a special teacher know how much of an impact they have had with this very sweet book. I am sure they will cherish it for years to come!

Teacher Keychains
This 3 keychain set is adorable, useful and a gift from the heart that won't break your budget. At under $8 for 3 this is perfect for saying thank you on a budget, with multiple teachers.

Glass Water Bottle
This durable glass water bottle is attractive and sweet with a thoughtful message. It is a great way to encourage a favorite teacher to stay hydrated while staying awesome!

Teachers Life Coloring Book
This is a fun and relaxing gift idea. This coloring book gives your favorite teacher a chance to unwind and giggle at the snarky humor of this adult coloring book.

Mason Jar Tumbler for Teachers
Give the teacher the tools to stay hydrated on the go over summer break with this mason jar tumbler. It features a thoughtful phrase to remind your favorite teacher how much they are appreciated.

Thanks for Helping Me Grow Mug
This terracotta style mug is perfect for any teacher. It is cute and functional and affordable!

Inspirational Bangles
Featuring 3 inspirational bangles, this set is a great way to say thanks to several  teachers on a budget. The bangles are pretty and will bring a smile to a special teachers face.

Popsocket for Teachers
This popsocket is perfect for any teacher with a sense of humor. It declares "chaos coordinator" and makes their phone easier to handle.

Magnetic Teacher Decal for Harry Potter Fans
If your favorite teacher loves Harry Potter this is the perfect way to share a smile at the end of the year. I love these decals over bumper stickers because they are are magnetic and can be easily removed.

Wooden Stamp Set
This stamp set is cute and so useful! Give it to a special teacher to make grading papers easier next year.

$15 Gift Card
If you aren't sure what to get, a gift card is always a safe bet. If you have multiple teachers to gift, a 3 pack of $15 gift cards for food, movies or amazon is a great way to say thanks!

Teacher's Planner
This unique and fun planner works for lesson plans, or as a journal. It is colorful, practical and affordable. I like this gift for the teacher you don't know much about, but want to thank none the less.

Air Plants
Simple little plants in a pretty little package makes for a gift to grow on. Air plants make unique gifts that are easy to care for and add a lot of life to the classroom!

Dry Erase Markers
Teachers go thru a ton of dry erase markers and they can get expensive. Giving a box for the classroom is a thoughtful way to keep the teacher prepared into the next year.

Sock Roses for Teacher Appreciation Week

If you are looking for a cute way to give an inexpensive token of appreciation to a special teacher this year, this sock rose craft is the perfect way to gift something fun and functional in a unique way.


This project is so easy! It comes together in matter of moments and really adds a lot to the presentation of a simple pair of socks! All you need is:

 a pair of socks
 a rubber band
 a 9" section of ribbon 
 and a wooden dowel rod or maybe a pencil for the stem


Begin by stacking your socks together and folding up the toe section.


Next, begin rolling from the top. Roll tightly! 

As you get to the folded top section, keep rolling in, this will be your outer petal.

As the socks are tightly rolled, secure them with your rubber band. I knotted it, then knotted it again, on the other side for a really snug hold.

Remove the rubberband.

Gently insert the pencil or wooden dowel into the "bottom" of the sock roses.


Make a single sock rose, or a dozen for a fun way to gift a special teacher something different this year as school comes to a close. 


I added some leftover Easter grass to a mason jar to make the presentation even sweeter!


These easy DIY photo puzzles are also a great homemade gift idea.


20+ Gift Ideas for Women


Getting a great gift for a special woman in your life just got easier! I found 20+ Ideas that are awesome and will work with any budget! From a special size perfume for a chick on the go to a smart water bottle for a honey who needs to stay hydrated, this list has something on it for every woman!

I am a participant in the amazon affiliate program, clicking on a link and making a purchase results in my site earning a small commission at no cost to you.


Under $15
Burt's Bees Tips and Toes Set
Merlot Soap
Christmas Embossed Rolling Pin
Rose Gold Charging Stand
DKNY Stories  Parfum Travel Size

Under $25
Paperwhite Winter Bulb Kit
Archway Style Glass Terrarium 
Pedicure Foot Spa with Heat
Basil Mason Jar Growing Kit

Under $50
Shiatsu Back and Neck Massager
Bamboo Bathtub Caddy and Tray
Smart Water Bottle
Kate Spade Garden Drive Jewelry Box
Homesick Candles in Road Trip Scent
Wine Saving Carafe 

Under $100
Gold Flatware Set
Agate Coaster Set
Bamboo Cheese Board with Cutlery
Coach Havana Sunglasses
Espresso and Cappuccino Machine

Mason Jar Lasagna

Mason Jar Lasagna is a fun way to easily take a favorite dish picnic style for date night or a family dinner at the park!


There is something about mason jars that make me giddy. They are so incredibly useful; they are cute and come in so many shapes and sizes, and they are perfect for taking delicious things just about anywhere! 

There is also something about lasagna that makes me swoon. The layers, the cheesy dreamy textures, the sauce. Sigh, now that folks, is what dinner is all about the euphoria the mention of a food, like lasagna, can give you!


I brought these 2 favorite things together to create an awesome dish to take along with us, while we enjoyed this unseasonably nice Ohio winter weather! Mason Jar Lasagna keeps warm during the transport, is so easy to eat, where ever and it adds so many amazing layers to the dish that who could resist it?


My recipe is a little better than anyone else's because of my secret ingredient cream sauce, but I am going to share it with you because anything this yummy should be shared with a smile!


Ingredients:
1 pound of Ground Beef, browned
1 jar of your favorite pasta sauce
8 lasagna noodles broken into chunks to fit into a mason jar
2 cups of mozzarella or Italian Cheese
1/2 cup of sliced mushrooms
1 cup of diced onions and green peppers
Secret Cream Sauce {see below}

Directions
Begin layering all ingredients into jars until they are almost full. 
Seal the jars and submerge them in a pot of boiling water for about 10-12 minutes until the noodles are cooked and the layers are thoroughly heated. 
Carefully remove them and wrap them in towels to transport, or pop the lids off and enjoy right away. These jars will stay piping hot for about 25 to 30 minutes!


Secret Recipe Cream Sauce for Lasagna
1 block of cream cheese
2 ounces of milk
garlic powder
Cook over medium heat, stirring frequently, until the cream cheese is completely melted


This is such an easy recipe for a yummy dinner that is packed full of veggies and cheese, not to mention meat and sauce!

Do you have a favorite mason jar recipe? I would love to hear about it!


Time Out Jar

I first made these calm down jars in 2014. My kids were so small that we used plastic, just in case they were dropped or thrown during a tantrum back then. While the children have grown so much since then, I have made these with them a few times. I have updated the post and included a few new photos for you.


Photo Credit: Sara Lehman.

If you need an idea that brings a little more zen and fewer tantrums, let me introduce you to the time out jar. You can call these whatever you like; a meditation jar, a calm down jar, or a time in jar. The idea remains the same, this jar can help your kids take a minute to collect themselves after a meltdown, or offer them a quiet minute for themselves anytime they want it. Plus, the results are pretty and relaxing to watch.


Photo Credit: Sara Lehman.

Make these with a plastic container, like a treehut body scrub container, if you have little kids.
If your kids are older, and would be more likely to use this as a meditation tool, feel free to use a mason jar, or even better, recycle a used food jar, like a pasta sauce container.

Photo Credit: Sara Lehman.


This is an easy craft, that all ages can help with. It is cool enough to get tweens interest, and you can use your favorite colors and whatever glitter you like. We have even added chunky confetti to time out jars.


Photo Credit: Sara Lehman.

Supplies:

1 to 2 tablespoons of glitter glue

Chunky Confetti

Glitter 

A mason jar and lid

1 ¾ water

A craft stick


Photo Credit: Sara Lehman.

Pour the warm water in the container with the glitter glue.

Photo Credit: Sara Lehman.

Add a drop or two of food coloring to the glue and water.

Photo Credit: Sara Lehman.

I lined the lid of the container with glue and firmly sealed the jar.

Photo Credit: Sara Lehman.

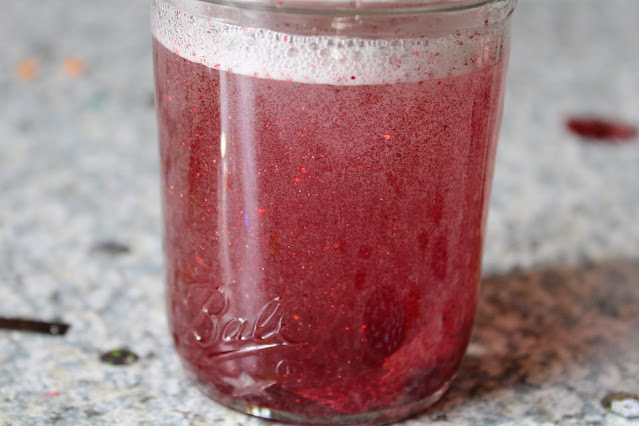
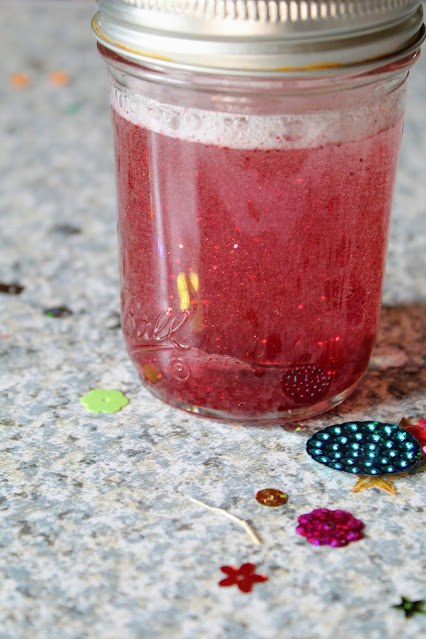
And here you have a TIME OUT JAR.


Photo Credit: Sara Lehman


You can find all of my sensory ideas here.
Egypt Sensory Play
Feeding Sharks Sensory Bag