Shiny Happy Pumpkin Craft

I know it is early into the month of September. I get it, it is still summer technically, but you guys... I can't resist making some awesome pumpkin crafts with my kids!

Today, we were ready to jump into the fall theme of things, so we surveyed our craft supplies and made these Shiny Happy Pumpkins! My almost 3 year old loved these large sequins and thought they were beautiful! I have to admit, this is the shiniest fall craft we have ever made, they do look happy too!!


To make a shiny happy pumpkin you will need:
A Paper Plate
White School Glue
Black Construction Paper
Scissors
Large Sequins in Brown, Burgundy and Orange


Apply glue to the paper plate, be generous!


Start filling in the plate with the large sequins. This is a great fine motor activity for kids of all ages! The sequins stick together and working them apart is great for little fingers!


As you fill in your plate, cut eyes and a mouth for your shiny happy pumpkin. With glue apply the facial features to the sequined plate.


And there you have a Shiny Happy Pumpkin!


Easy Angry Bird's Pig Paper Craft

My little boy is in school all day now. This has been an odd adjustment, let me tell you. Considering we spent basically every moment together until school started this year has been nothing short of horrible for me. I sobbed like someone told me we would never see each other again, he belongs to school now....

On the first full day of school, I was feeling pretty terrible. I missed Rolf. I felt like I let his childhood slip past me and I wasted so much time being irritated or upset, or distracted by irrelevant things and those days were gone. Melodramatic? Yes. But, that is how I felt!

So, as I was consumed with missing Rolf that day, Harper and I decided to make something for Rolf to make him smile and pass the time while she waited on her playmate and I waited on my cutie pie.

Rolf is really into Angry Birds, so I knew that this was going to make him smile and Harper had fun playing with her Piggy too!


To make a Paper Pig from Angry Birds you will need:

Scissors
Glue
Green Construction Paper
White Construction Paper
Back Construction Paper


Instructions:
Cut one large circle, One smaller oval, 2 Triangles, One tail from the green construction paper.

Cut 2 small circles, 3 larger circles from the black construction paper.

Cut 2 circles from the white construction paper.

Glue the 2 white circles onto the largest green circle in the place of eyes.

Glue the green oval to the middle of the green circle for the snout.

Glue the 2 larger circles of black onto the snout for nostrils.

Glue the last black circle on for a mouth.

Glue the 2 smallest black circles onto the eyes for pupils.

Add the 2 green triangles for ears.

Add the squiggly tail at the bottom!


And there you have an easy peasy Angry Bird's Pig Paper Craft!


Chinese Chicken 10 Yummy Ways

I can't resist Chinese take-out! I mean, who can? It is so easy to place an order and swing by to pick it up after a long day when you don't really feel like cooking. The thing is, Chinese take out can add up pretty quickly! Luckily for my family, I found 10 scrumptious recipes for Chinese Chicken at home, so we can have that take-out taste at a fraction of the cost and with minimal efforts!

Chinese Chicken


Orange Chicken Tofu Bowl
Lighter General Tao's Chicken
Peanut Butter Chicken
Teriyaki Chicken
Sweet and Spicy Asian BBQ Wings
Shoyu Chicken
Spicy Chicken Teriyaki Bowls
Chicken Fried Rice
Sesame Ginger Chicken
Copycat PF Changs Lettuce Wraps

Which of these recipes do you want to try first? Peanut Butter Chicken is a go to dinner at my house on long days when something amazing is needed for dinner. I can't wait to try the Shoyu Chicken recipe, maybe this week!

You won't want to miss this collection of Lo Mein Recipes.

Find more chicken recipes here: 
20 Chicken Recipes You Won't Want to Miss
Cracker Crumb Chicken Nuggets

Tree Silhouette Place-Mat Craft

Once school starts, I am ready for fall. Bring on the warm days and cool nights, the changing of leaves and all things pumpkin!  If my family isn't home together enjoying summer break, let's move on to the next best thing- FALL!

Mr. Sweet Silly Sara had to return to work to get the school library set up and ready for the students on Monday. Rolf has another week before he is officially in school. We are trying to make the most of these lazy end of summer days together.

Yesterday morning, the kids and I were restless. It was cool outside and the grass was very wet with dew, so we decided to savor the time and let the sunshine do its thing to warm the day up and dry the grass before we headed out to play.

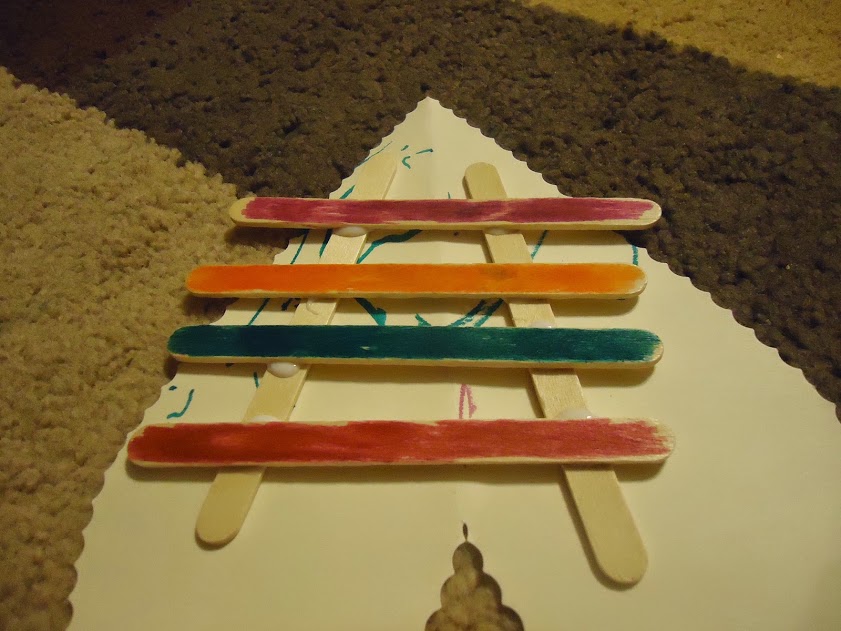
To make the waiting more enjoyable we decided to get crafty and make this great tree silhouette placemat. This was so easy to make and my son did a great job on his! I knew I had to share this with you guys!


To make a placemat with your kids, you will need to gather a few basic supplies and then let your creativity flow.


Supplies needed:

2 pieces of transparent contact paper, cut to 5" wide and 8" long sections.
Assorted construction paper in the colors of your choice. We used black, pink, purple and blue.

Instructions:
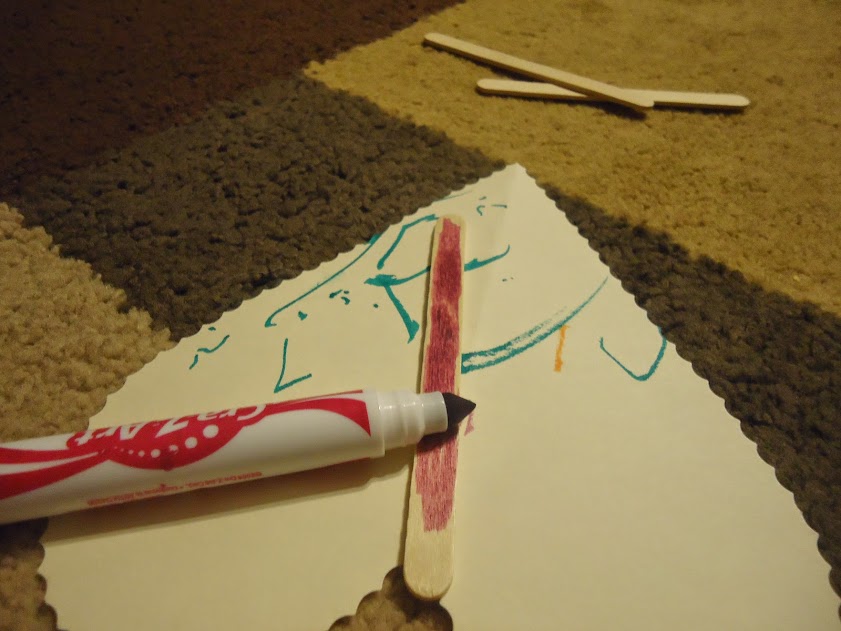
Begin by having the kids tear up the construction paper into small squares and strips.


Keep the colors separated for easy application of colors.
Next, you will want to carefully peel the back off of one section of contact paper.
Lay it sticky side up.
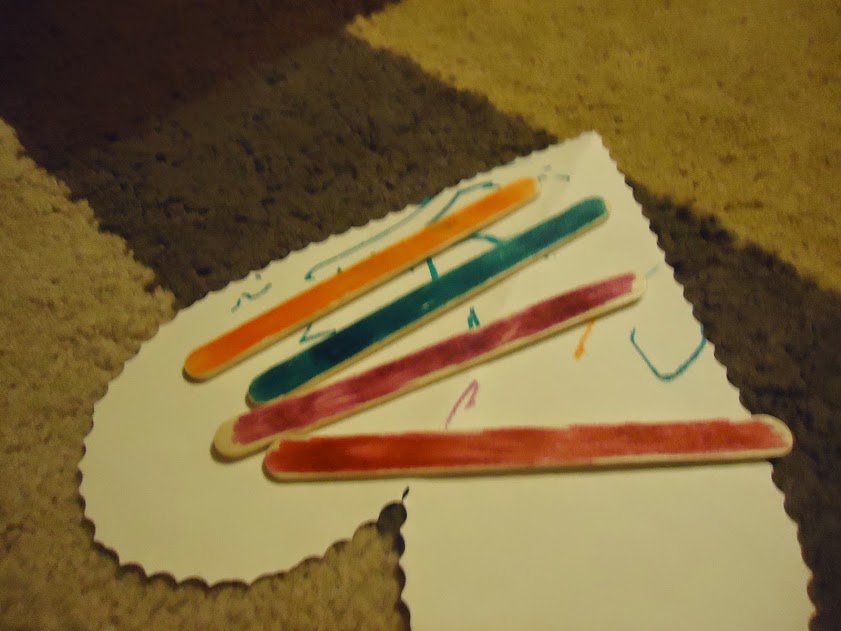
With a few strips of black paper, make the outline of the tree.


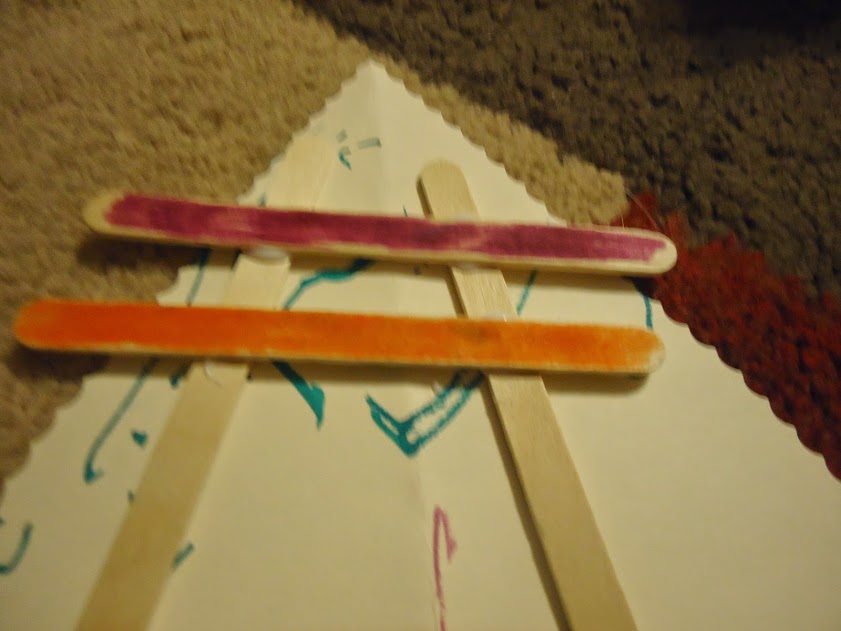
Next, begin applying more strips of paper around the tree. We made our tree placemat to look like the sun was setting, with the colors we often see in the evening sky.


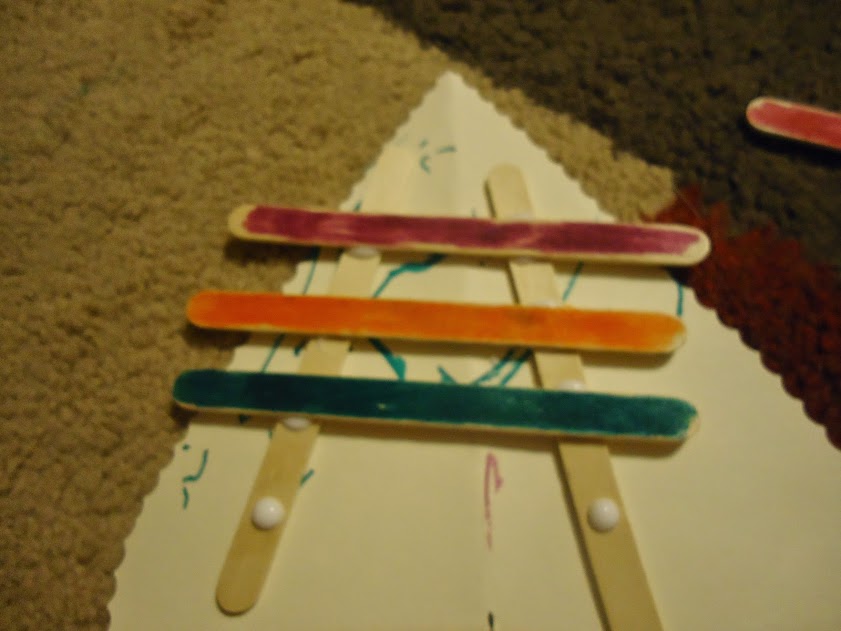
Continue to stick your strips of construction paper to the sticky side of the contact paper.


After you have filled in all of the blank space on the contact paper, peel the backing off of the other section of contact paper. Only expose a small strip! This will make it so much easier to line up.


After you have lined up the beginning of contact paper section #2 to the first section, begin peeling the backing away while smoothing the first second section onto the first. {Does that make sense?!}

Then you have an easy to wipe off and very handy placemat for your little ones!


My son loved that he MADE this place mat. It was so much more important to him than the ones we have that came from a store! I loved how it turned out! It is such a lovely work of art!

This project is great because it is affordable to make. You could make 6 or 7 of these at least for a mere $2 if you buy your supplies at Dollar Tree.

It is also a great way to get your kids using fine motor skills. They will develop the small muscles of the hand with the action of tearing paper. This later plays into handwriting skills among other things.

Asides from that huge benefit, making place mats with your kids offers them the chance to express their creativity and make something they can use and admire and feel proud of!

You might also enjoy this Lemonade Craft idea!


Best Way To Cut Watermelon

You guys, I have the best way to cut a watermelon and I can't wait to share it with you. The days of making slices to form a wedge are long gone. This method reduces waste and really makes your melon easier to eat and share!

First, select your melon and place it on a large tray.


Cut it in half. Set half aside and flip the half you are going to work with red side down, rind up.


Slice the watermelon as you might if you were serving slices... long cuts that cover the watermelon, about an inch wide.


Then make cuts the length of the melon, crossing over the wide cuts you made a moment ago.


As you can see, instead of a big, hard to eat wedge of watermelon, you now have this neat little stick!


My best tip is to serve as is on the tray! It holds together nicely and makes it easy peasy for sharing!


This is a kid friendly way to serve melon too! Everyone that had a stick of watermelon was impressed with the serving method. It wasn't as messy to eat, there is so much less waste this way and it is fun to put knife skills to work sometimes!!

How do you serve watermelon? Wedges, cubes, sticks, balls?


Crab Cakes Recipe Made With John Wm Macy's Cheesesticks

Crab Cakes are the things that my seafood dreams are made of.  I cannot resist  them! I have 2 recipes that I like to use when I make them at home! But, this time, I switched things up and added my favorite snack of all times {John Wm Macy's Cheese sticks!} to the mix. What I created was nothing short of incredible. This recipe comes together in a flash, is packed with delicious flavors and it always leaves me wishing for leftovers for breakfast the next morning!

We live in Ohio. Our access to fresh seafood is seriously limited. Luckily, both Kroger and Meijer carry good brands of canned claw meat. I prefer to use blue crab in this recipe as I like the flavor it offers. You can use whatever variety of crab meat you have access to.  In a pinch I have used imitation crab meat {if that is what you can get, by all means go for it!}


Crab Cakes with John Wm. Macy Cheesesticks.


Ingredients
8 ounces of blue crab claw meat
1 egg
3 tablespoons of mayonnaise
2 tablespoons of honey mustard
2/3 cup of John Wm. Macy Cheddar Cheese sticks; crushed finely
1/4 cup sweet onion chopped finely


Cooking Directions

Heat a skillet over medium high heat. Add a 1/2 teaspoon of butter at a time to the skillet. {Add more as needed.}
Mix crab meat, egg, mayonnaise, mustard and onion together. Stir well.
Add 1/2 cup of John Wm. Macy Cheese stick crumbs and mix well.
Shape your patties by hand.
Coat the crab cakes in the remaining cheese stick crumbs
Place in hot skillet, frying until golden brown

The honey mustard in this recipe offers a touch of sweetness to the crab cakes which totally makes them crave-worthy! If there is left over butter left that wasn't used for frying I might add a tiny touch of it to the top of the hot crab cakes to enhance the flavor even more!

I used original cheddar in this recipe, but John Wm. Macy's has so many amazing flavors. Any of them would be amazing in this recipe. The Asiago and Cheddar variety will definitely be going in this recipe soon!


If you haven't tried John Wm. Macy's Cheesesticks yet. You seriously have to. My son hates cheese... but he told me, "These are the kind of cheese I like!" With a dreamy sigh and a cheesestick in hand I said "Me too Roo... me too."

John Wm. Macy offers delectable flavors such as Jalapeno Cheddar, Dijon Swiss, Melting Parmesan and Madagascar Vanilla to name a few. Check out their store locator or shop to order some. You will be so glad you did!!

Do you love crab cakes? Do you go out to get your fix of these little bits of yum or do you make them at home? I would love to hear either about your recipe or your favorite place to indulge in crab cakes!

You might also enjoy this Easy Cheesy Chicken Tacos recipe

Chocolate Milk for Mom

This recipe for chocolate milk is the best way to indulge your sweet tooth and get your coffee fix. It is a favorite lazy Sunday morning way to wake up in my world. Made with simple ingredients this is a total treat that will impress any guest with its amazing flavor. Much better than a coffee house drink in terms of both flavor and cost, you are going to love this Chocolate Milk for Mom recipe.


Ingredients
1 heaping teaspoon of instant coffee {I like foldgers classic}
4 ounces of ice
5 ounces of cold milk
2 teaspoons of dark chocolate syrup {I used Hershey's Special Dark}
Optional: whipped cream


Directions
This is so simple, add ice, chocolate syrup, cold milk and coffee in a Magic Bullet or in a Blender.
Top with whipped cream if desired and a drizzle of chocolate syrup on the top!
Pour it into a glass and enjoy!


Chocolate Milk for Mom is an amazingly simple and delicious drink. It is perfect for a summer day. I imagine this would be perfect for Christmas too with crushed peppermint on the top! What is your favorite cold coffee drink? i would love to hear about it in a comment!


Blackberry Cheesecake Float

You guys! I have an awesome summer drink recipe to share with you that is so easy and literally only requires 2 ingredients!


I have been craving all things blackberry lately. Normally I am not the biggest ice cream eater, but this little pint of blackberry cheesecake ice cream practically fell into my cart and begged to come home with me.

Immediately I knew how I was going to enjoy this treat! In an ice cream float!

Ice cream floats completely change the ice cream game in my book. I cannot resist them and love to try different flavors! They can be as simple as root-beer and vanilla or as complex as you care to make them.
This one is not too wild in terms of the combination, but it is wildly delicious!


To make a Blackberry Cheesecake Float you will need:

2 scoops of blackberry cheesecake ice cream
1 can of Cream Soda {I used Diet A&W}

optional:
graham cracker crumbs
whipped cream

Directions

Add ice cream to a tall glass
Top with cream soda


Optional:
Top with whipped cream and 1 teaspoon of graham cracker crumbs


This was a fantastic flavor for a float for a summer indulgence that took only a moment to prepare and share!


You might also like this Strawberry Shortcake Float recipe.


Easy Xylophone Craft

It is summer, my kids would live in the pool or perched on a swing, with possible breaks for snacks, lemonade and some screen time if given the opportunity. While I am a firm believer in the importance of play, I am a firm believer in learning year round and brushing up on the things that kids already know too.


One afternoon we were talking about instruments and toying with a few drums, triangles, and maracas when I mentioned a xylophone. My son couldn't picture what I was explaining so I decided to make a quick craft with the kids to see if it would refresh his memory without grabbing the ipad to give him a visualization.


This craft took about 4 minutes for my speedy little boy. It would have taken half of that time had I not nudged him to color the sticks completely.


You will need
6 craft sticks
markers
glue


As you can see I placed 2 of the craft sticks at vertical slants almost mimicking a V

I had Roo color 4 of the sticks in whatever colors he liked


Next we placed the sticks horizontally on the vertical sticks, like rungs on a ladder, securing with 2 beads of white glue per stick

By the time we had placed 3 of the 4 sticks on the frame, Roo remembered what a xylophone was. This was easy to make and the kids had fun banging on the craft stick xylophone. I enjoyed that part too because it was quieter than the real deal.


This was also a great way to discuss colors, shapes, ladders and how one might use a ladder as well as how rungs are like steps in a trickier way. I loved that so much conversation happened around one simple project, involving 6 craft sticks!


Don't miss this fun paper sandwich craft for kids!


Peanut Butter and Jam Pound Cake Parfait Inspired by Hagensborg Chocolates

 This recipe was inspired by friends at Hagensborg via samples received. 

A few weeks ago, I partnered with my friends, The Chocolate Princesses at Hagensborg Chocolates to bring you a really sweet giveaway! We loved hearing all of the ways that you guys are making the world a sweeter place. It was truly inspiring!

Last week was rough for my husband. Mr. Sweet Silly Sara was wrapping up the year at his job as a school librarian and he had not been getting enough sleep. We were busy every night of the week and despite his long week and his weariness, he was on a baseball field, volunteering to help coach a team of 3-6 year old kids.  I  was inspired by Hagensborg Chocolate truffle pigs in peanut butter and jam flavor to make a sweet dessert that would bring a smile to my husband's face.

This is such an easy recipe. I normally would have baked a sponge cake to use, but as I mentioned we had several weeknight games! With that in mind, I had picked up a sponge cake to serve with berries one evening. The berries were consumed but the cake was stashed in a cabinet and forgotten about for a few days.

I put the cake to good use and created a 5-minute recipe that anyone can make and will love!


Peanut Butter and Jam Pound Cake Parfait Inspired by Hagensborg Chocolates

Ingredients

4- 2 inch slices of pound cake, cut into cubes
2 tablespoons of raspberry jam
2 tablespoons of peanut butter
1 tablespoon of cold water
4 Hagensborg Truffle Pigs in Peanut Butter and Jam flavor
Chocolate sauce for garnish

Directions

In a small bowl mix the jam and the water together
In a small saucepan melt the peanut butter over low heat, stirring often until it reaches a smooth liquid state
Place several cubes of cake into a parfait cup
Add a spoon full of jam to the top of the cake cubes
Add another layer of cake cubes
Add a spoonful of melted peanut butter to the top of the cake cubes
Drizzle Chocolate Sauce, jam and peanut butter over the top layer
Garnish with a Hagensborg Chocolate
Repeat until the ingredients are gone in additional parfait cups


My husband suggested that whipped cream would be excellent on top of this Peanut Butter and Jam Sponge Cake Parfait! 


How do you like to serve sponge cake? Do you ever garnish it with something fantastic like chocolate? Hagensborg offers so many fantastic flavors. We are hog wild for their Truffle Pigs. It was nearly impossible to pick a favorite. My son loved the milk chocolate and dark chocolate ones. My daughter was all about the Peanut Butter and Jam. My husband liked Caramel and Peanut Butter... Me. I just couldn't decide. I was impressed by each flavor. Look guys, lets be honest. I am a gourmet kind of girl. Hagensborg is the way to go when you want to indulge in something delicious and cute. My tastebuds thanked me after we tried this brand, and yours will too.


You might also enjoy this Chocolate Fondue recipe.


A Stroll At The Kingwood Center

As a family, we love to visit The Kingwood Center in Mansfield several times a year. My husband and I love the flowers and plants. The kids love the statues and we all love the exercise! It is easy to spend an hour strolling the paths with the kids.


The Kingwood was one of the first places Adam and I visited when we moved to Mansfield, pre-kids. Over the years we moved, but we make a point to visit The Kingwood several times a year with the kids, not only for the experience but also to revisit our roots in a way.


The Kingwood Center is a 47 acre estate that is open to the public. The grounds are compromised of gardens that are breathtaking. Kingwood Center Gardens develops and displays exemplary gardens on the former estate of Charles Kelley King for the pleasure and education of its constituents.  While admission is free there is a parking charge. It is minimal and helps to support the operation of this amazing place in Ohio.


If you visit, plan to stop by the greenhouses. It is easy to get swept away in the fun of the outdoor experience, but the greenhouse offers many gems including a fantastic banana tree. We seem to make a purchase of a plant on each visit.


This is a great place to snap some awesome photos of your family. The flowers are awesome in the spring and summer, in the fall the leaves add a lot to the experience.


Be sure to bring quarters to buy a few handfuls of food for the ducks! If you pay attention you may see the peacocks. They were nesting on eggs on our last month so we really hope to make it back this summer to see babies!


Do you have a favorite public garden? I would love to hear about it!


Donut Balls

Sometimes you want something incredible for dessert, but who has time to whip up something from scratch and then bake something?! I mean it is summer. Why heat up the house when you can create these sweet, easy and pretty little treats in no time at all.


These were a huge hit with my family. My husband could not believe I made these with store bought ingredients. I will definitely be making these again- in different flavor combinations for sure!

Donut Balls


Ingredients


1 box of donut holes (about 30) I used glazed original
1 tub of Cool Whip, thawed SAVE the CONTAINER! YOU will use it again!
1/3 cup plus 1 tablespoon of milk
1 box of instant pudding mix I used French Vanilla 


Instructions


Mix the milk and the pudding mix, it will be kind of like a blob of pudding. 

Add the Cool Whip and blend well. I used a low setting on a hand mixer and mixed for a minute or so. 
Return the pudding mixture to the Cool Whip container and place it in the freezer for 10-20 minutes.
Make a thin slice on one side of the donut hole.
Then slice in half. 
The slice that is cut on both sides becomes the bottom, separate the 'tops' and 'bottoms'. 
Repeat until all donut holes are ready.
Remove the mixture from the freezer, place a dollop on the 'bottom' section of the donut hole, gently pressing the 'top' section on the pudding mixture.
Serve immediately or refrigerate until you are ready to serve.

These are pretty , easy and delicious!
Next time I will try chocolate pudding and donuts!

You might also enjoy this easy Berry Vanilla Parfait Recipe!


If you are craving all things donut now, grab this free D is for Donut Coloring Page.

Hand Print Fish Puppets


One of my favorite things about being a mom is to watch the pleasure my kids get from simple items. Last spring my husband cut out a photo of Colonel Sanders and glued it to a craft stick. He casually laid the Colonel on the table for the kids to discover at breakfast. They went wild over this! 

Last night after the kids were tucked into bed, inspiration hit me and I got busy crafting up something fun for them.  I hoped that the idea would inspire them to want to get crafty with me after seeing how fun these little puppets could be!

These are so easy to make. This is maybe a 3 minute project that will bring hours of entertainment. While entertainment is important, there are subtle and vital things happening when your kids engage in imaginative play. 

Benefits of Pretend Play
Pretend play allows the expression of both positive and negative feelings, and the modulation of affect, the ability to integrate emotion with cognition (Jent, Niec, & Baker, 2011; Seja, & Russ, 1999; Slade and Wolf, 1999).  Pretend play, fosters language development, thinking skills, and helps to develop emotional and social skills in children ages 2 thru 7. The creativity unleashed thru dramatic play has long-term benefits too. From problem-solving thru imaginary situations to the ability to express feelings.

Isn't it incredible to think that so many things can come from playing with a handmade puppet!?  Well, let's get to it and make one so the play time can begin!


Supplies needed

handprint cut out on colorful paper
small paper triangle
small paper heart
white school glue
a googly eye
craft stick

Directions

To begin, trace a hand and cut it out on colorful paper. 


I applied a little glue to affix the eye.


I also cut out a small triangle from another colorful paper and an oddly shaped heart for lips.


I applied a small amount of glue in the middle of the handprint for the small triangle.

I applied a small dot of glue for the heart paper for lips.


Next, add a little glue on the top of the craft stick and affixed it to the back of the handprint, in the middle of the handprint.

Allow the glue to dry and you have a fun fish puppet.

What Did the Kids Think?

The craft was well received with Harper, who took both of the fish puppets that I made and dashed off to play with them before her brother could see them. I chalked that up as a success.

Once Roo got a peek at the fish puppets he said, "Mom can you trace my hand?" That was all it took and the construction paper came out for handprint tracing.  After lunch today we are going to make a few of these together for an afternoon of crafting and puppet play!

Puppet play is a lot of fun for kids, but there is something almost magical about creating a puppet of your own design and bringing it to life via imaginative play. This project required the most simple of supplies and it can be completed in a matter of moments. There is no reason not to give it a shot with your kids! The benefits of simple projects like this that create an invitation to play are abundant, the mess from such a project is minimal and you likely already have these items on hand, or you could improvise with any paper or cardboard, tape and a straw if not!