Play Dough Recipes: A Fun and Easy Way to Keep Kids Entertained
Play dough is a great way to keep kids entertained for hours on end. It's also a great way to help them develop their fine motor skills and creativity. And best of all, it's easy to make at home with just a few simple ingredients.

Here are a few of our favorite play dough recipes:
Ice Cream Playdough by Bitz n Giggles
This playdough idea is perfect for a mess free ice cream play session with the kids.
Thanksgiving Playdough by Making Frugal Fun
Make this for the family feast, and give the kids something to do while they wait to have dinner!
Shimmer Makeup Playdoh by In the Playroom
Who knew you could make playdough with make up?! This is a fun idea for girls who love all things glam.
Cornstarch and Lotion Playdough by The DIY Nuts
This recipe makes for the softest playdough ever. You are going to want to squish this a few times before letting the kids have it.
Pumpkin Spice Playdough by Suburbia Unwrapped
Playdough is always fun, but when it smells of pumpkin spice, the experience is twice as nice.
Super Soft Fairy Dough by Little Bins for Little Hands
This recipe for fairy dough is so soft it feels nothing short of magical!
Glittery Pumpkin Pie Playdough by Retro Potluck
A pinch of glitter takes this pumpkin pie play dough experience to the next level.
Glow in the Dark Playdough by Our Wabi Sabi Life
This playdough glows in the dark for an incredibly fun experience for kids.
Kool Aid Playdough by The Best Ideas for Kids
This playdough is made with kool aid for such a vibrant color!
Chocolate Play Doh by Rainy Day Mum
Make a batch of chocolate play doh for kids to play with!
5 Minute Playdough by Made in a Pinch
This recipe only takes 5 minutes to make and is just the thing for a rainy day activity!
Color Changing Playdough by STEAM Powered Family
This recipe makes for a magical color changing dough that kids are going to love to play with.
Extract Scented Play Doh by The Typical Mom
This dough is scented with extracts for a sensory experience that kids are going to love.
Glittery Blue Playdough by Tikkido
This glittery blue play doh is perfect for a Frozen themed play session.
Conditioner Playdough by Sweet Silly Sara
Make this recipe with conditioner for a really soft playdoh to share with the kids.
Find more play doh ideas here:
Play Doh Food Puzzles
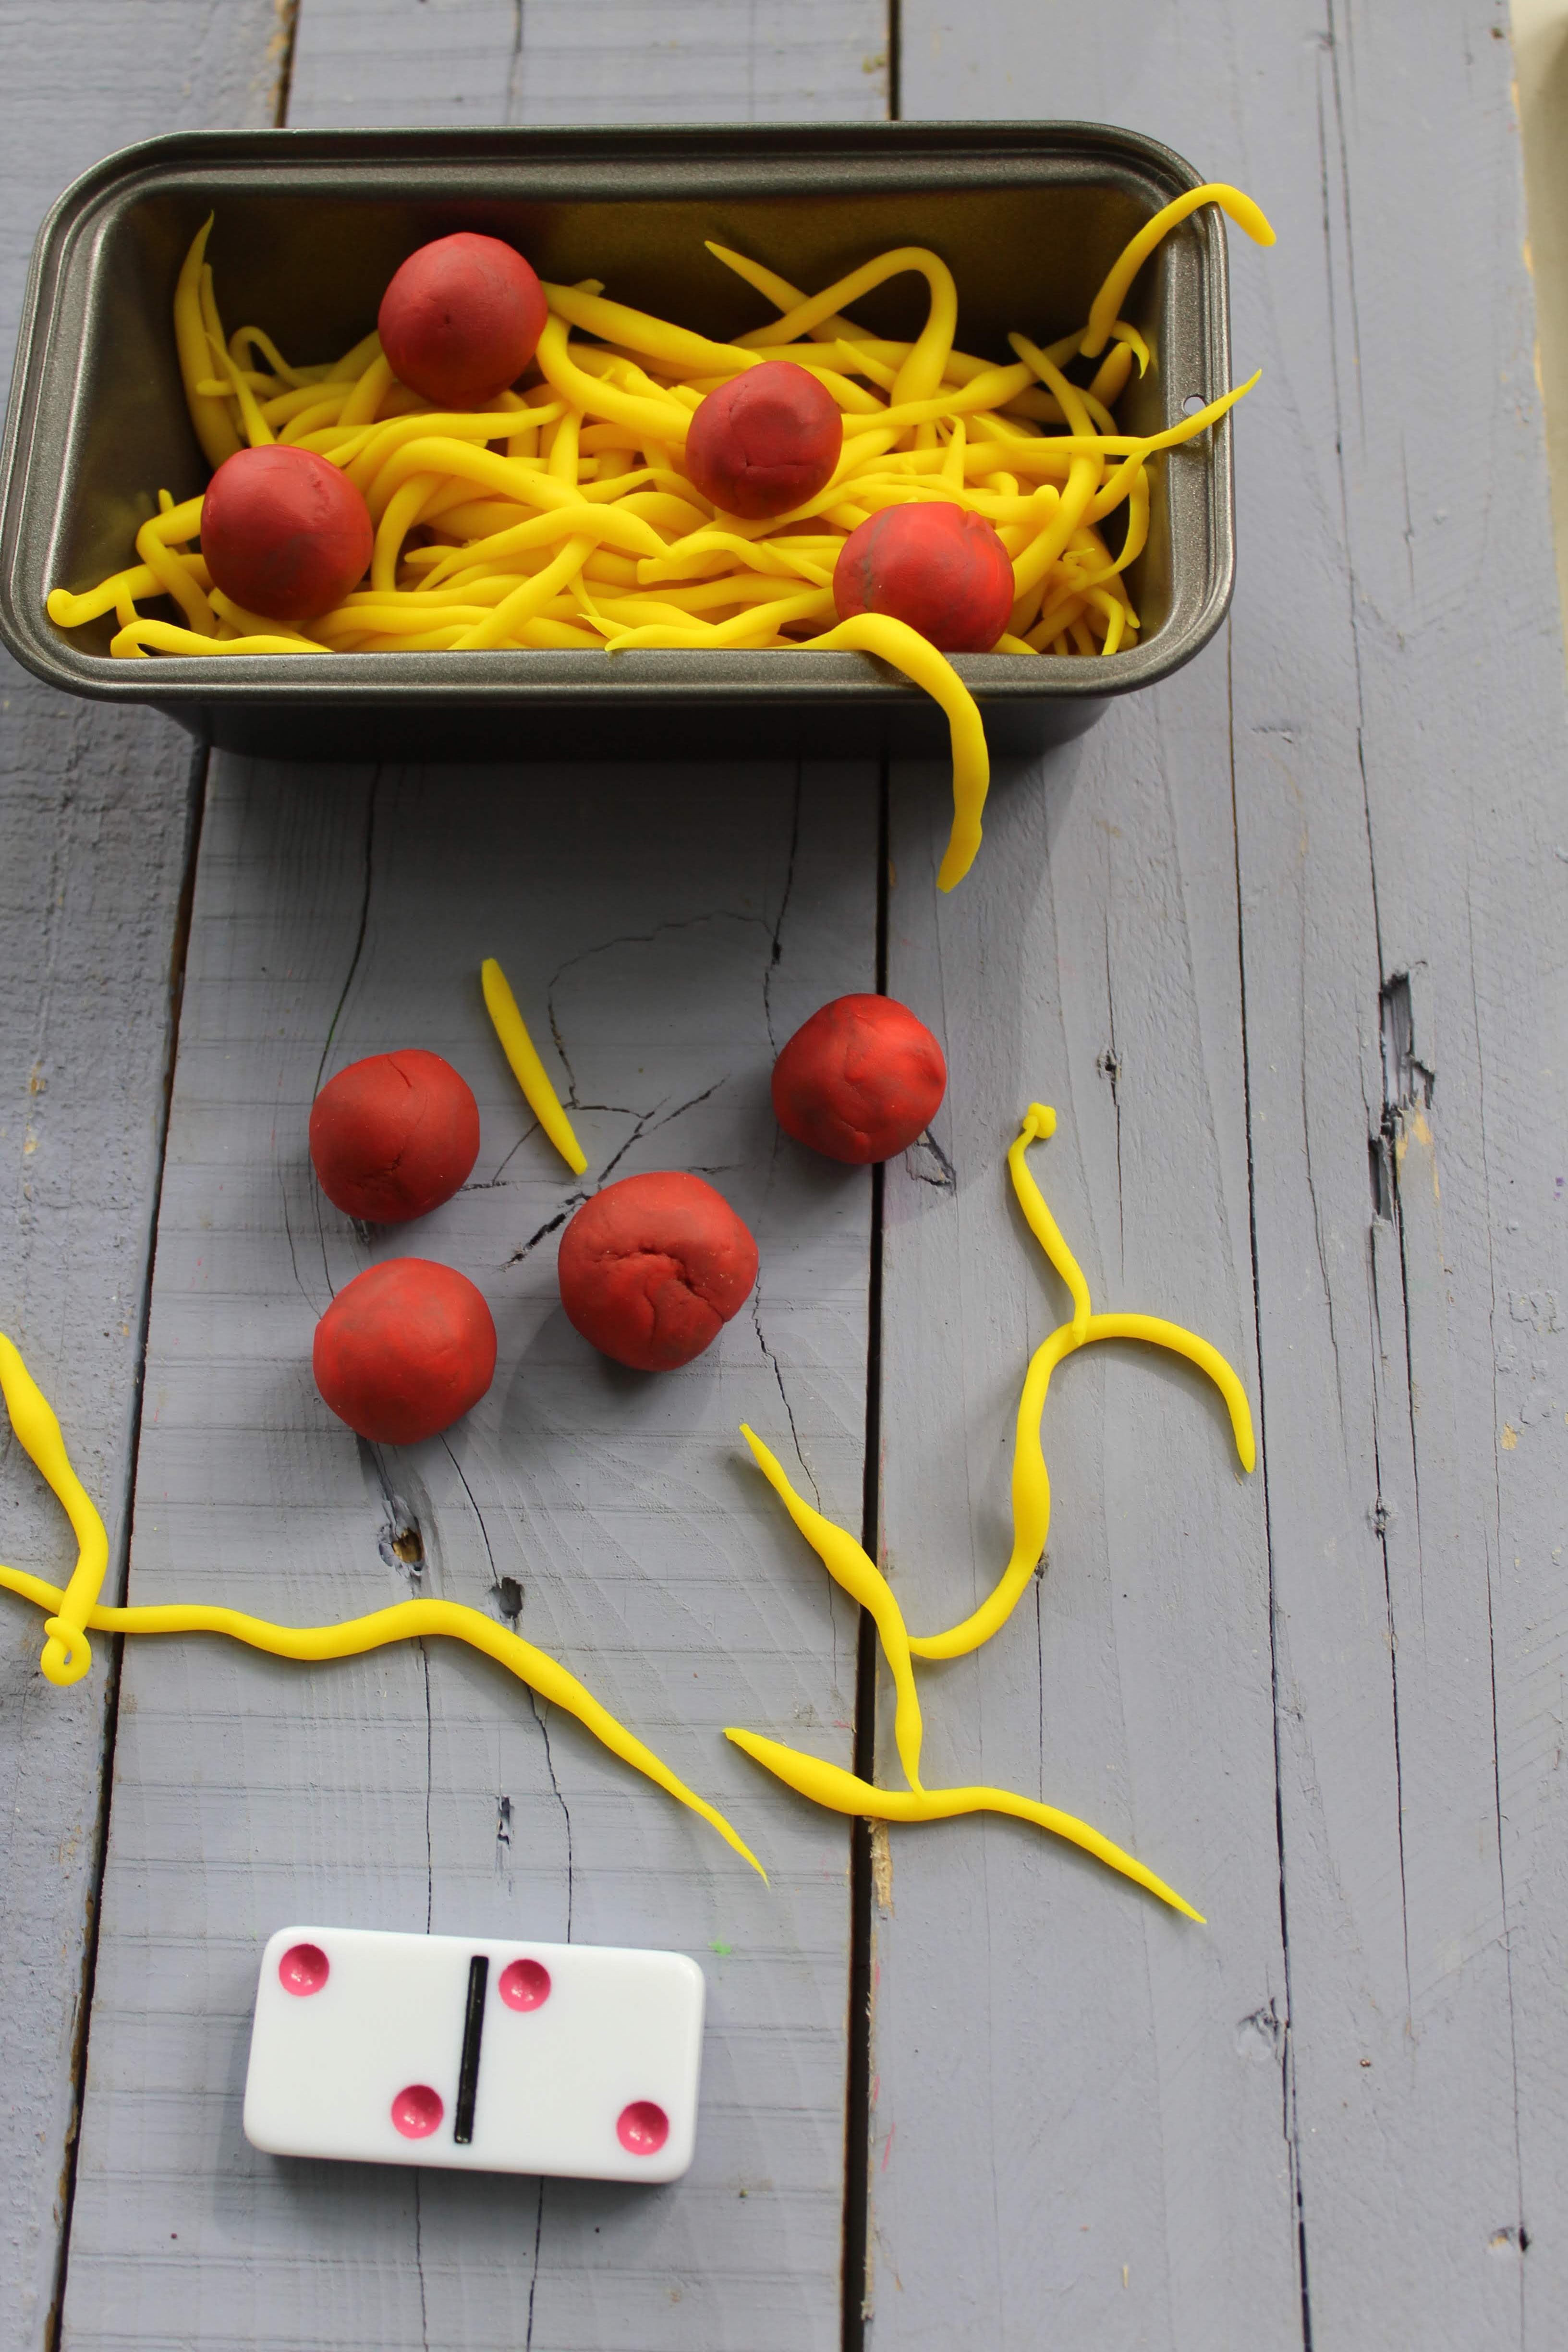
Play Doh Pie Counting