Looking for a fun and creative kids activity that is both educational and festive? Look no further than stamping bunches of grapes with pencil erasers and wine corks! This activity is perfect for kids of all ages, and it can be enjoyed indoors or outdoors.

We love to paint with all kinds of things! From wine corks, to dried flower heads, and everything in between. This easy painting project is perfect for kids of all ages. Little ones will love working on a few bunches or grapes, while tweens and teens can create more elaborate works of art.
What is Process Art for Kids
Process art for kids is a type of art where the focus is on the process of creating the art, rather than the finished product. This type of art is often open-ended and allows kids to be creative and expressive. There are many different types of process art that kids can do, such as:
- Painting
- Drawing
- Collage
- Sculpture
- Performance art
- Installation art
Process art is a great way for kids to explore their creativity and to learn about different art materials and techniques. It can also help them to develop their fine motor skills and their problem-solving skills.
Here are some tips for doing process art with kids:
- Provide a variety of art materials and let kids explore them.
- Don't be afraid to get messy!
- Encourage kids to be creative and expressive.
- Don't judge their art.
- Celebrate their creativity.
Process art can be a lot of fun for kids. It's a great way for them to express themselves and to learn about art. So get creative and let your kids explore the world of process art!
Supplies:
- Purple Paint
- Green Paint
- A paper plate
- A pencil eraser
- A wine cork
- White paper


Find more fun kids craft ideas here:
Here are some process art for kids ideas:
- Painting with natural materials: Gather some natural materials, such as leaves, flowers, twigs, and grass. Dip the materials in paint and then stamp them onto paper.
- Collage: Collect a variety of materials, such as magazines, newspapers, fabric, and yarn. Cut out shapes from the materials and then glue them onto paper to create a collage.
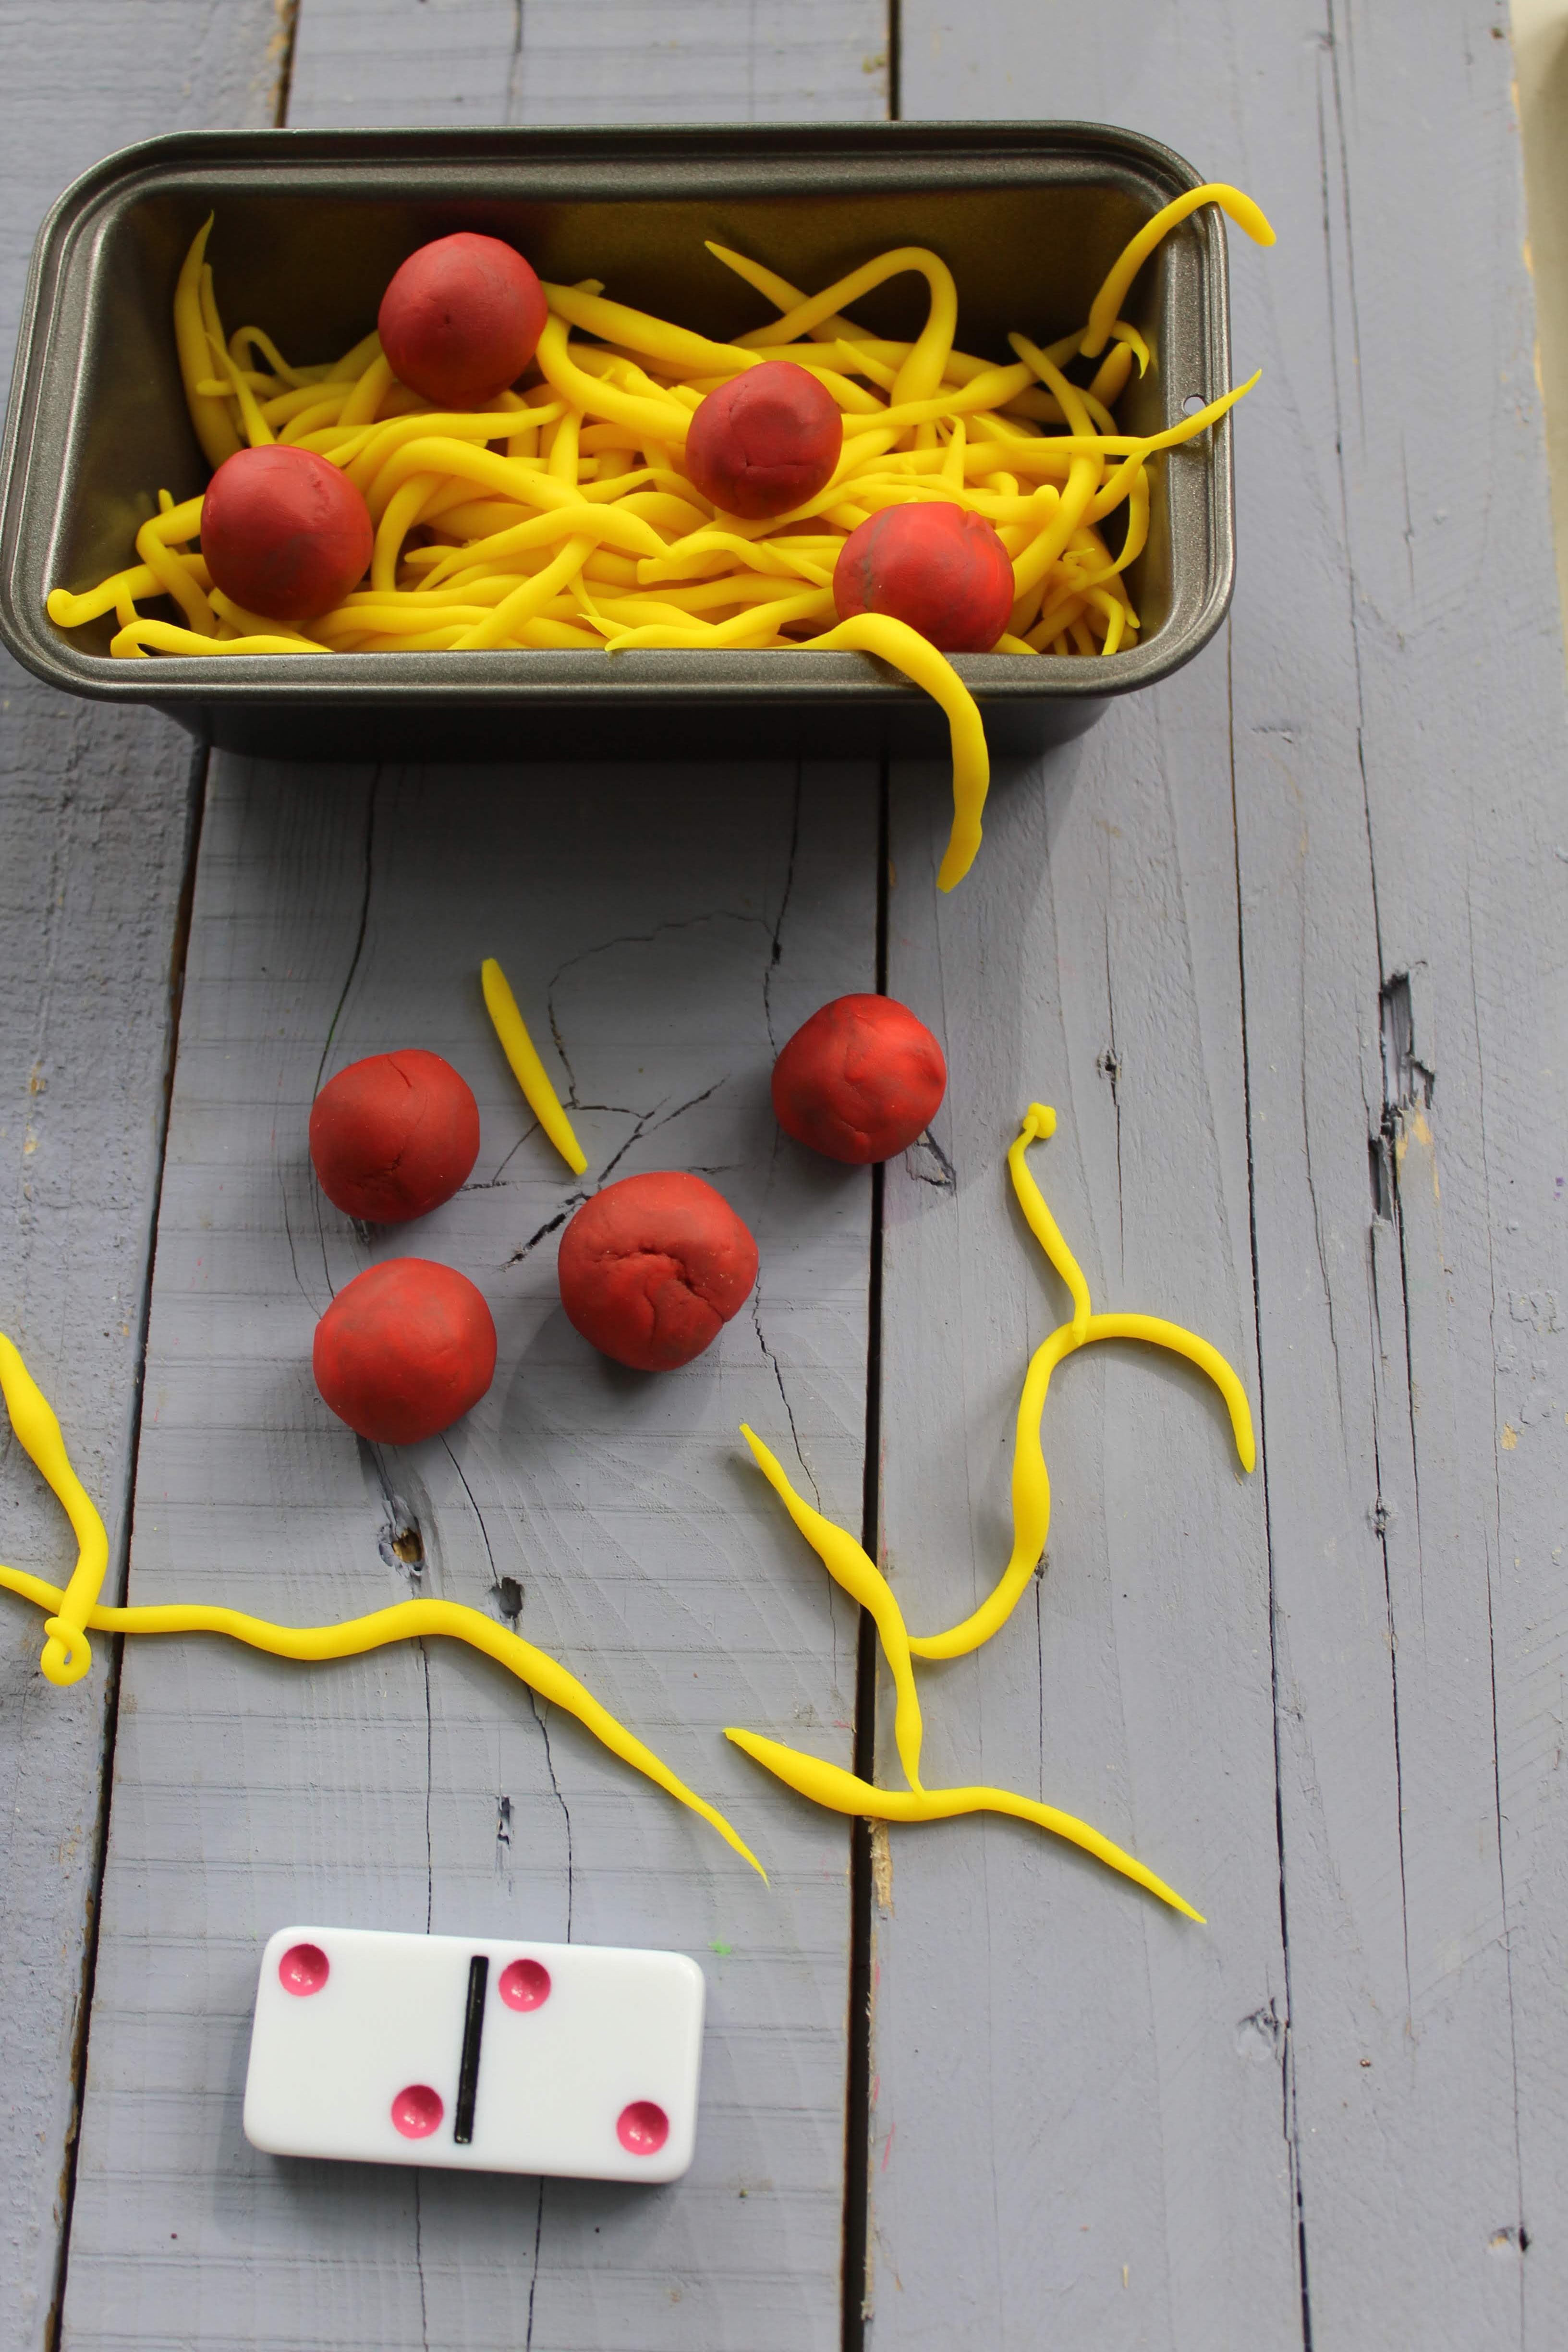
- Sculpting with playdough: Playdough is a great material for sculpting. Kids can use their imaginations to create anything they want, such as animals, people, or objects.
- Performance art: Performance art is a type of art that is performed in front of an audience. Kids can create their own performance art pieces, such as dances, songs, or plays.
- Installation art: Installation art is a type of art that is installed in a specific space. Kids can create their own installation art pieces, such as sculptures, paintings, or photographs.
These are just a few ideas for process art for kids. There are many other possibilities, so get creative and let your kids explore their imaginations!