Showing posts with label kid art. Show all posts

Pineapple Process Art

 This pineapple painting project is perfect for little ones. It takes only a moment of set up and it creates such a cute art project! Kids are going to be so proud of their efforts and want to display this project on the fridge door gallery!


Harper and I love to get creative together. We are always crafting, painting or baking something. 
You might remember we made this adorable apple process art with a cork.  Well, we ran across the cork again and decided that it was so fun to paint with it, that we would give it another go. We came up with this cute pineapple art. We love it because it can work for a summer day project, or pull this out around the new year to bring good luck to your space.


Supplies:

Paper Plate

Yellow and Green Paint

A Cork

Copy Paper


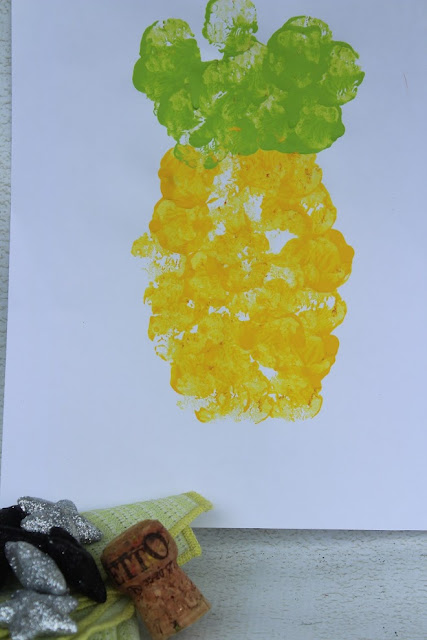
Pour a quarter size drop of several shades of yellow and a shade of green onto a paper plate.


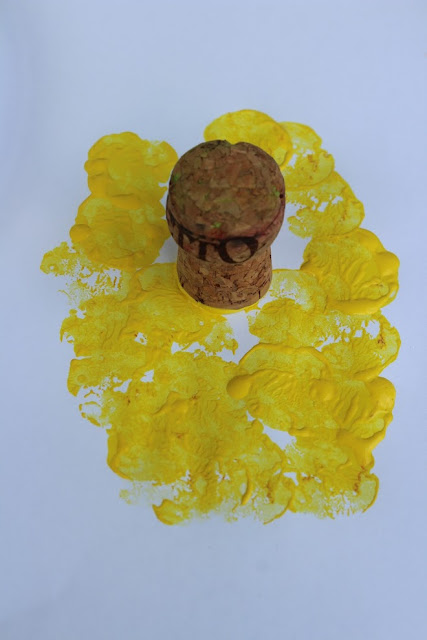
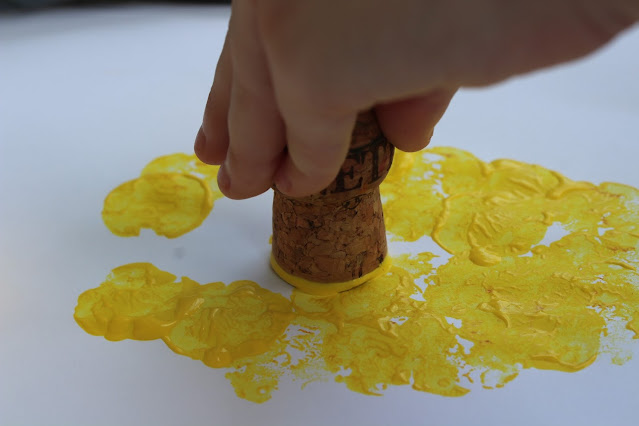
Offer your child the cork and encourage the child to stamp a pineapple shape with the yellow paints.


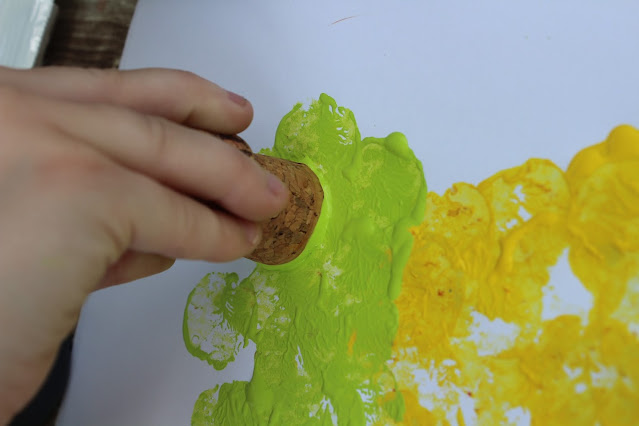
When the pineapple is shaped encourage the child to form the stem of the pineapple with green paint.


                                                             Allow the art to dry then display.


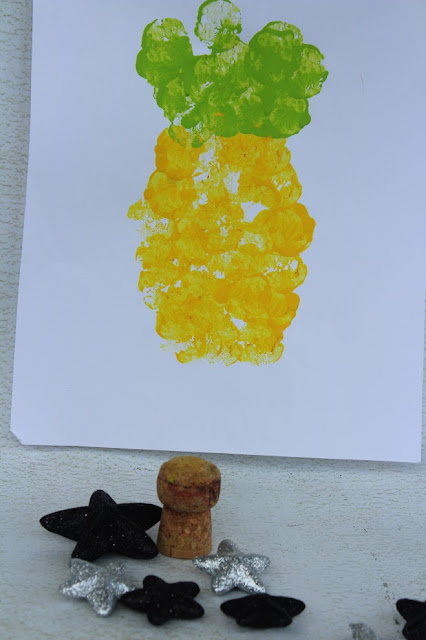
This is a fun project for summertime, but I also love to make these with the kids in anticipation of new year since the pineapple symbolizes a warm welcome, celebration and hospitality.


You can find more process art ideas here

Basket of fruit process art

Cork and button tree art

If you want to learn more about why process art is important for kids this is a great resource from Messy Little Monster

Cork and Button Apple Tree Process Art

This cork and button apple tree process art is perfect for preschoolers or kindergartners this fall. It is an easy activity that requires very little prep. 


We love process art, and we love all things fall around here! Harper and I have been hoarding fall decor since we saw the first adorable decorative pumpkin in stores back in July. Rolf is not so quick to jump seasons, but on the first of September, he said "Finally! It is September. Now we can buy all the pumpkins we want without comment." HA! 


Harper and I felt like painting and wanted to start on some fridge decorations for the season. We came up with these adorable cork and button apple trees. They are so worthy of displaying! Plus, they are easy to make!
 

Supplies Needed: 
Paint in Brown and Green
A Wine Cork
A Paper Plate
White Paper
Buttons
Glue


Directions:
Pour a quarter sized drop of both the brown and the green paint onto a paper plate.
Offer your child the cork.
Encourage your child to first stamp the trunk of the tree with the cork.
Then ask your child to give the tree leaves with the green paint.
Allow to dry for about an hour in a warm, sunny place.


When the paint has dried, offer your child the glue and some buttons. We used yellow for this project to make the kind of apples we like. Feel free to use red, green or even a mix if you like. As you can see below we also made one with red buttons, just because we had so much fun the first time.


Encourage your child to spread out the buttons, pressing them onto dots of glue.


Allow the glue time to dry. Then display! This is perfect for refrigerator art!


Are you looking for more awesome apple art projects for kids? 
Here are some favorites:


Basket of Fruit Process Art

Lemon and Limes find a second life after their prime with this easy and fun process art activity! It incorporates an introduction to weaving for small hands with a lot of painting fun. This activity is great for kids of all ages from Toddlers and Preschoolers, to older kids, like Rolf who is 11 now and still had fun with this!


Ok, first, let that sink in. Rolf is 11 now. When I started this blog, he was a baby. Literally, just a baby. And here we are 10 years later. Still sharing, growing and creating. Let's have a big group hug!

Next, isn't this such a cute process art project for kids? I love that the touchy, smelly parts make it super engaging for little hands. If you have been reading for a while now, you know how I feel about sensory play and  projects! (I love them!) Well, I also love to paint with Harper too!  We had a few lemons and limes in the fruit basket that were a little shriveled up and unappetizing so instead of tossing them out, we put them to work in an art project.


 Supplies: 
A lemon and a lime, sliced in half
A paper plate
Glue
Scissors
A brown bag of construction paper
Yellow and green paint

Directions:
Cut the brown paper into thin strips.
Offer your child one strip and encourage the child to glue it to the paper.


As you can see we used 3 vertical strips, then began the under/over process of weaving the horizontal strips.

Keep the weaving simple, you only need 3 vertical and 3 horizontal strips of paper. If your older child is creating this, feel free to encourage a more complicated weave!


Now comes the fun!
Pour a little paint (about a quarter size drop of each color) on a paper plate.


Offer the citrus fruit to the child, allow them to squeeze the juice out and pick at the seeds if they want to. They will want to because it is fun and it smells good! Just have a towel nearby to wipe their hands! When all of the seed picking and fruit squeezing is finished, encourage your child to press the fruit into the paint, and begin filling the woven basket with fruit!


Remind your artist to use all of the fruit and colors!


Allow to dry and display.


This is fun to make in the summer, when we are making loads of lemonade, so maybe save a few lemons after squeezing for an art project? Or pull this out in the winter, when the kids need a break. It is such a sunny little process art project that they are bound to love it!