Calling all crafty critters and curious caterpillars! Are you looking for a fun way to spark creativity and ignite a love for art in your little ones? Then dive into the wonderful world of Eric Carle!
Eric Carle, the beloved author and illustrator behind classics like "The Very Hungry Caterpillar" and "Brown Bear, Brown Bear, What Do You See?", is known for his vibrant collages and whimsical characters. His art style is not only visually captivating but also surprisingly easy to recreate, making him the perfect inspiration for engaging and educational crafts for children of all ages.
.png)
A World of Colourful Creations:
This blog post is your one-stop shop for exploring Eric Carle-inspired crafts! We'll be featuring a variety of tutorials designed to bring your favorite Carle characters to life. Get ready to:
- Chomp Your Way Through a Colorful Caterpillar: We'll show you how to create a delightful "Very Hungry Caterpillar" using construction paper, paint, and some wiggle eyes.
- See What the Brown Bear Sees: Craft a vibrant menagerie of animals inspired by "Brown Bear, Brown Bear, What Do You See?" using tissue paper and cardstock.
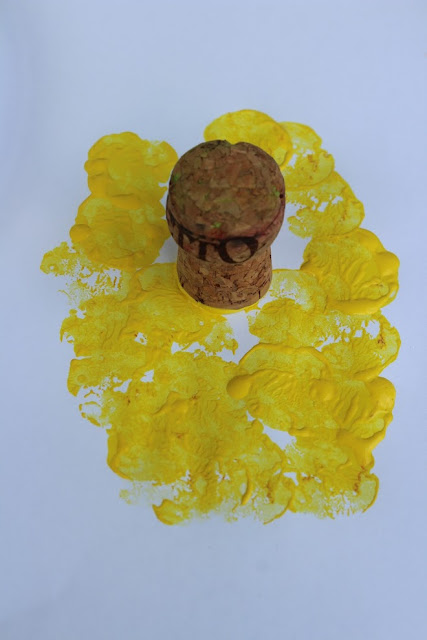
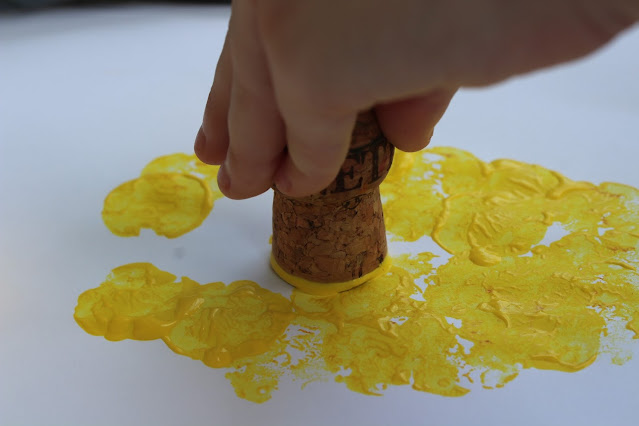
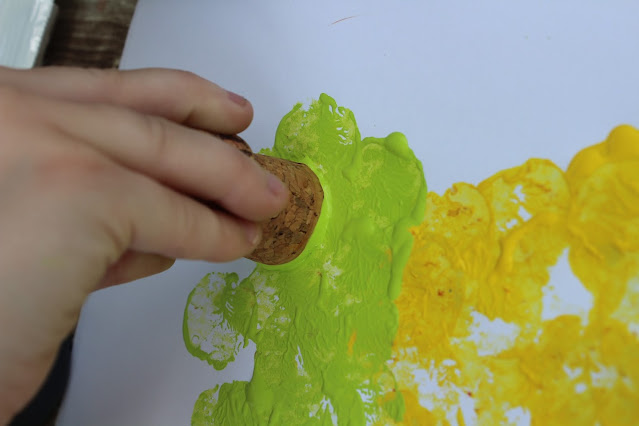
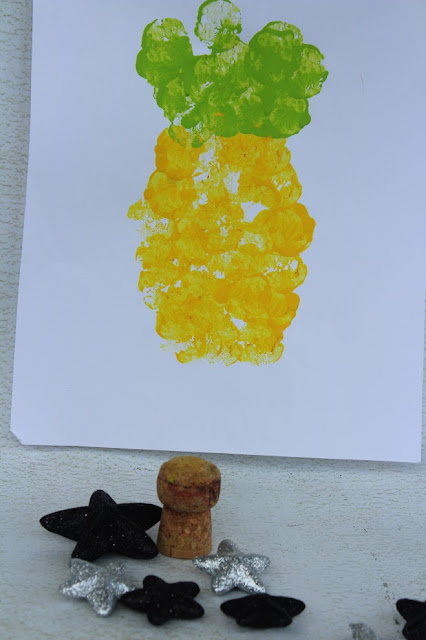
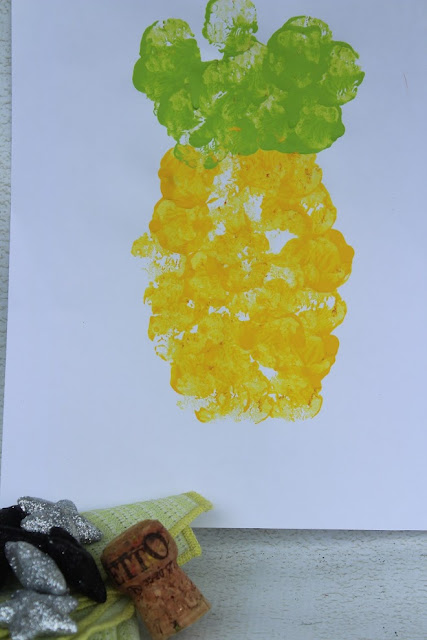
- Let Your Creativity Bloom: Unleash your inner artist with a Carle-inspired collage project. We'll guide you through creating beautiful textured paper using paints and household objects, perfect for crafting anything your imagination desires!
Cotton Ball Polar Bears by Simply Full of Delight

Apple Printed Caterpillars by Sweet Silly Sara
Eric Carle Style Easter Eggs by Red Ted Art
Egg Carton Caterpillar by Crafty Art Ideas
Hungry Caterpillar Fruit Pizzas by A Little Pinch of Perfect

Mixed Media Hungry Caterpillar Art by Kids Activities Blog
Thumbprint Caterpillars by Simply Full of Delight
Easy Egg Carton and Pipe Cleaner Caterpillars by Simply Full of Delight
Very Busy Spider Snack by The Healthy Family Project
Hungry Caterpillar Sensory Snack by A Little Pinch of Perfect

Hungry Caterpillar Puppets by Messy Little Monster
Hungry Caterpillar Cupcakes by Imaginative Homeschool
Two Headed Paper Plate Snakes by In the Playroom
Hungry Caterpillar Sensory Bin by Mama of Mini’s
Hungry Caterpillar Cookies by Buttercream Parties

Eric Carle Apple Cookies by The Monday Box
Hermit Crab Craft by Little Ladoo
Brown Bear Bento Box by Healthy Family Project
Beyond the Craft Table:
The beauty of Eric Carle crafts is that they're more than just fun activities. They can be a springboard for learning and exploration. Here are some ways to extend the experience:
- Story Time Fun: After crafting your favorite Carle characters, revisit the original books and act out the stories together.
- Explore Colors: Use your Carle creations as a jumping-off point to discuss different colors, shapes, and textures.
- Animal Adventures: Learn about the different animals featured in Carle's books and their habitats.
So grab your scissors, glue, and a sprinkle of creativity – it's time to embark on an artistic adventure inspired by the world of Eric Carle! Stay tuned for our upcoming craft tutorials, where we'll show you step-by-step how to create these delightful projects and bring the magic of Carle's art to life!
Find more awesome crafts for kids: