Showing posts sorted by relevance for query soda. Sort by date Show all posts

Maple Brown Sugar Cookies

The perfect fall cookie is easy to make in your home kitchen with this recipe for maple brown sugar cookies. This recipe creates cozy, warm cookies that are perfect to make and share.  Bake a batch with the kids, or surprise someone special with a dozen. Everyone will love these maple brown sugar cookies.


I love to bake and share my creations with neighbors and friends. I have fallen head over heals for maple and brown sugar flavors so I knew I had to bake cookie that captured them perfectly. I feel like maple should be an official flavor of fall. What do you think?

This recipe starts with simple ingredients like butter, flour, sugar and Ohio maple syrup. It creates a cookie that is bakery quality. You are going to love the burst of buttery, maple flavor each bite offers.


 Makes 3 dozen cookies.


Cookie Ingredients:


2 ⅓ cup flour

1 stick of softened butter

1 cup packed brown sugar

½ cup of sugar

1 large egg

⅓ cup of maple syrup

1 teaspoon vanilla extract

2 teaspoon maple extract

1 teaspoon baking soda

Pinch of salt


Directions:

Cream butter and both sugars together. Beat for 2 minutes.


Add egg, continue to mix for 1 minute and then add maple syrup.


As you are mixing add the vanilla and maple extracts.


Begin adding the flour, baking soda, salt. During this step I like to switch from my mixer to a mixing spoon to stir as the dough will be very creamy and soft and a little sticky.


Chill in the refrigerator for 90 minutes.

When you remove the dough from the fridge, preheat the oven to 350 degrees.

Use a cookie scooper to form balls of dough and place them on a cookie sheet, 2” apart.

Bake for 12 to 15 minutes. Allow to cool for 3 to 5 minutes before removing from the cookie sheet.


Icing Ingredients:

1 cup of powdered sugar

1 to 2 tablespoons of milk

2 teaspoons of maple extract


Combine all the ingredients in your mixer and blend over low speed until smooth.

Drizzle over cooled cookies.


These are so good with a cup of coffee or a glass of milk. They feel warm and cozy long after they have cooled off.


I am sure you will agree this maple brown sugar cookie recipe has a great crumb and a delectable buttery vibe going on that makes them perfect. 

If 3 dozen cookies sounds like too much for you to eat, you can freeze this recipe. Just scoop the dough into balls onto a cookie sheet. Pop it in the freezer for 2 hours or so until the dough is frozen, from there you can place the frozen cookie dough into a freezer bag. Mark the bag with time that they need to bake and the time to bake. Then you can pull a few cookies out as needed. 


You are sure to love these maple brown sugar cookies as much as my family does.


Find more great recipes here:

Golden Graham Cookies

Peanut Butter Chocolate Cake Mix Cookies


Chocolate Covered Cherry Cookies

This is the best cookie recipe yet! It has juicy, sweet cherries baked into double chocolate chip cookie dough. Make these for the winter holidays like Christmas or Valentine's day. They are decadent, delicious and so easy! Let the kids help, or whip up a batch this afternoon to share with someone special.


I love everything about this recipe. It brings decadent chocolate cookie dough together with chocolate chips and juicy cherries! Drizzle chocolate over the top to set this cookie over the top!


Ingredients:

1 1⁄2 c all purpose flour

1⁄2 tsp baking soda

1⁄2 tsp baking powder

1⁄2 c sweetened condensed milk

1⁄2 c of granulated sugar

1 cup of mini chocolate chips

3⁄4 c softened butter

1⁄2 c cocoa powder

A pinch of salt

1 cup of maraschino cherries, chopped

Directions:

Preheat the oven to 350 degrees.

Line a cookie sheet with parchment paper, or a baking mat.

Drain the maraschino cherries and allow them to dry on a paper towel.

Slice the maraschino cherries in halves or quarters, your choice.

Mix butter and sugar until fluffy.

Add sweetened condensed milk and blend until creamy.

Add baking powder, baking soda and pinch of salt, mix until combined.

Add flour and blend until fully incorporated.


Add chocolate chips, chopped cherries and cocoa powder.


Mix for 30 seconds on medium speed until the cocoa is incorporated.

Use a cookie scoop to form balls of dough, and drop them 2” apart on the cookie sheet.

Bake for 10 to 12 minutes. The tops should no longer look glossy.

Allow the cookies to rest on the cookie sheet for 15 minutes.

Drizzle with chocolate glaze when completely cool.

Remove and store in an airtight container for up to 1 week.


This recipe makes about 18 cookies.


Chocolate Glaze

1 cup of milk chocolate chips

3 tablespoons of milk

2 cups of powdered sugar

Melt the chocolate chips over medium heat, using the double boiler method, or pop them in the

microwave for 30 second intervals, stirring frequently, until the chocolate stirs smooth.

Add the milk and stir.

Add the powdered sugar and whisk until smooth.

Drizzle over cookies and allow to cool and harden for 15 minutes.


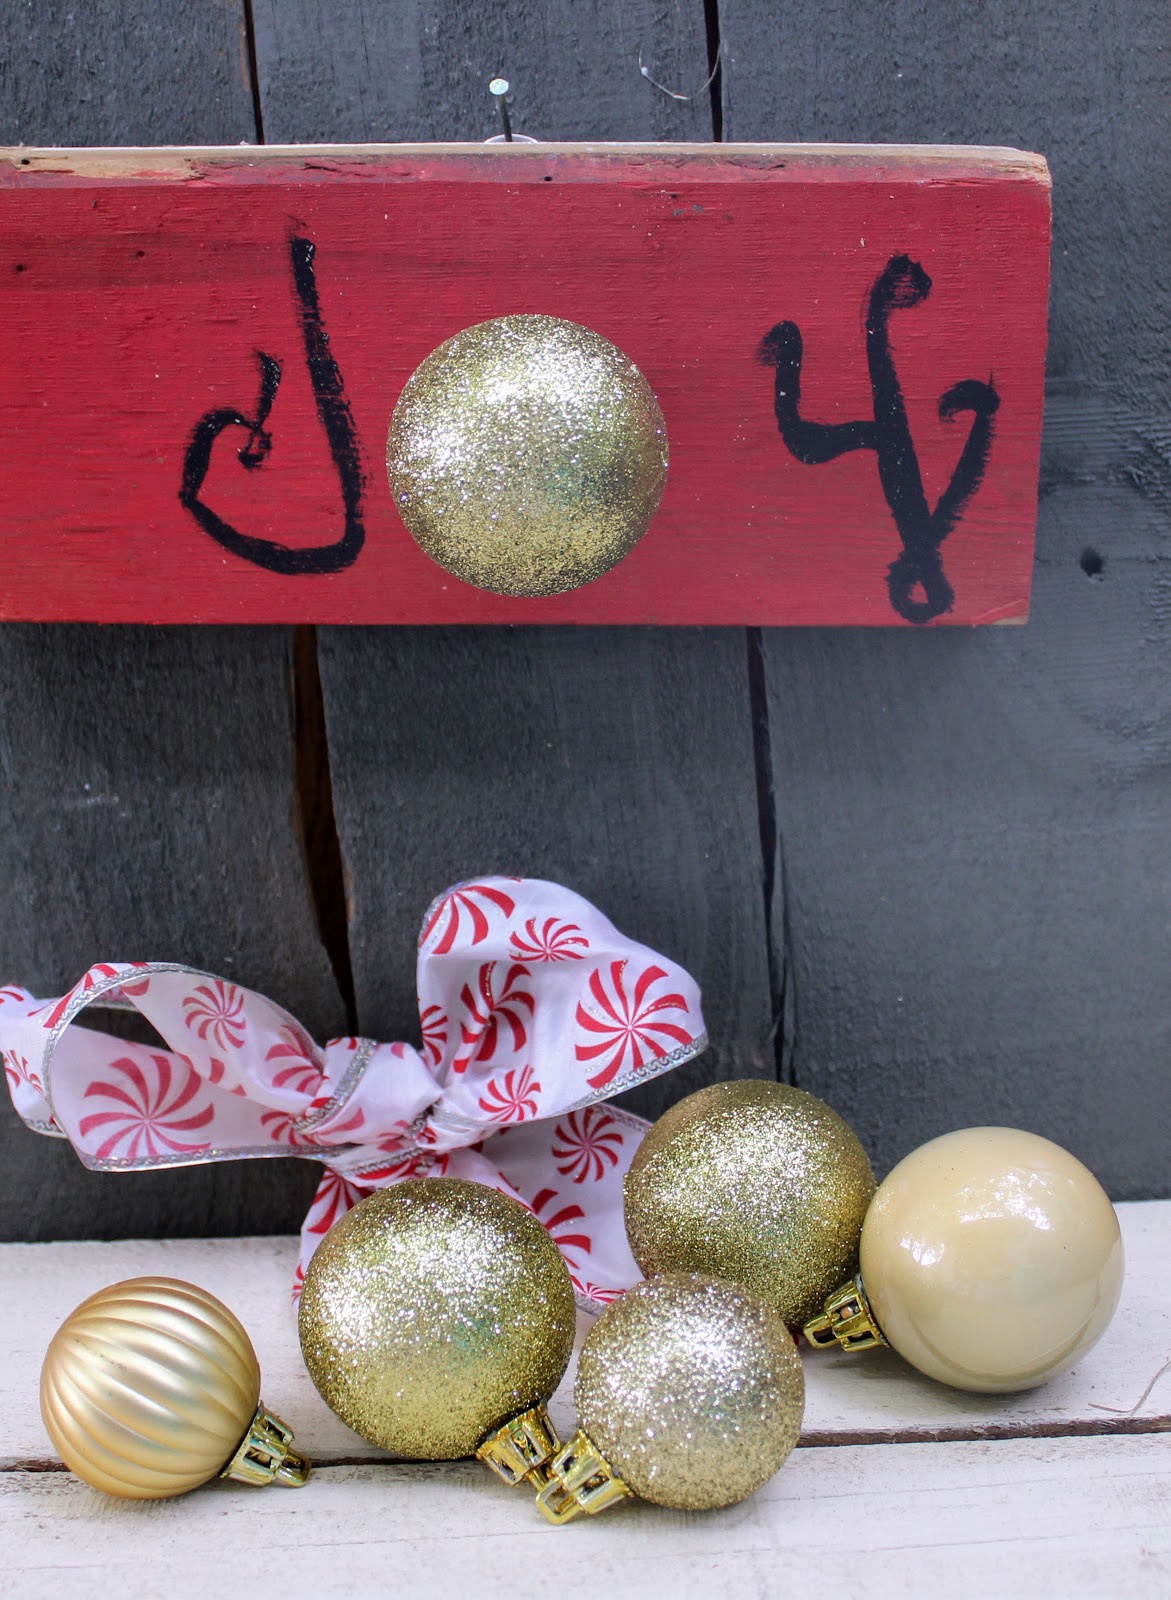
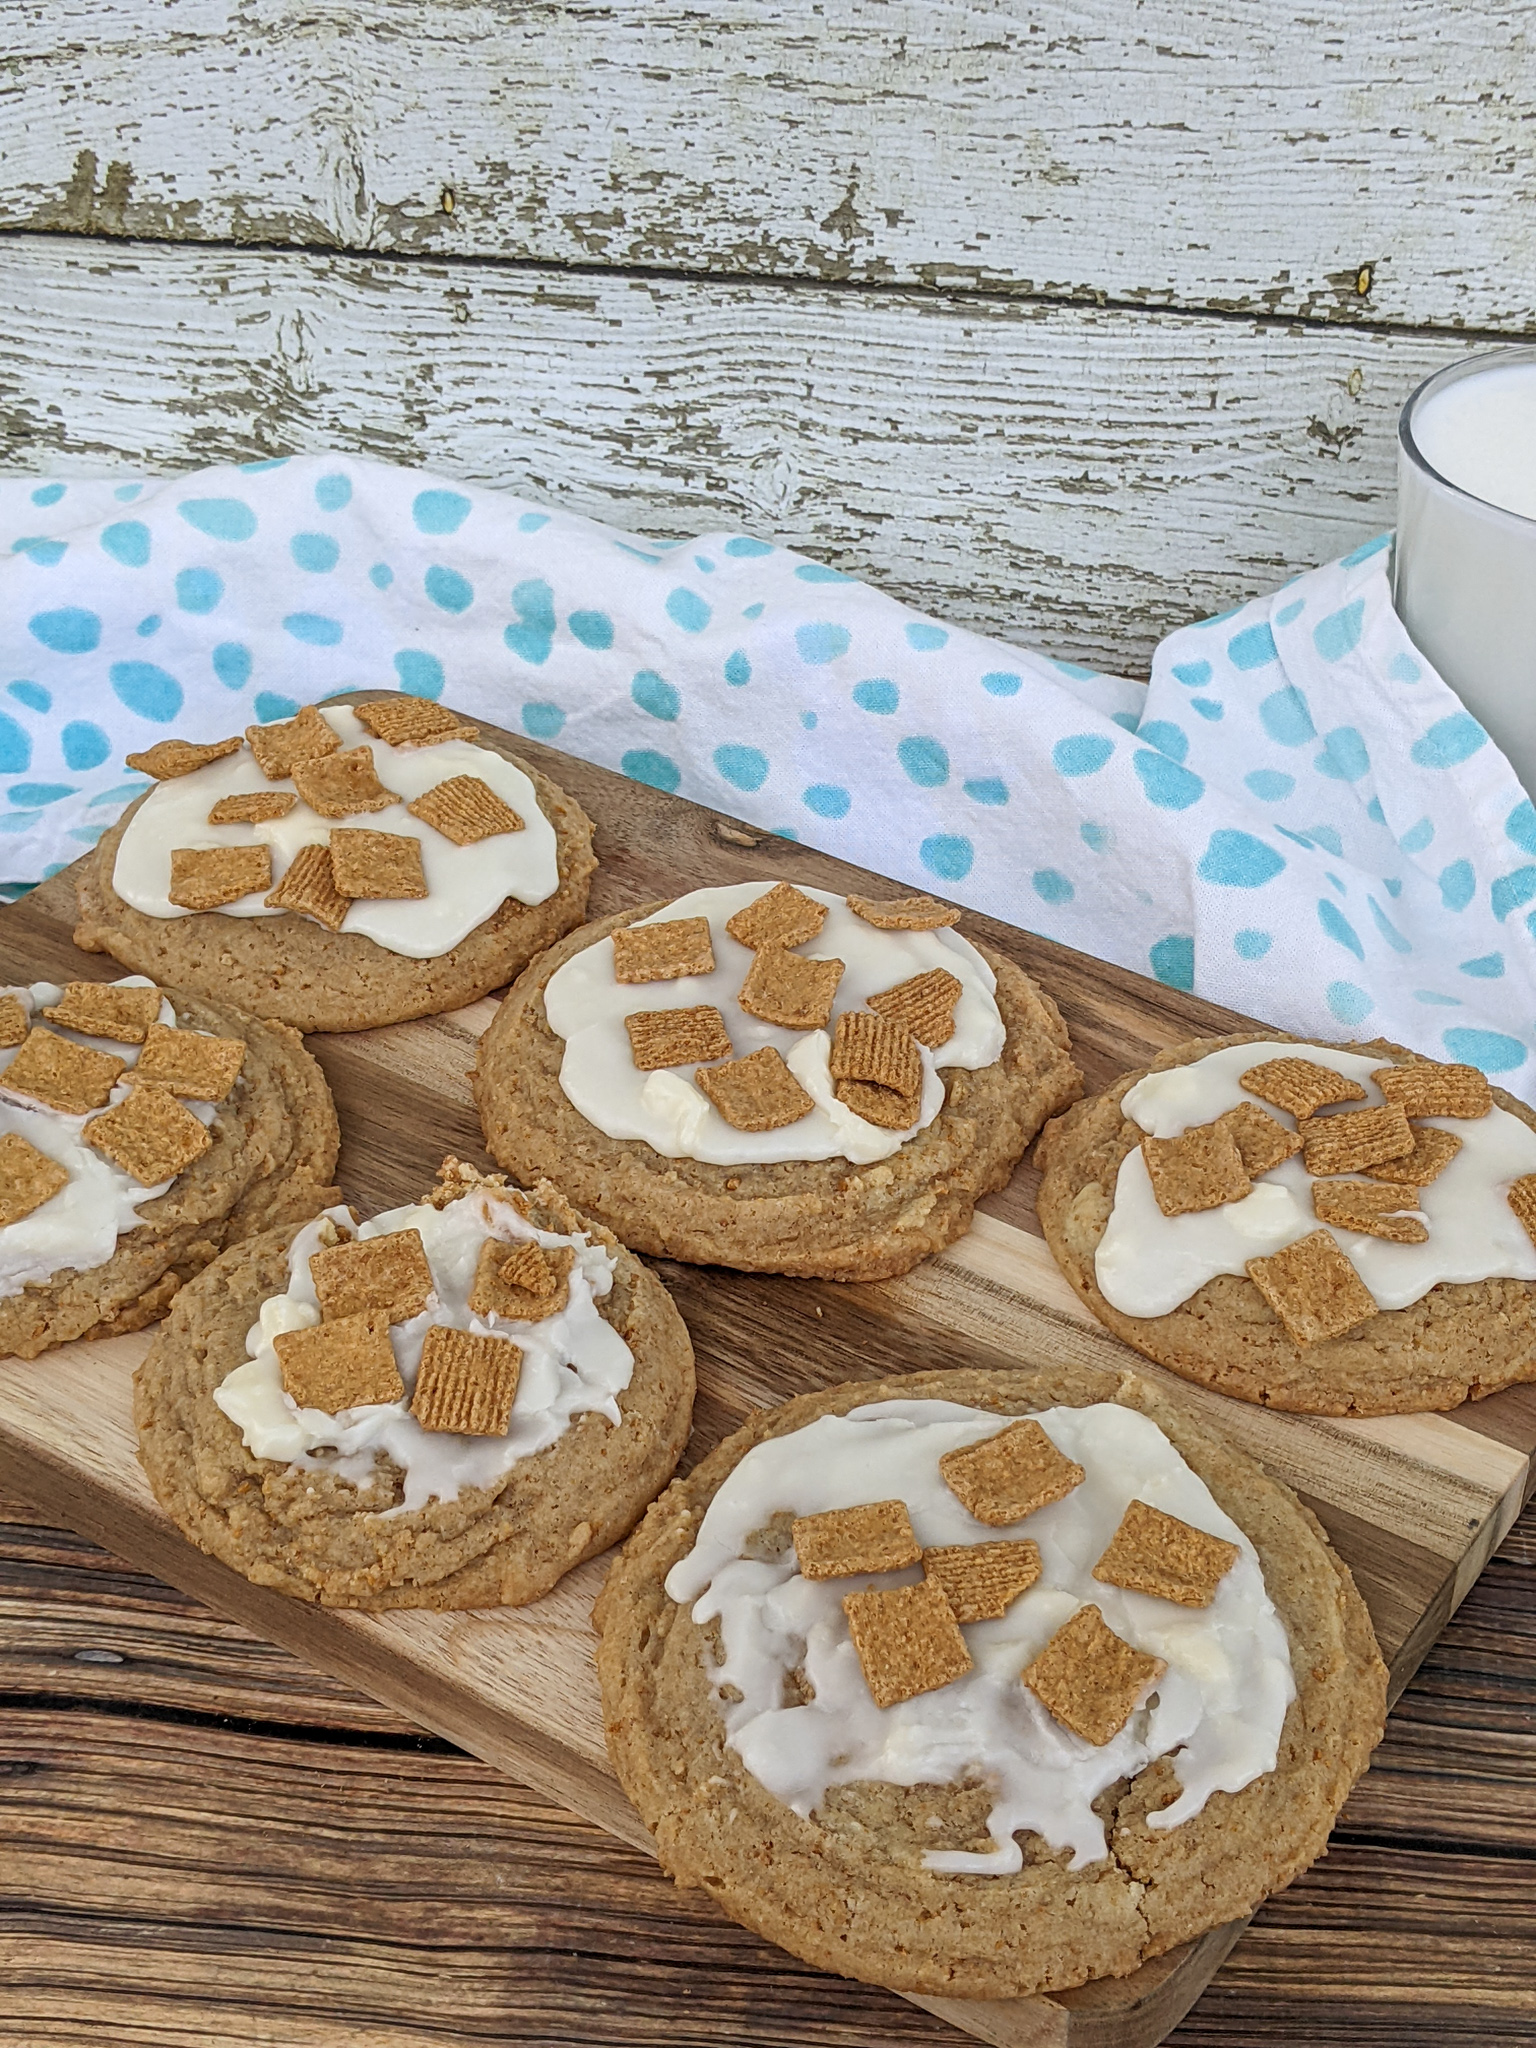
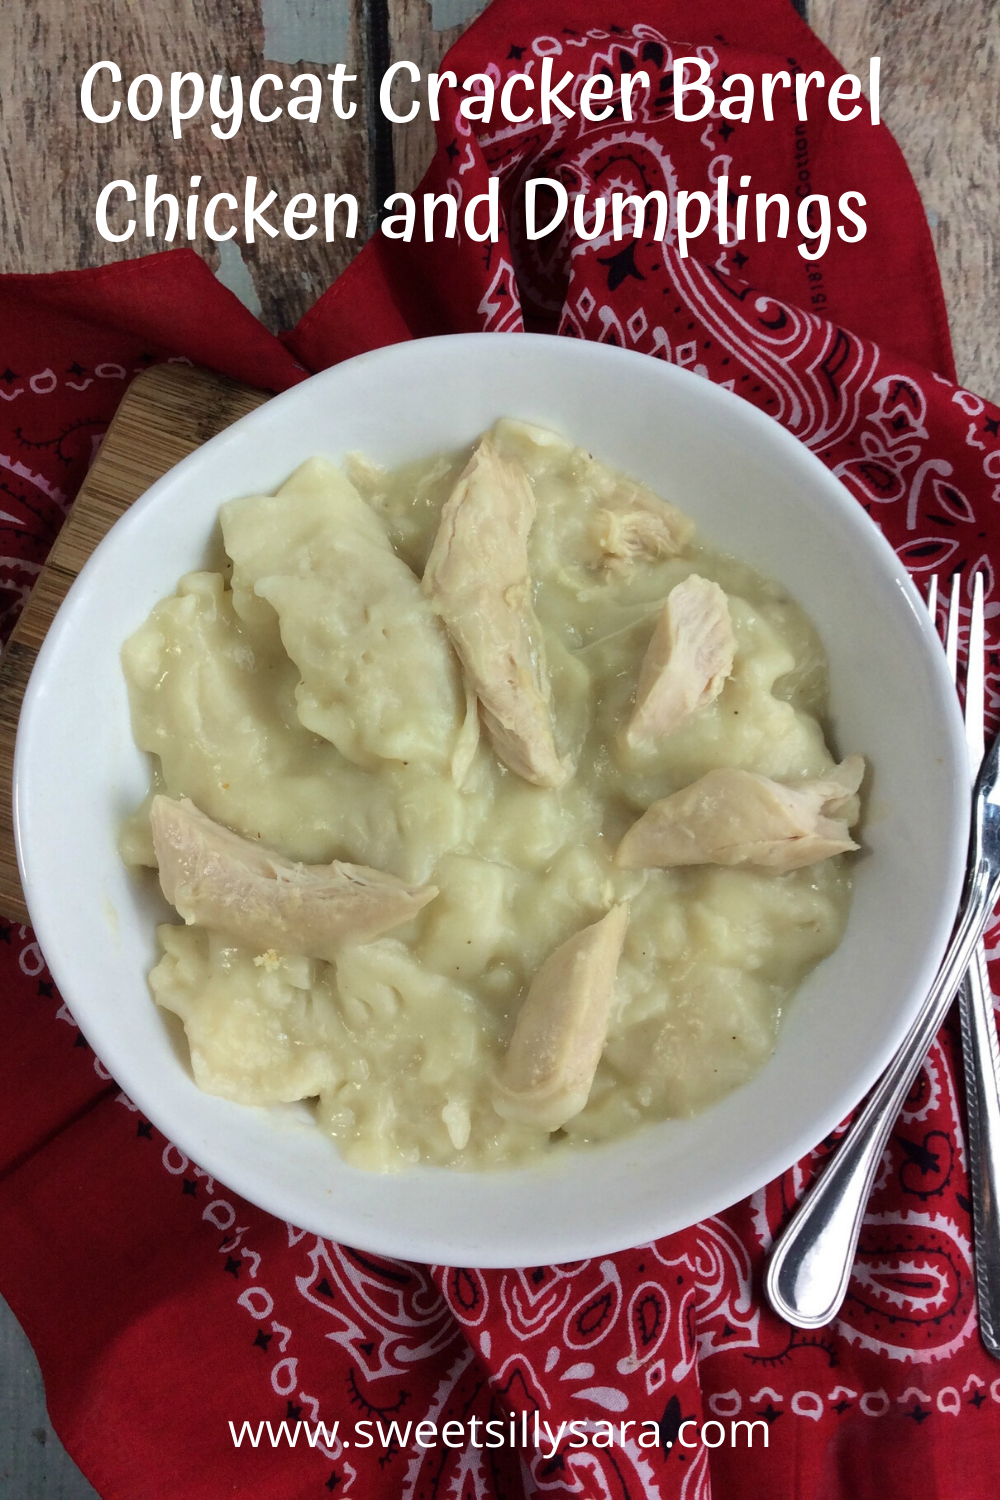
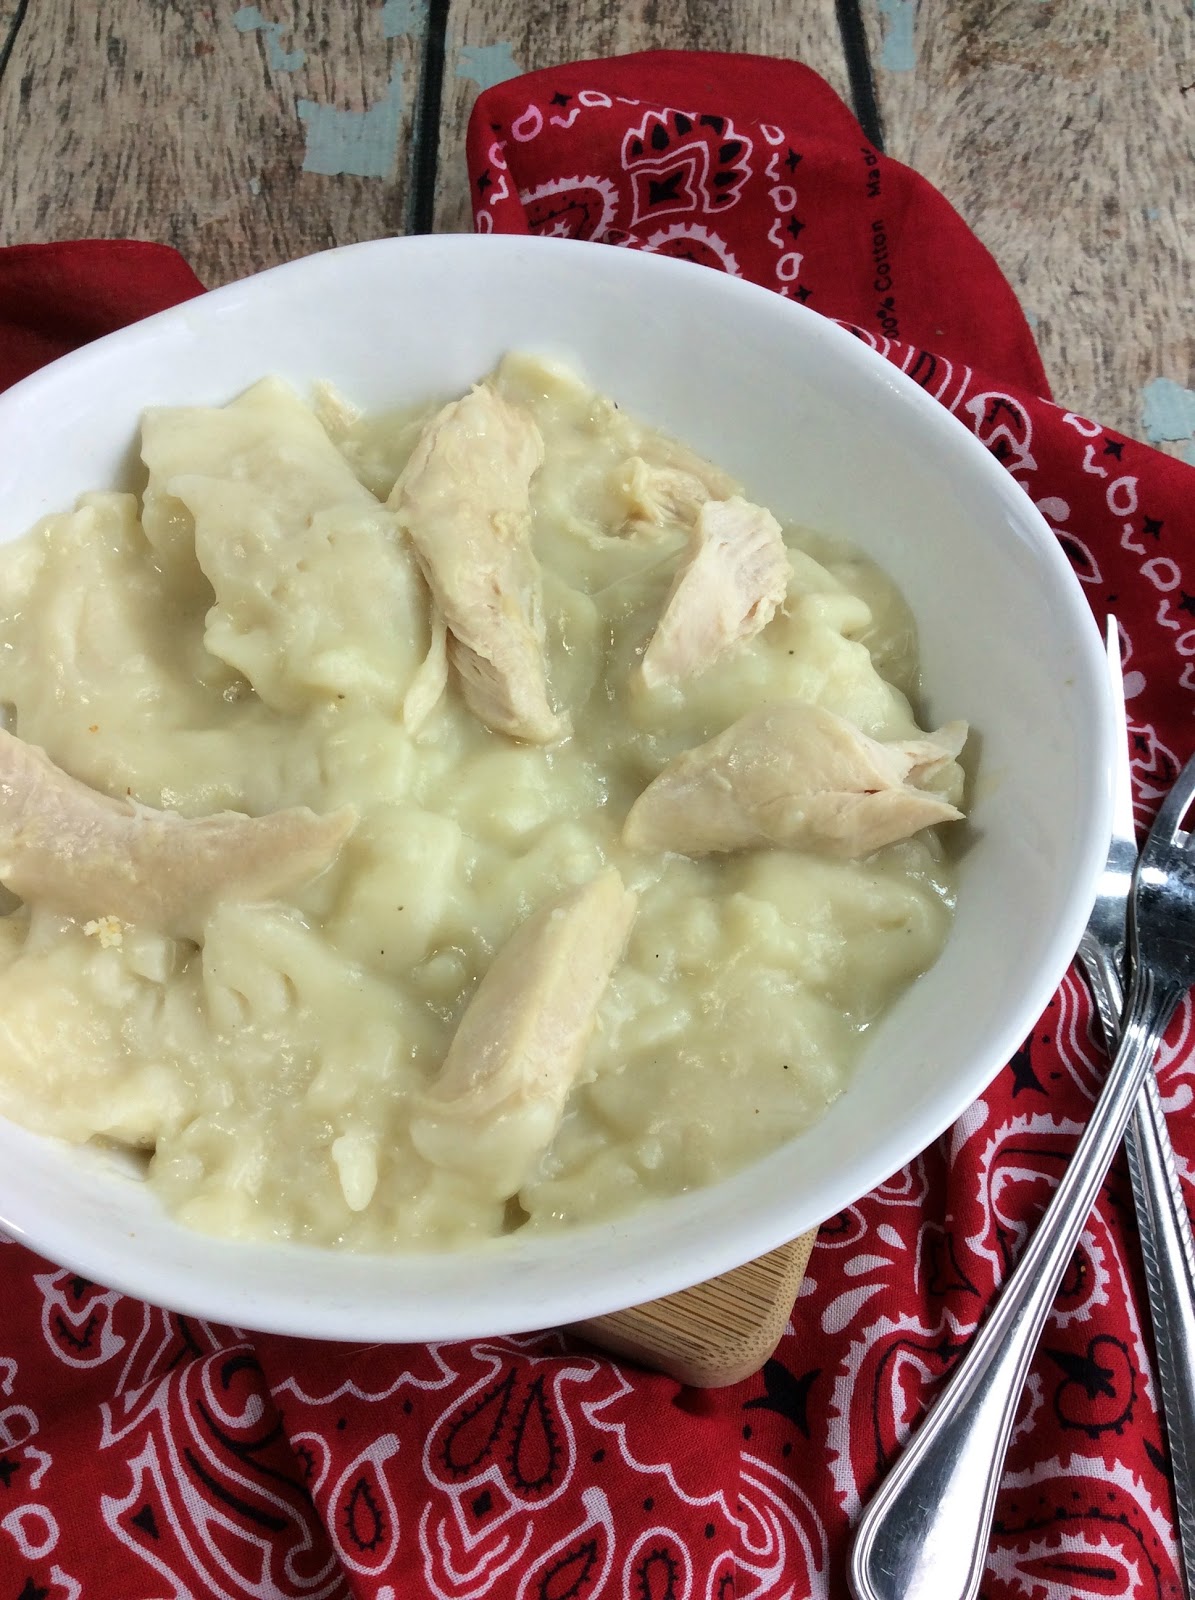
Find more favorite cookie recipes here:


Brown Sugar Sugar Cookies

Maple Brown Sugar Cookies


Golden Graham Cookies


Reclaimed Farmhouse Joy Sign

This farmhouse joy sign was made entirely from reclaimed materials to add a festive touch to your home.


I have been making a ton of things with pallets. From creepy Halloween signs, wooden black cats and even some fun pallet Christmas trees that I am going to share with you soon. I knew exactly what I wanted to make the last time I tore apart some pallets. Rustic and charming farmhouse holiday signs.


These reclaimed farmhouse joy signs are so easy to make.  They add a festive touch to your space or are perfect for gifting. Plus, they are so budget friendly you can make dozens for a dollar!


This is a really easy project. Gather some supplies, finding inspiration in trash.

Supplies for one sign

One pallet board section
One pop tab
One screw
One penny nail
Glue
One Christmas Bauble
Paint
Paint Brush
Screwdriver
Hammer

I cut one pallet board into 4 smaller boards, just big enough to proclaim my message, Joy.
I pulled tabs off of empty soda cans for my method of hanging.


Line up the soda tab so that it is even with the board. 
Place the screw in the small hole and tighten.


In the center of the other side of the board, place the penny nail. Drive it in half way.

Paint the board in the color of your choice. 

After the board is dry, place a Christmas bauble over the nail. Add a bead of glue to secure and allow to dry.

Use stencils, or with another color of paint, freehand  your letters J and Y. Allow to dry.

Now you can display your Joy sign, or share it with a friend this holiday season.


In the mood for more creative projects?
Check out some of my favorites here:
Ribbon Tree OrnamentsBarbie Serving TrayButton Tree Ornaments


Crumbl Copycat Golden Graham Cookies

Looking for a really good cookie recipe? These golden graham cookies are just what you need. They have such a lovely flavor and are perfect for anyone who loves cereal and milk. These are even better than Crumbl cookies! I think it is safe to call these a copycat crumbl recipe.


I love to bake cookies, muffins, biscuits and even popovers. It is my dream to someday have a bakery of my own where I can spread cheer and cookies all around. 

Well, until that happens, I keep myself happy coming up with recipes like this one. It is perfect for creating huge, delicious cookies with a wonderful texture. These are so big you can only make 6 to a cookie sheet and you will need your ice cream scooper to form them!

Bake these for a friend, to share with family or for a bake sale, and prepare for compliments! Go on and pin this recipe for later because you are going to want to make these all the time!

.


1 c salted butter, softened to room temperature

1 ½ c sugar

2 large eggs

2 ½ c flour

½ tsp baking soda

½ tsp baking powder

1 ½ c crushed golden graham cereal

1 tsp vanilla extract

½ tsp cinnamon


Preheat the oven to 350 degrees.

Line a cookie sheet with a silicon baking mat or parchment paper.

Add butter and sugar to a medium mixing bowl. Beat for 2-3 minutes or until light and fluffy.


Add eggs and vanilla, mix for 1 more minute.

Add baking soda, baking powder and cinnamon. Mix for 1 minute.


Add flour and mix until you can’t see any flour in the dough.


Crush the golden graham cereal with a food processor.


Add the crushed cereal to the dough and mix for a minute


Use an ice cream scoop to make large dough balls.

Place them 6 to a cookie sheet.


Bake for 13-15 minutes or until the edges are golden brown.

Allow the cookies to cool on the baking sheet for 10 minutes.

When the cookies are completely cool you can add glaze or frosting to them.

Garnish with golden graham cereal.


Glaze

1 ½ c powdered sugar

¼ c softened butter

1 tsp vanilla extract

1-2 tbsp of half and half of milk.


Add the powdered sugar and butter to a mixing bowl. 

Add vanilla and 1 tbsp of milk or half and half.

Begin mixing.

If your glaze feels too thick add an additional tbsp of milk and continue to blend until you achieve the desired consistency.


These cookies are SO GOOD. I think they are even better than CRUMBL cookies!


These would be incredible for a cookie exchange, or to add into your cookie tray at the holidays. But, these are awesome anytime of the year. So don't wait for the holidays to roll around to bake this recipe.


Look at those scrumptious cookies! They are great with both milk and coffee. They have a wonderful flavor!


You can find all of my dessert recipes here

More copycat recipes:

Strawberry Shortcake Floats


All of the flavors of a Strawberry Shortcake, but in a decadently cool float form! There is nothing like an ice cream float on a hot summer day!

You will want to pin this recipe to your dessert board for future reference!


Summer is the perfect season to make ice cream floats. This one is perfect for a dessert or a decadent way to cool off on a summer day.

I love strawberry shortcake on a summer day! But, sometimes I want something cooler than cake. A float is a perfect solution to cure my cravings.

These floats look and taste gourmet, but they are so easy to make! The most basic of ingredients come together to create a treat that is going to become a most requested drink in your house!

This was so good. I had to have a second float! My guilt subsided when my husband asked for another one but in a bigger glass.  This is an easy way to impress a guest or a delicious addition to any day of the week!


If you love floats, you won't want to miss this delicious strawberry cheesecake float or this blackberry cheesecake float.

Click through for the recipe.

Copycat Cracker Barrel Chicken and Dumplings

Chicken and Dumplings are the ultimate comfort food. Cracker Barrel is well known for having some of the best dumplings around but this recipe brings all of that famous flavor to your dinner table. If you are craving comfort food, you will want to make this  Copycat Cracker Barrel Chicken and Dumplings recipe asap!


Chicken and dumplings are one of my favorites. When I have had a really rough day, a steamy bowl of chicken and dumplings is like a warm hug! I used to think they were super hard to make, and I would have never tried to do it at home. I left my cravings to Cracker Barrel. But then the Coronavirus pandemic happened and all of my favorite places had to close their doors. What was a girl to do? Learn how to make dumplings!


This recipe is so easy! You are going to want to make it for Sunday dinner with the family, you are going to want to make it for cold winter days and anytime you want comfort. It tastes just like Cracker Barrel!


Copycat Cracker Barrel Chicken Dumplings


Ingredients

1 Rotisserie chicken 
6-7 cups of Chicken broth 
2 tsp salt
1/2 tsp pepper
2 cups all-purpose flour
1/2 tsp baking soda
1/2 tsp salt
3 tbsp. shortening
3/4 cup buttermilk


Directions

Remove the meat from the bone of your rotisserie chicken and set to the side in a covered dish. 
In a large crock pot set to high add broth your and pepper. (KitchenAid has a good 6-quart one)
Combine the flour, baking soda, and salt. 
Cut in the shortening. 
Add the buttermilk, stirring with a fork until moistened.
Knead the dough 4 to 5 times.
Place the dough on a flour covered cutting board. 
Begin to cut your pieces into 1/2 inch pieces. 
Place the pieces into the crock pot. 
Reduce the heat to medium and cook for about 4 hours. 
Stirring occasionally.
Add the chicken back and lightly toss to combine
Continue to cook for 1 more hour 
Enjoy


 Find all of my favorite recipes here
Crab Cakes
Carrot Soup 


Blackberry Cheesecake Float

You guys! I have an awesome summer drink recipe to share with you that is so easy and literally only requires 2 ingredients!


I have been craving all things blackberry lately. Normally I am not the biggest ice cream eater, but this little pint of blackberry cheesecake ice cream practically fell into my cart and begged to come home with me.

Immediately I knew how I was going to enjoy this treat! In an ice cream float!

Ice cream floats completely change the ice cream game in my book. I cannot resist them and love to try different flavors! They can be as simple as root-beer and vanilla or as complex as you care to make them.
This one is not too wild in terms of the combination, but it is wildly delicious!


To make a Blackberry Cheesecake Float you will need:

2 scoops of blackberry cheesecake ice cream
1 can of Cream Soda {I used Diet A&W}

optional:
graham cracker crumbs
whipped cream

Directions

Add ice cream to a tall glass
Top with cream soda


Optional:
Top with whipped cream and 1 teaspoon of graham cracker crumbs


This was a fantastic flavor for a float for a summer indulgence that took only a moment to prepare and share!


You might also like this Strawberry Shortcake Float recipe.


Spooky Pallet Sign

Need a last minute Halloween decoration? These spooky pallet signs are perfect for a quick craft that adds a lot of character to your space.


I have been making lots of stuff with pallets. From my cute reclaimed black cats, to some sweet serving trays to share with friends. I also made a slew of these spooky signs and shared them with a few neighbors.


These are so easy to make.  You need no skills and no special tools.  You can truly create them completely from scrap materials. If you are able to find scrap wood in a 12-18" size, that would ideal. If not, a hand saw or circular saw will be useful  in cutting down a pallet to the size you want to use.

Supplies:
An MFD board
Paint in several colors
A small paint brush
A soda tab
A screw
A screwdriver.


Directions:
Place a soda tab in the center of the board, line it up so it is even with the board at the top.
Screw it in.
Flip the board over and paint it the color you desire. I went with a light orange.
Allow to dry.
When the base coat is dry, paint Spooky on the board. I did this by hand, but you can use a stencil to get perfect letters. I was going for a creepy look, and perfection wasn't needed.
When the spooky letters have dried, dip a paint brush in another color, like green, or purple.
Extending an index finger, tap the paint brush against the finger to create splatters on the sign below.
Repeat as desired.
Allow to dry before displaying.
If you are displaying outside, spray with a sealant.


Make a few in a variety of creepy phrases and decorate your space in spooktacular, splendor without spending a cent! You can make this sign in only about 15 minutes, asides from the waiting for the paint to dry. 


If you liked this easy pallet project you might want to check out more of my favorite DIYS!

Reader favorites include: