Homemade Cherry Orange Soda Pop Syrup

Homemade Cherry Orange Soda is light, refreshing and perfect for sipping. It comes together with only a few ingredients to make a gourmet soda that you won't be able to get enough of.

This post contains affiliate links.

We have a  Drink Mate in the kitchen and I vowed to put it to use this summer. I made a delicious Strawberry Peach Soda recipe a few weeks ago and I couldn't wait to make more fizzy drinks.  The neighborhood kids were more than happy to be my taste testers, so I started experimenting.

This is such an easy homemade soda pop recipe. If you are not using a soda machine like the drink mate or soda stream, you can make this work with club soda.

Supplies:

1 orange
1/2 pound of pitted fresh cherries
1 cup of sugar
1 cup of water
Mesh Strainer

Directions:

Combine fruit, water and sugar in a saucepan.
Over medium heat bring to a boil.
Reduce heat and allow the fruit syrup to simmer for 20 minutes.
Pour through a mesh strainer.
Allow the syrup to cool.
Discard fruit (This is wonderful over ice cream if you are so inclined.)


Soda directions:

Carbonate filtered water.
Add 2 ounces of cherry orange syrup per 8 ounces of carbonated water (or club soda) to ice.


If you want a stronger, sweeter soda increase the syrup from 2 to 3 ounces.


My family loved this. The kids liked the sweet, juicy, bubbly flavor. I loved that it was a caffeine free option and that I know what is in it, and that I can control the sweetness of this soda.


I served this on a hot day, with lots of ice. My husband mixed a little vodka into his and declared it to taste like summer should.


If your family loves this, next time double or triple the batch for the syrup. You can store it in a mason jar in the fridge for a few weeks.


When pitting your cherries, a cherry pitter is a handy tool to have. If not you can find other ways to get the job done. I sliced mine in half to make smashing the fruit even easier.


If you liked this cherry orange soda recipe you won't want to miss my Homemade Strawberry Peach Soda.

You might also like 12 Homemade Soda recipes.

11 Truffles to Make

The path to my heart is paved with decadent things; soft pillows, sweet smelling flowers,  a warm animal to pet and truffles are a few of the things that can turn me to a puddle of mush!


This holiday season I have intentions to make and share some amazing truffles with my friends and family. You know what they say about intentions, so it is debatable whether my truffles will actually be shared, or if I will over indulge and then act like I didn't make any... HA!


This post contains affiliate links.

I found some amazing truffle recipes that sound fantastic! I can't decide if I should make one, two, or all of them!

Fudge Round Truffles by Shaken Together Life
Oreo Buckeye Truffles by Baking Beauty
Dark Chocolate Pistachio Truffles by Kleinworth & Co
Pumpkin Cookie Truffles by Club Chica Circle
Dulche De Leche Truffles by Thrifty Diva
Mudball Truffles by Creations by Kara
Red Velvet Truffles by Create Craft Love
Mint Oreo Truffles by Simplistically Living
Brazilian Coconut Truffles by DIY Candy
Milk Chocolate Truffles by Savory Experiments
Chocolate Chip Cookie Dough Truffles by Who Needs a Cape


Which of these sound the best to you? If you have a favorite truffle recipe please give me the scoop in a comment!


Cement Spoon Garden Markers

This easy cement spoon garden marker project is perfect for beginners and adds a nice touch to your outdoor area.


I love to make things with cement. From coasters to mushrooms and even a cake stand! I ran across a silicone spoon mold and I knew exactly what I wanted to make. Garden Markers. 

This post contains affiliate links.


While working with cement seems like it might be hard, it is surprisingly easy to work with and there are so many possibilities for what you can do with concrete mix. 

I am not much of a gardener. I have tried in the past, but usually bite off more than I can chew and reduce the rate of success for my garden. This year I decided to give it a go and try to grow a small garden that mixed flowers and vegetables. I got some of these little plaques to label my plants, but they were ugly.

These cement spoon markers were just what I needed to add some character to the scene.

Supplies:

Silicone molds
1/2 cup of cement mix; I prefer portland cement.
1/3 cup of water
Chalkboard Paint


Directions:

Mix the cement and water until it is smooth.
Pour the cement into the silicone mold.
Place in the sun and allow to dry for 6 hours.
Remove the spoons from the mold carefully to avoid breaking them.
Paint with chalkboard paint and allow to dry.


I used a chalk paint pen to label the cement spoon garden markers.


You can find all of my DIY projects here

Sensory Party in a Bag


Sensory play doesn't have to be complicated or messy to be fun! This sensory party in a bag is the perfect way to engage little hands without a mess, or a lot of complicated supplies.

We love sensory play! When Rolfie was a little boy we discovered the world of sensory bins and have never looked back.

I used to think that sensory play had to be complicated to be fun. After about 7 years of making bins and finding way to engage the senses via play, I realized that sometimes less is more.

This sensory party in a bag is a great example. Sometimes when the kids are overwhelmed by their emotions I like to pull out some basic supplies and create an invitation to unwind.  Summer break can be rough, especially if you are stuck with your sibling all day long. After a day of arguing, I surveyed my craft cabinet and pulled out some simple supplies to create this easy sensory bag. It gave both kids a chance to take a break from each other and get their selves together.


Supplies:
Baby oil gel
A zipper seal bag
Dyed rice
Confetti


Directions:
Pour about 2 tablespoons of baby oil gel into a zipper seal bag.


Add a handful of dyed rice to the bag.
Add some confetti.
Seal.
*If your child has "rough hands" you might wish to reinforce the bag with duct tape along all 4 sides to keep it mess free.*
Invite your child to squish the bag and take a few moments to enjoy the cool sensation of the gel in the bag with the texture of the rice, as well as the visual appeal of the sensory party in a bag.


You can find all of my sensory play ideas here.

Reader favorites include:


Jalapeno Popper Biscuit


Jalapeno Popper Biscuits are like the best of both worlds! Fluffy bread and creamy jalapeno poppers combined into one awesome starter that you will serve time and time again!


Jalapenos become a big part of my diet in the summer! I visit the farmers market every week, and how can you resist buying a basket of peppers for $1? I am always looking for unique ways to use them up. I had a can of refrigerated biscuits and the idea of cheesy, spicy bread lured me in!

This recipe is so easy. Seriously! So, easy! It has all of the flavor of bacon wrapped jalapeno poppers, with a tasty, flaky crust!


Ingredients

1 can of refrigerated biscuits
5 jalapenos, chopped
4 ounces of cream cheese, softened
1/4 pound of bacon, cooked and crumbled
3/4 cup of shredded cheddar cheese

Directions


Preheat oven to 350
Flatten the biscuit dough, with a rolling pin into  4 or 5 inch circles.
In a small mixing bowl combine the peppers, cream cheese, 1/2 cup of cheddar cheese and crumbled bacon.
Fill the center of the dough circles with the cheese mixture, use a generous spoonful for each biscuit.


Fold the remaining dough round around the filling. 
Sprinkle the top with remaining cheddar cheese.
Bake for 12 to 15 minutes, or golden brown.


Find more Jalapeno recipes here

Reader favorites include:
Loaded Jalapeno BitesJalapeno Popper Dip


Starry Night Sensory Bag

If you are looking for a fun way to wind down with the kids at bedtime, this easy starry night sensory bag is  perfect! It comes together so easily and is fun to squish!


We love sensory play. Even my almost 9 year old will drop everything and come running if he sees water beads, or rainbow rice. 

Bedtime has kind of sucked lately, so I thought maybe we could make a sensory bag that would help Harp unwind in a new way. We came up with this Starry Night Sensory Bag.


Supplies

Hair gel
Black decorative sand
Ziploc Baggie
Star Confetti

Directions

Add about 1/3 cup of hair gel to a zipper seal bag.


Add about 1/3 cup of black sand to the bag.


Add gold star confetti to the bag.


Allow little hands to squish and squeeze.


Seal the bag!


If you are worried about little hands not being gentle, double up on the baggie!


You can find our other sensory play ideas here


Blueberry Vodka Lime Sorbet


Blueberry Vodka Lime Sorbet cools you off while lighting you up at the same time!


You guys, I celebrated my 40th birthday yesterday. I am pretty excited about it too. 40 is the Holy Grail or so I have heard. And I am eager to find out! It is August and it is blazing hot here. So humid that I am not even ashamed to admit, I daydreamed about winter for a few moments.

I can't do much about the weather, but I can find ways to keep my mind busy and cool off a little.
I whipped up a batch of blueberry vodka lime sorbet and enjoyed a dish poolside. That has to be the next best thing to a winter wonderland on a hot day.

Sorbet seems fancy to me. When I was in highschool, I had a part time job at a really lovely place, Glenlaurel Inn in the Hocking Hills. It was pretty sweet for a teenager. I did dishes, earned enough money to go to dozens of concerts, and sometimes the chef would feed me a gourmet meal that included sorbet and an andes mint at the end. As a kid, living in a very rural area in the 1990s, sorbet, andes mints and a coke machine really wowed me. For over 20 years I have fondly recalled that experience of working there and being exposed to culture every time I have had sorbet.


Sorbet seems fancy, but it is actually so deliciously simple to make. Homemade sorbet is a million times better than anything that comes in a container an adding a great vodka to the mix results in a grown up treat that does double duty. It cools you off and fires you up at the same time!

Ingredients:

2 cups of blueberries
2 cups of sugar
2 cups of water
One Lime
1/2 cup of vodka


Directions:

Combine water, sugar and blueberries in a saucepan.
Over medium heat bring to a boil.
Reduce heat to low and simmer or 30 minutes.
Allow the mixture to cool for 20 minutes.
Pour into a blender and blend for 1 minute.
Add vodka and the juice of one lime.
Blend for 30 seconds.
You can pour the mixture through a fine mesh strainer if the seeds from berries bother you. I opted not to do this, as I like a little texture.
Freeze for 4 o 6 hours.
Serve or store in an airtight container in the freezer.


Find more cocktail recipes here

Everyone loves the Bomb Pop Cocktail

20+ Funko Pop Figures for Collectors

Funko Pop figures are so much fun! I love to see all of the awesome renditions of famous people and characters that they come up with!

Last month a friend of mine had 2 custom made for his engagement and I am in awe of how cute they turned out! Ever since I saw them, I have been obsessed with them! While checking them out on amazon I rounded up 20 of my favorites to share with you. If you to love them, or are shopping for a gift for a collector, you are going to get a kick out of this list!

 I am a participant in the amazon affiliate program. Making a purchase gives me a small commission at no cost to you.


Deadpool- Bob Ross Funko Pop
Buddy from Elf
Ron Swanson from Parks and Recreation
The Dragon from Game of Thrones
Marvel Venom
Gizmo from Gremlins
Pickle Rick from Rick and Morty
Slash from Guns n Roses
Rainbow Brite and Twink
The Grinch
Ed Sheeran 
Dumbledore
James Bond
Flying Rocket
Cousin Eddie from Christmas Vacation
Steve with Sunglasses from Stranger Things
Krampus 
Sub Zero from Mortal Kombat
Jon Snow from Game of Thrones
Skeletor in Battle Armor from Masters of the Universe

Cousin Eddie is my favorite! How fun is that? I can't wait to hear about your favorite from this list, or a special Funko Pop in your collection!

I have so many fun shopping guides on site! You might want to check out a few others like:

15+ Unicorn Gifts for TeensStar Wars Gift Ideas

DIY Easel Photo Stands

This easy straw easel diy is the perfect solution to displaying photos and works of art on the cheap.
All you will need is a few straws and some hot glue to create these fun and functional easel photo stands.


My kids love to draw pictures and my husband loves to take photos. I usually have an abundance of things to display on any given day. Considering how artistic my family is, I regularly rotate the display!
These easy easel photo stands are the perfect solution for displaying notes, photos or works of art.
They come together in moments and are just the right size.


To make straw easel photo stands you will need 4 paper straws and a hot glue gun.
Begin by forming an upside down V with 2 straws and glue them together.


Next, cut one straw in half, place this on the two straws to form an A shape. For larger photos, add the cut straw a little lower to allow more room to stand a photo.

Now glue the last straw on the back of the A shape.  Glue from the top to give the stand its support.


Allow to dry for a moment then place a photo or work of art on the stand to display.


I love this idea for the office, a dorm room, or around the house.


I have a video on facebook for this project.
I would love to have you check it out and give it a thumbs up!


You might also like this Time Out Jar project.

Cotton Candy Ice Cream Cones

This easy treat is perfect for sharing with a group of kids! On the hottest day, these tasty ice cream cones won't drip because they are made with cotton candy! Everyone loves these cotton candy ice cream cones!


Harper and I are always getting into something. She loves to bake and is known in our home as the making baking girl. But, between friends, my oven really needs to be cleaned before we bake, and I have no idea how to actually do it... google here I come. But, in the meantime, I can't deny my girl her fun in the kitchen!

This post contains affiliate links.

We had a box of sugar cones and Harper had talked me into a bag of cotton candy recently. Inspiration hit, and this is what we came up with. Cotton Candy Ice Cream Cones. To make them "fancy" we dipped them into chocolate and then into sprinkles.

This is such an easy treat to make. They would be perfect for sharing at a birthday party, or in the classroom for a mess free snack. You can make a dozen of these in under 10 minutes.

Ingredients

1/2 cup of Wilton white candy melts 
1 package of cotton candy
Sprinkles


Instructions

Melt the chocolate in a microwave at 50% power for 30 seconds. Stir and repeat until the chocolate stirs smooth.
Immediately dip your sugar cones in the melted chocolate.


Next dip the cones into sprinkles, allow to dry for about 15 minutes.
Stuff the cones with cotton candy.
Wrap in cellophane or serve immediately.


 More easy recipes and crafts 


Reader favorites include:
Mermaid Tails

Homemade Rice Pudding


Advice for the New Mom: The Easy Way of Approaching a Big Trip with Little Kids

 
Advice for the New Mom: The Easy Way of Approaching a Big Trip with Little Kids
Traveling with your kids is always exciting. However, for new moms, it can be both an adventure as well
as nerve-wrecking. 


Like any adventure, it has its challenges but it is also extremely rewarding and memorable too. Of
course, some parents also refer to it as a learning experience. This is because it can be a way to open
a child’s world further.


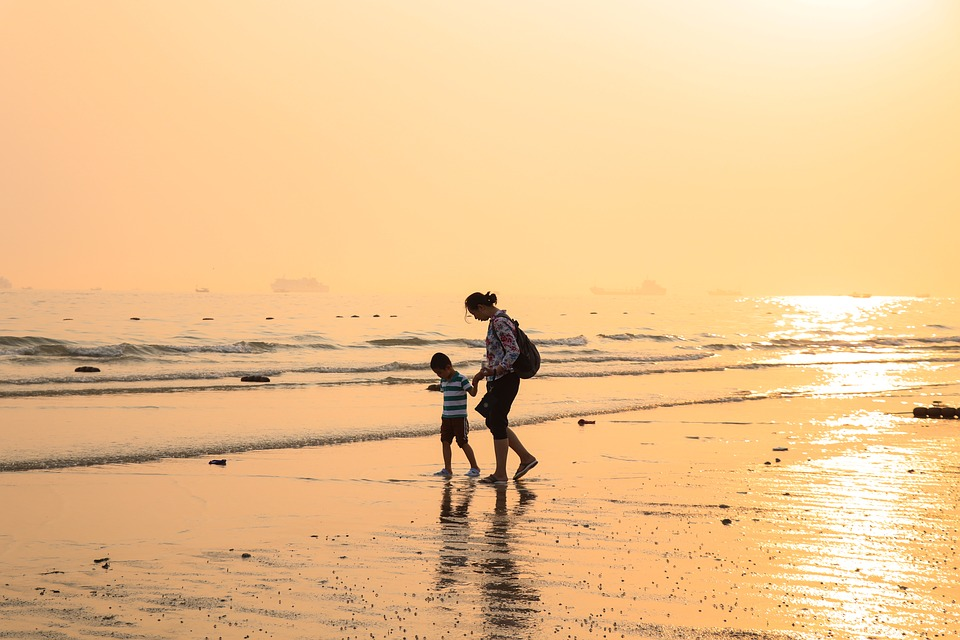
I remember my first traveling experience as a new mother like it happened yesterday. It was definitely
not the walk of sunshine I was expecting. 


Although traveling with a child is not easy, especially as a new parent, with the right tools it can be less
intimidating for both parties.


It’s finding those right tools which can add up to unnecessary frustrations and even ruin the
family vacation fun. To make your life easier, I have put together tips to help you approach a big trip with
the little ones the right way.
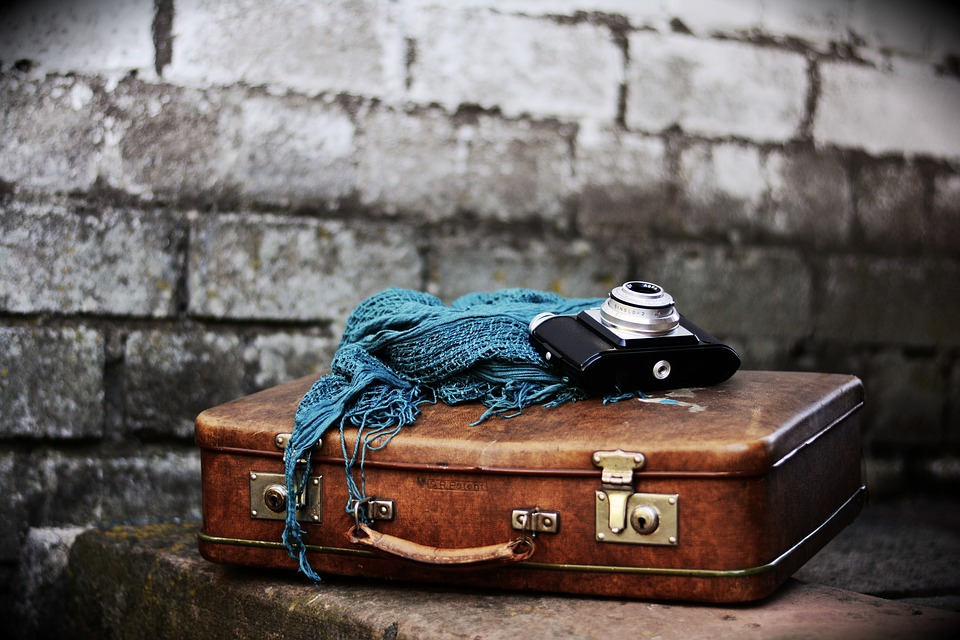
Pack Smart

When traveling with kids it’s important to pack as smart as you possibly can. You can’t always buy what
you need at the destination. Of course, you should pack what is needed but make sure not to overpack
either.


In order to pack the bare minimum, you need to get in touch with your creative side. A nifty trick I have
learned over the years is to roll clothes instead of folding them. I also stuff socks and underwear inside
shoes. 


Some people even wear their clothes on the flight. This leaves more room in their bags for other items.


Another hack I have learned is to select versatile and comfortable clothes. I also make sure our clothes
are color-coordinated so if something gets dirty you only have to change part of the outfit. I personally
use this tip not only for traveling purposes but to minimize laundry in everyday life.


Having fewer clothes result in lighter bags which makes it easier to transport them with as little
complaints as possible. When checking in baggage, you will also pay less because they charge you
per pound.

Make Pre-bookings Your Friend

Of course, you will have your flights booked for your trip ahead of time. However, your pre-booking
shouldn’t end there. Before having kids, you may be used to showing up at a destination, getting a feel
for the town, and choosing where to stay. 


I’m sorry to have to break the news to you but sadly, those days are over...


When arriving in a new place, it’s best to go straight to your resort, drop off bags, and give the kids a
chance to rest if they’re tired after the long journey. If they are not tired you could always use the extra
time doing some family activities.


I found that pre-booking locations generally make things easier. However, if you want a bit of flexibility
regarding resorts, I suggest booking the first night or two ahead of time. Once you’re settled, you can
then decide where to stay for the rest of the vacation. 


Not many people know that there are more pre-booking opportunities available other than flights and
resorts. You could also book certain activities to do with the kids such as booking tickets for the
museum, and theme parks. I have discovered on our last trip that even private and public transportation
can be pre-booked.


Anything you can book ahead of time is 1 less thing to worry about while trying to keep your whole family
happy. It also gives you more time to relax and enjoy your destination.

Child Discounts Are The Best

Never be afraid to ask for child discounts, after all, you are a parent now. Not all places offer these
discounts however, there is no harm in asking. These discounts really saves you a ton of cash.


Many new parents feel too intimidated to ask for discounts. I felt the same way, but I promise you once
you’ve done it a couple of times, it will be easier. 


It is shocking to see the number of places that will give you a child discount for tourists.


Here are places which usually have kids discounts:
  • Transportation (both private and public) 
  • Guide Tours
  • Attraction entrance fees
  • Restaurants (some have kids eat free nights)

When Kids Wonder

Despite your best efforts, your child may get lost. When this unfortunate circumstance does happen, it
helps if they have your contact information. 


Of course, little kids might not know what to do with the information. It is best to teach them what to do
in these situations as early as possible.


Another pretty nifty tip is to invest in an engraved bracelet for your little one. Not only will they feel cool
having jewelry like mommy, but these bracelets can have all the important contact information you need
on them. 


Which of course, can literally be a lifesaver if they decide to wander a bit too far away while you guys are
chilling by the pool, or exploring a new city. It’s a good idea to teach your child about the importance
of this bracelet, and how to approach strangers to ask them for help in the case that they are lost. 

The bracelets don’t necessarily need to be fancy. They could also be a simple as a rubber band, just
make sure the number can’t be rubbed off. Remember it's not about being fancy, the goal is to keep
them safe.